JDK "Java Development Kit" has been developed as a set of tools, documentation and examples focused on the development of Java applications, JDK is integrated by different applications and components such as:
Java JDK
- A runtime interpreter (JRE)
All of these play an essential role in Java development and it is for this reason that getFastAnswer will explain how to install Java in its most recent version on macOS..
To stay up to date, remember to subscribe to our YouTube channel! SUBSCRIBE
How to install Java on macOS
Step 1
The first thing to do is go to the Java SE download URL at the following link:
Java
Step 2
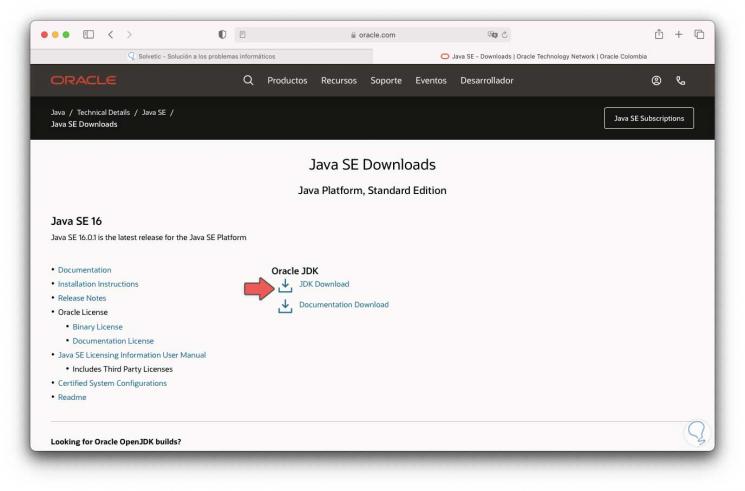
We will see the following:
Step 3
We click on JDK Download and in the next window we download the version for macOS:
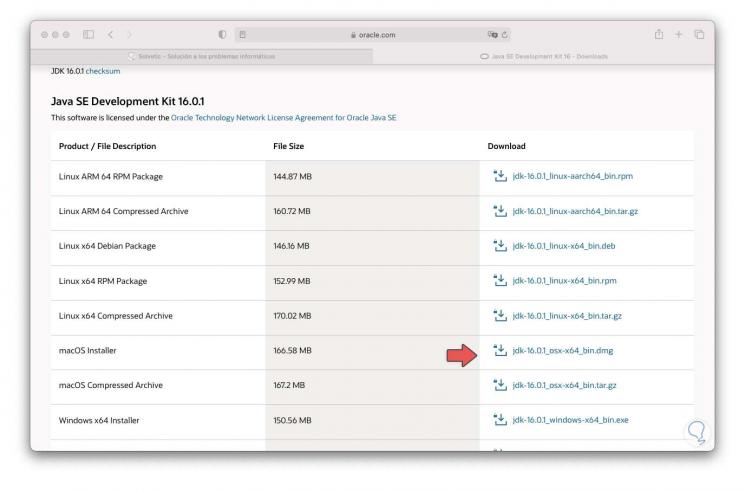
Step 4
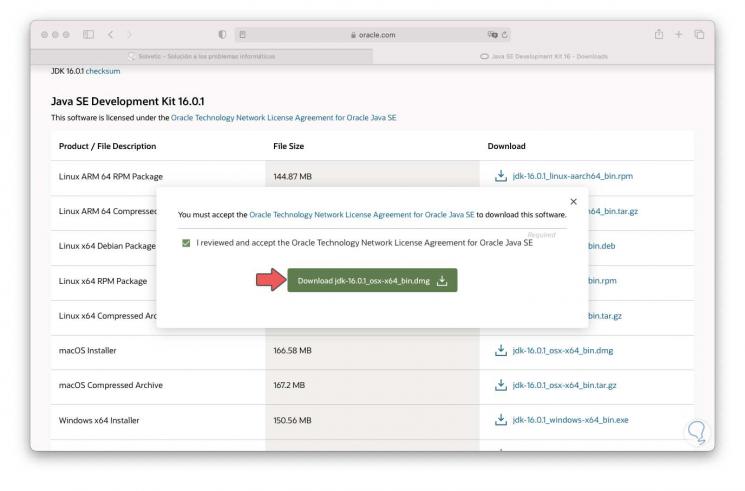
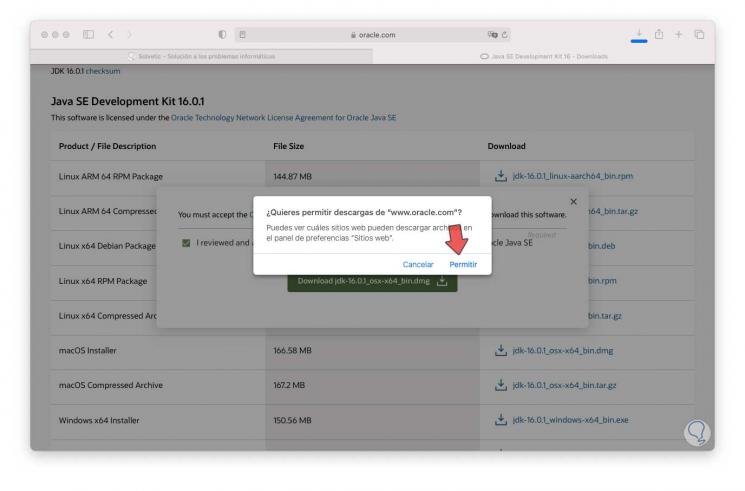
By clicking there the following window will be displayed. Activate the license acceptance box, click on "Download" to proceed with the download, macOS will show us the following message:
Step 5
We confirm the download by clicking Allow.
Step 6
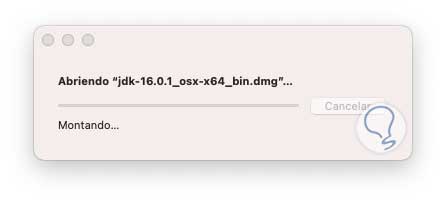
Once downloaded, we run the DMG file and macOS will validate its content:
Step 7
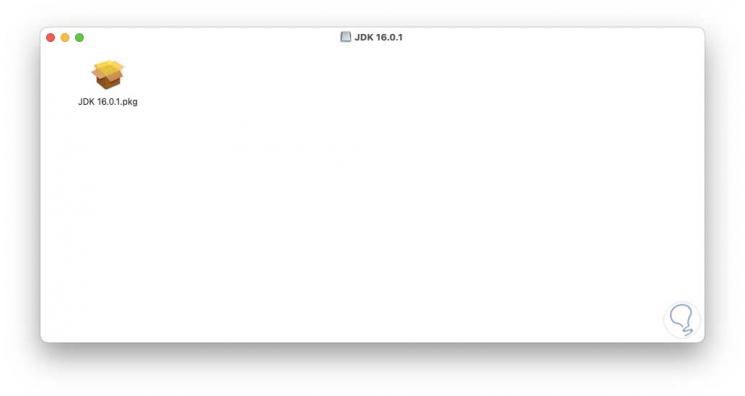
At the end we will see the following window:
Step 8
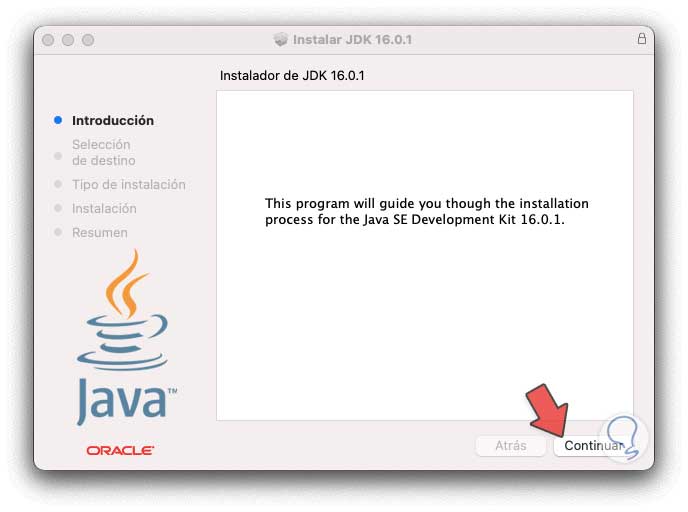
Double click on the pkg file to launch the Java installation wizard:
Step 9
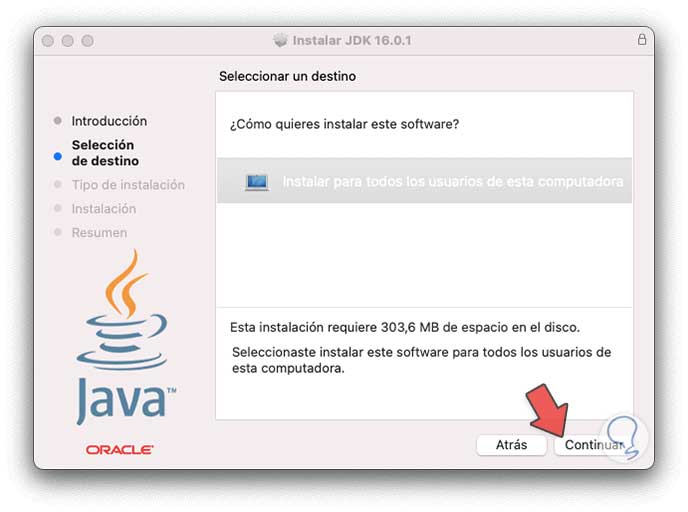
We click on Continue and define if we want to install Java for all users of the system:
Step 10
Now we will see details of the Java installation:
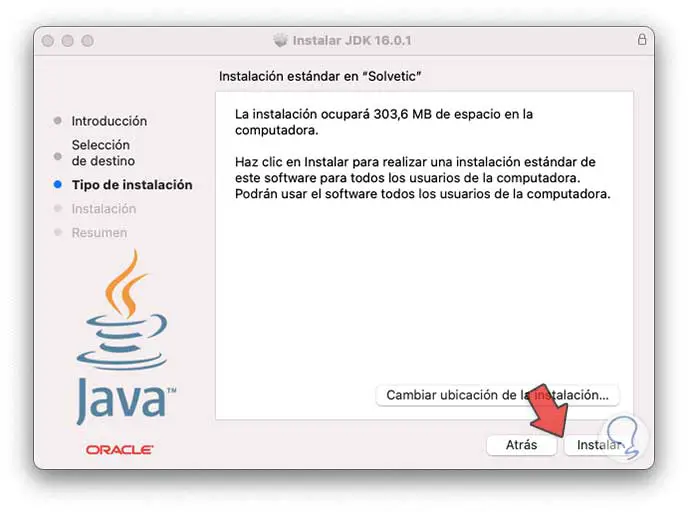
Step 11
We click on "Install" and it will be necessary to enter the administrator password:
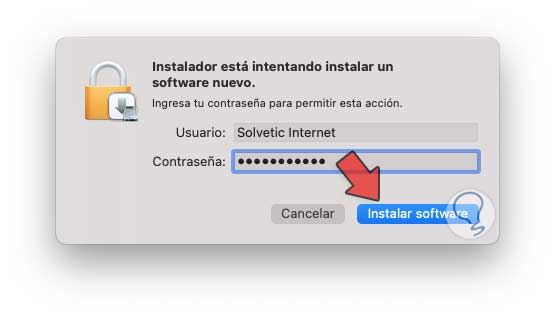
Step 12
Click on "Install software" to proceed with the process:
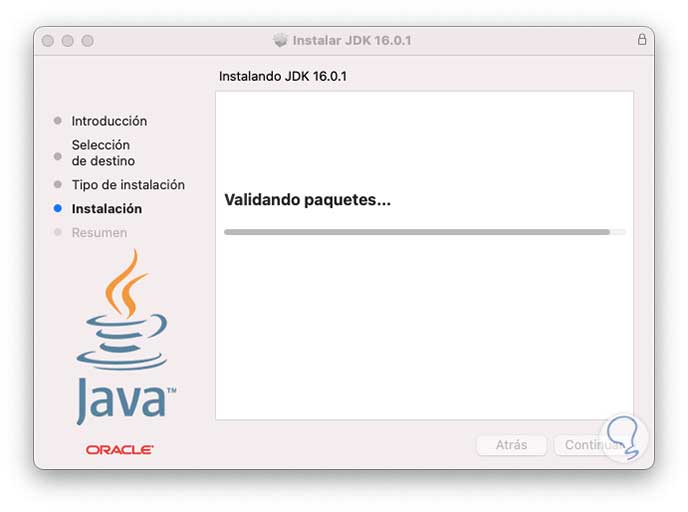
Step 13
At the end we will see the following. Click Close to complete the process.
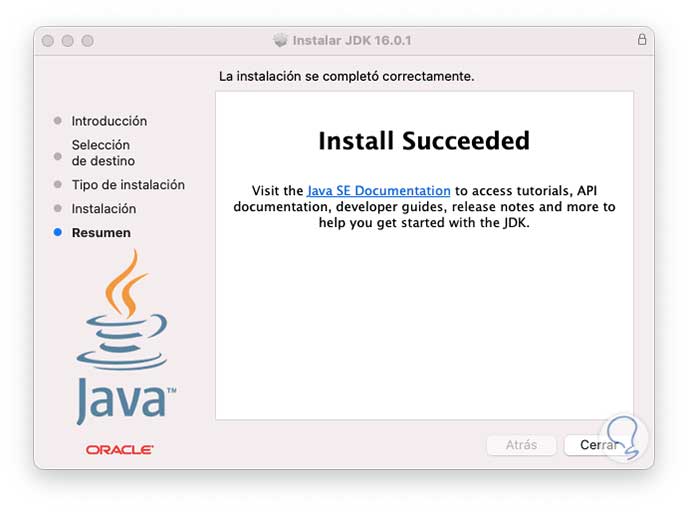
Step 14
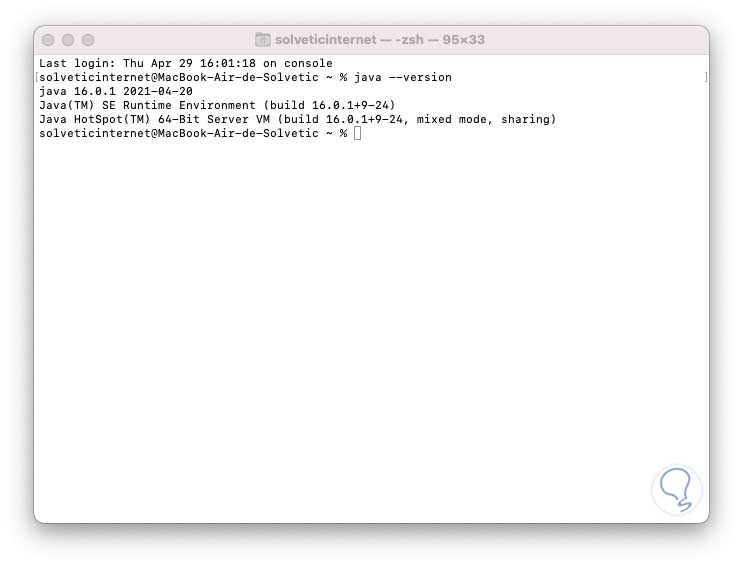
We access the terminal in macOS, there we will first validate the Java version with the following command:
java --version
Step 15
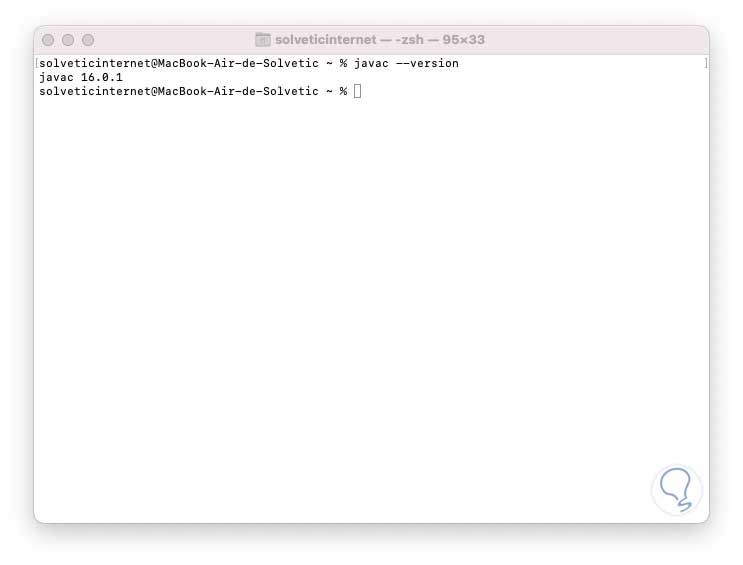
After this we validate the version of Javac, javac is the Java compiler and its task is to compile the code for the virtual machine, to check its version we execute.
As we can see, the most recent version of Java has been installed on macOS.
javac -version
Here are the steps to install and enjoy Java on macOS.