In our computer we are storing a lot of information since most of the documents that we manage we do through the network, and that is why normally these devices are where we store most of our information, either at the level personal as professional in many cases..
Security is one of the fundamental pillars in all current operating systems since with this it is sought that no process or user without the required permissions with which the information will be at risk, for this there are several ways to increase security and one of The ways that macOS offers us is by establishing a password to the folder which will protect its content.
getFastAnswer will explain the step by step to create a password to a folder and thus considerably increase the security there..
To stay up to date, remember to subscribe to our YouTube channel! SUBSCRIBE
How to password a folder in macOS Big Sur
Step 1
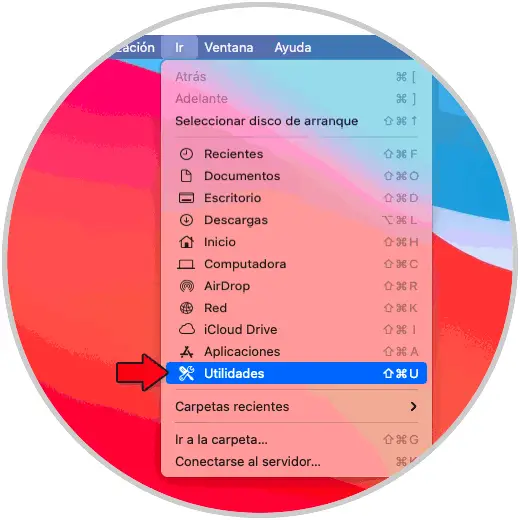
The first thing to do is go to the "Go - Utilities" menu:
Step 2
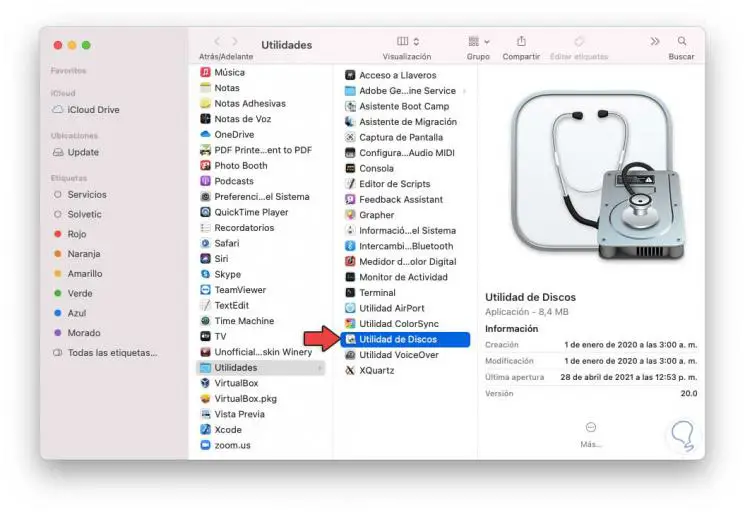
Once we access the macOS utilities we will see the following:
Step 3
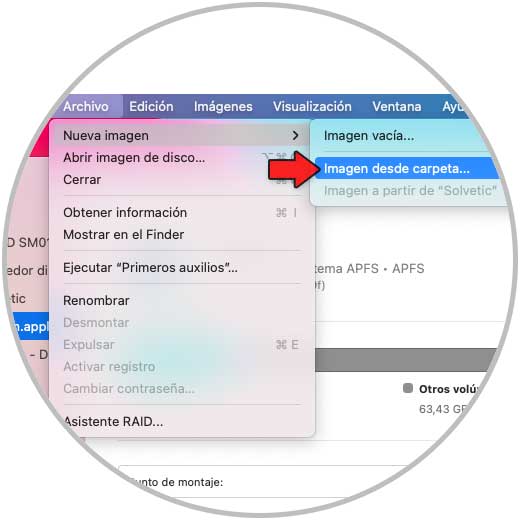
We select the option "Disk Utility", when we double click we will see the disk options, there we go to the menu "File - New image - Image from folder":
Step 4
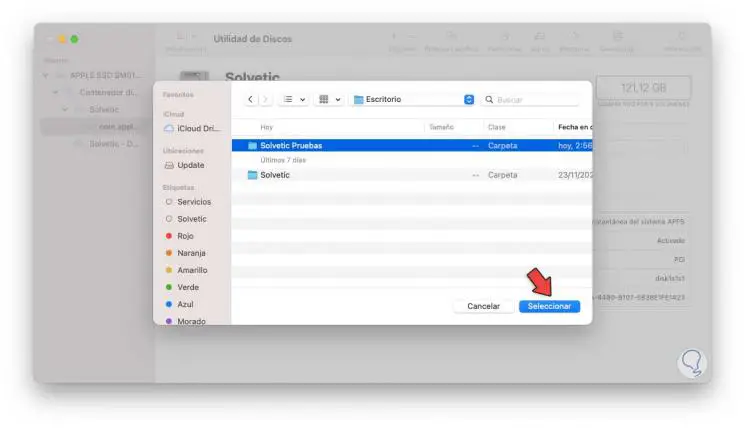
In the pop-up window we are going to select the folder to protect:
Step 5
We click Select and the following window will open:
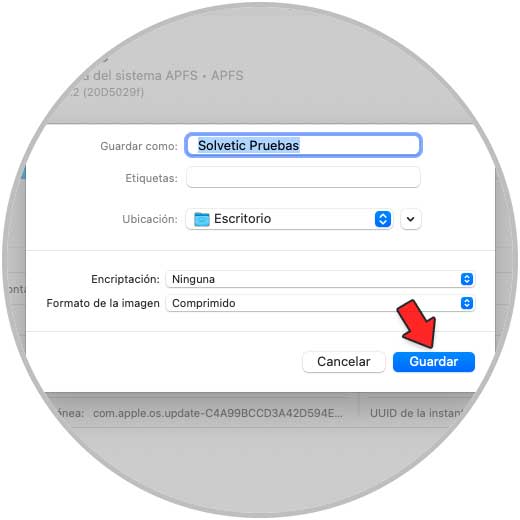
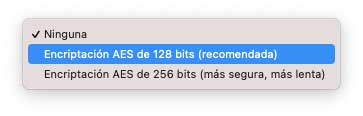
Step 6
In the "Encryption" field select "AES 128-bit encryption" but more options will be available:
Step 7
By clicking there we must assign and confirm the password for the folder:

Step 8
We click on Select and the password will have been configured for the selected folder:
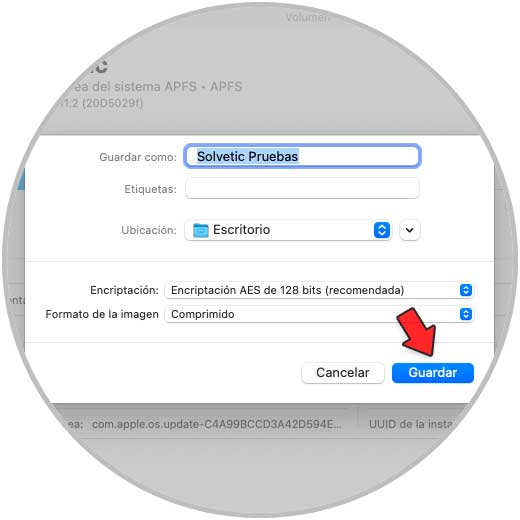
Step 9
Apply the changes by clicking Save, the folder protection process will start:
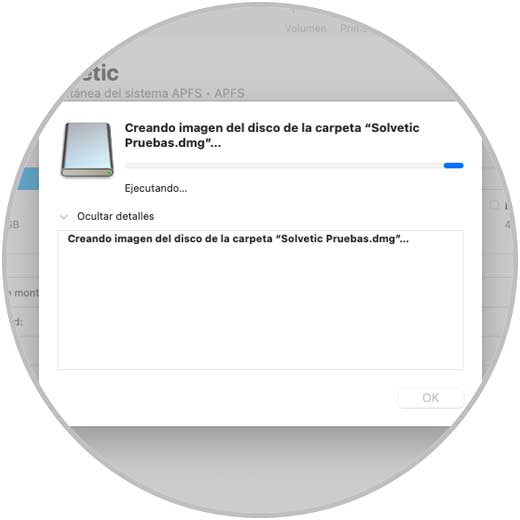
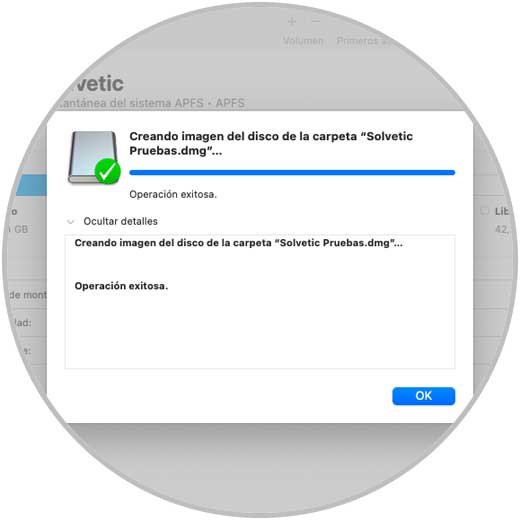
Step 10
At the end of this process we will see the following:
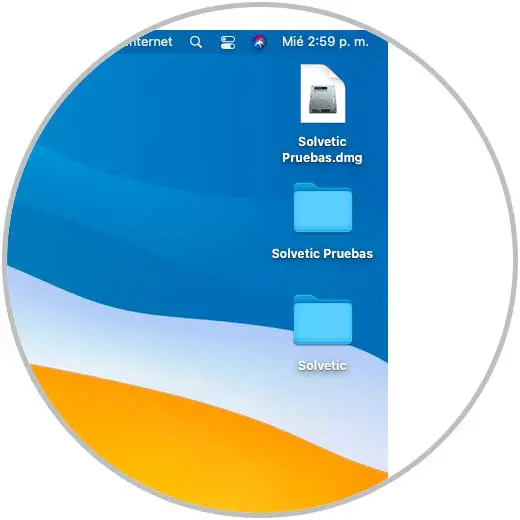
Step 11
We click OK to close the wizard and the protected image file will be created on the desktop:
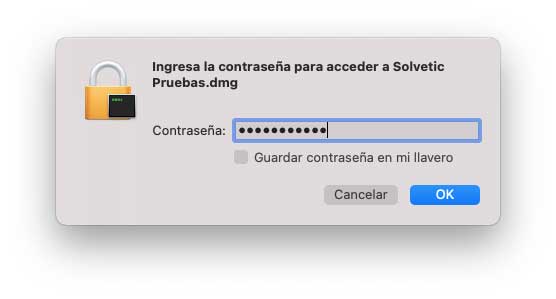
Step 12
We can delete the original folder, to access the protected folder we must enter the assigned password:
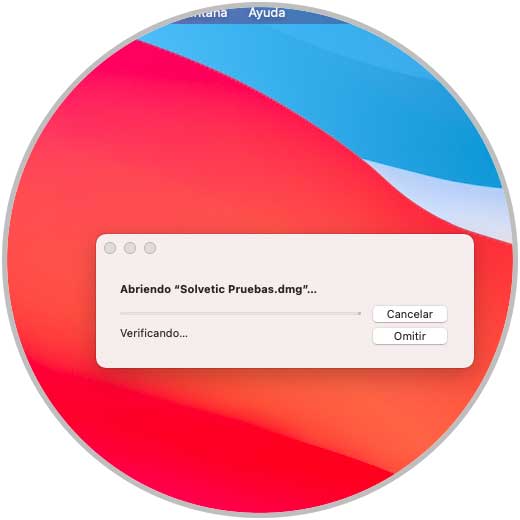
Step 13
We click OK to start the opening process:
Step 14
We access the content of the protected folder:
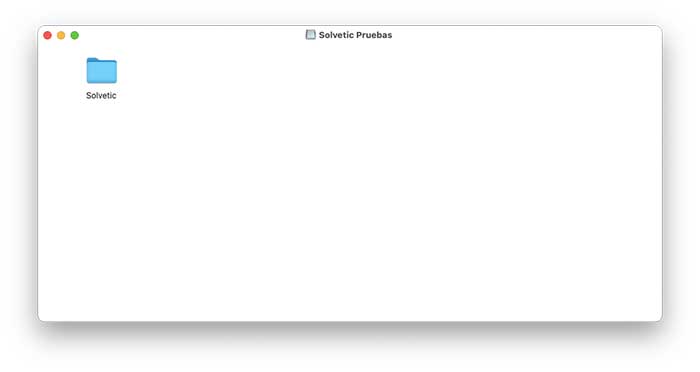
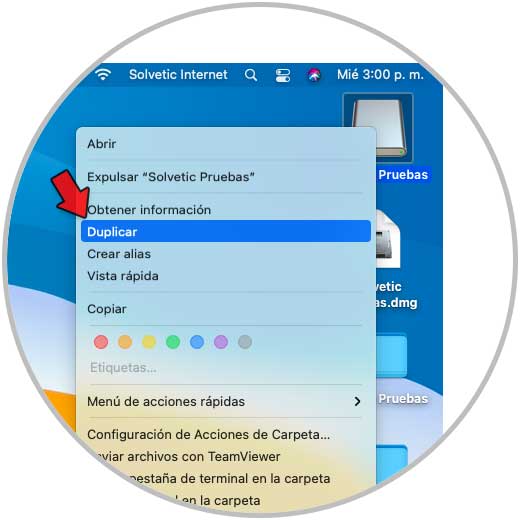
Step 15
To delete the password, we copy or duplicate the open file and delete the created image:
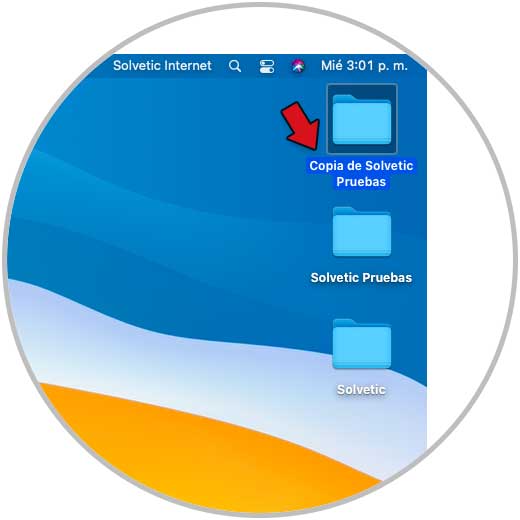
Step 16
The result will be the unrestricted copy of the folder:
Here are the steps to assign a password to a folder on macOS. In this way you can have your folders protected on your computer simply and quickly.