The Telnet (Teletype Network) protocol has been developed for some time as an alternative that has the task of serving as a command line interface facilitating direct communication with a remote device or server and based on this perform tasks and this connection is performed over a TCP / IP network..
When the telnet client establishes the connection with the remote computer, this client will become a virtual terminal, hence it is possible to establish communication between both computers, as a general rule we must log in to the remote computer with a configured credential previously. Telnet clients are already built into most versions of macOS, Windows, Unix, and Linux to offer a greater coverage option.
Telnet parameters
Telnet offers us a series of parameters such as:
- logout: allows you to close the current Telnet session
- mode type: sets the transfer mode to the remote computer
- open hostname: takes care of opening another connection for the selected remote host
- quit: we exit the Telnet client and all active connections at the moment
- Close: close the current Telnet session
- display argument: gives us the option to display the parameters of the current connection (port, type of terminal, etc)
- send argument: send Telnet strings to the host
- set argument: Set connection parameters in session
- unset: load default connection parameters
getFastAnswer will explain how to install Telnet on macOS Monterey and for this we will make use of the original Telnet resources, since Homebrew requires some Xcode configurations that many still do not have available in this new version of macOS..
To stay up to date, remember to subscribe to our YouTube channel! SUBSCRIBE
How to install Telnet on macOS Monterey
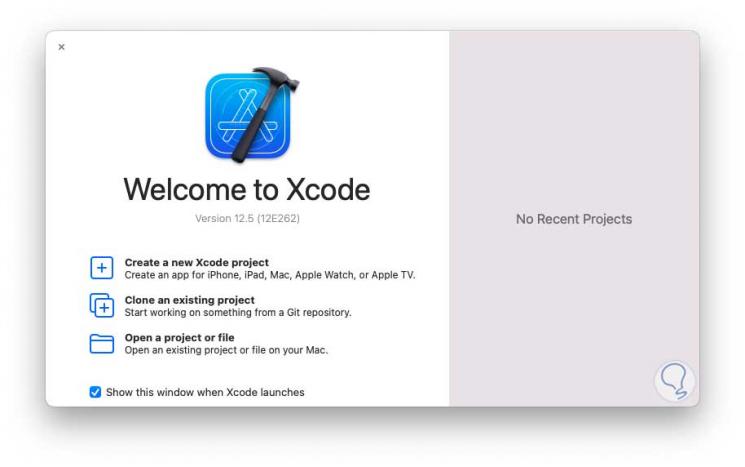
Step 1
The first thing will be to access Xcode to validate that it is available:
Step 2
Once we validate that it is active, we open the terminal in macOS Monterey and we are going to download the latest version of the GNU utilities, in this case version 2.0:
curl -O https://ftp.gnu.org/gnu/inetutils/inetutils-2.0.tar.gz

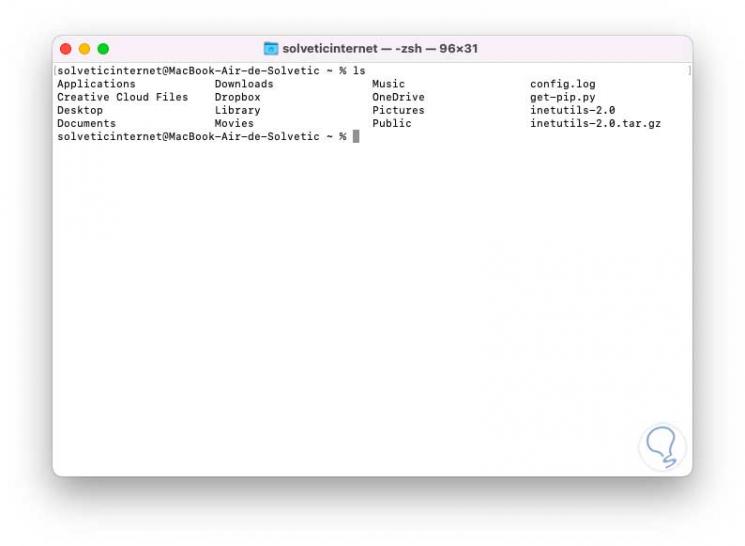
Step 3
With ls we see the download made:
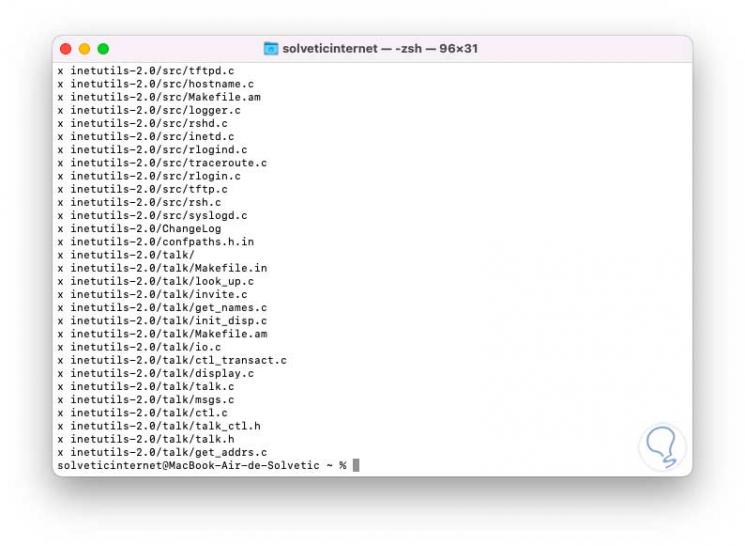
Step 4
Once downloaded, we are going to extract the content with the command:
sudo tar -xvf inetutils-2.0.tar.gz
Step 5
We must enter the local administrator password.
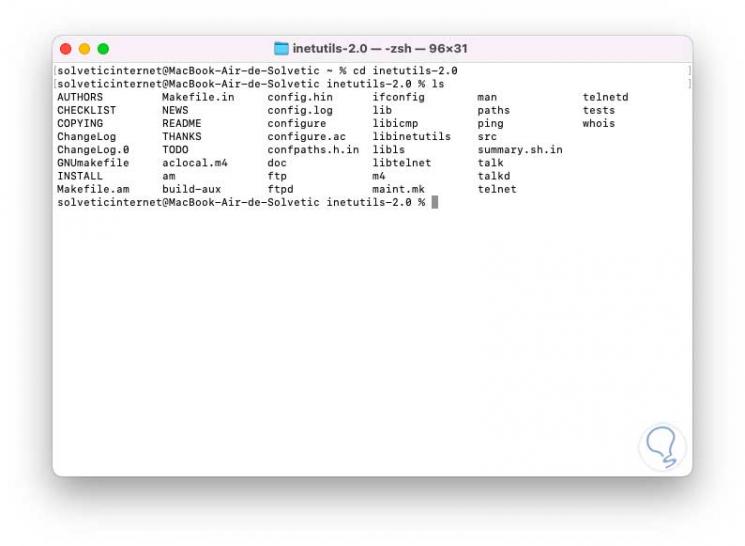
Step 6
We access the folder created with the command:
cd inetutils-2.0
Step 7
There we list the content with "ls":
Step 8
We execute the configuration of the utilities with the command:
sudo ./configure
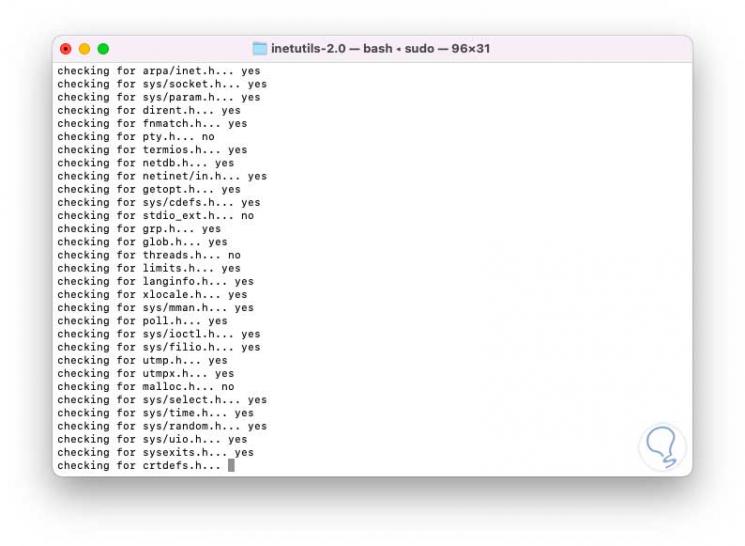
Step 9
At the end we will see the following:
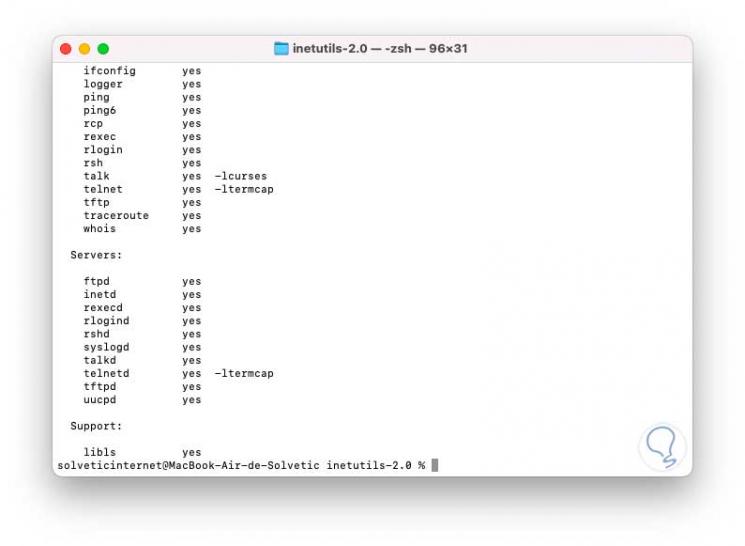
Step 10
After this we are going to execute the creation of the utilities:
sudo make
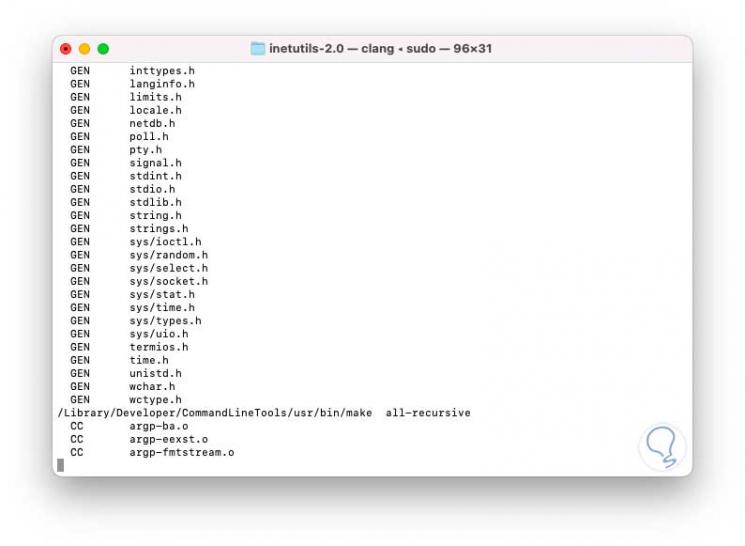
Step 11
When this process comes to an end we will observe the following:
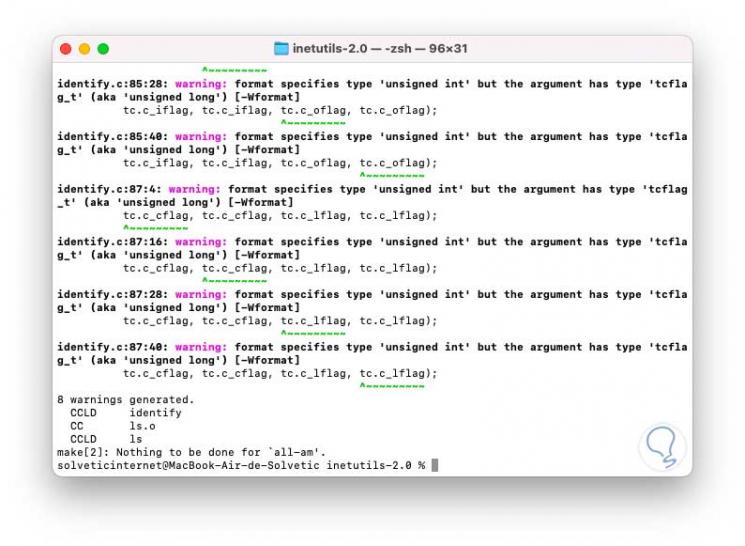
Step 12
We complete the installation with the command:
sudo make install
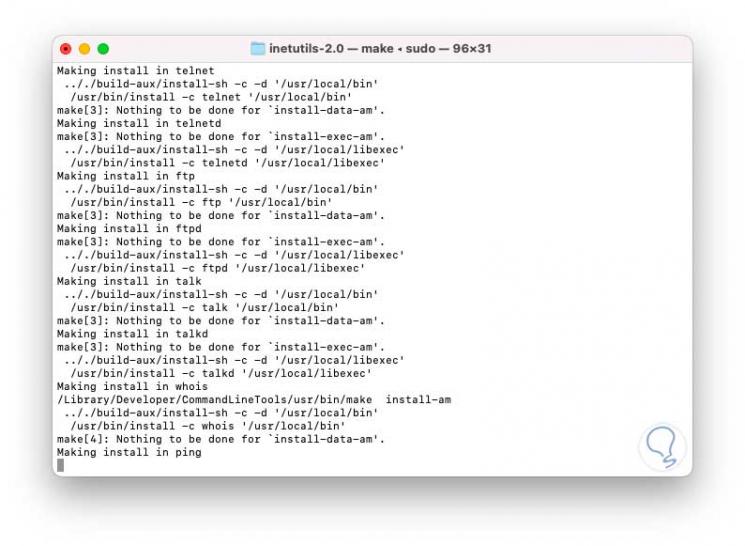
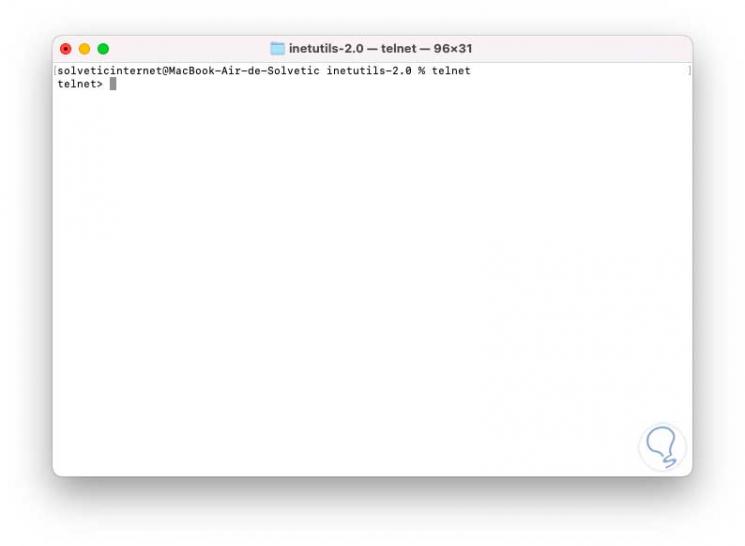
Step 13
We execute "telnet" to access the utility:
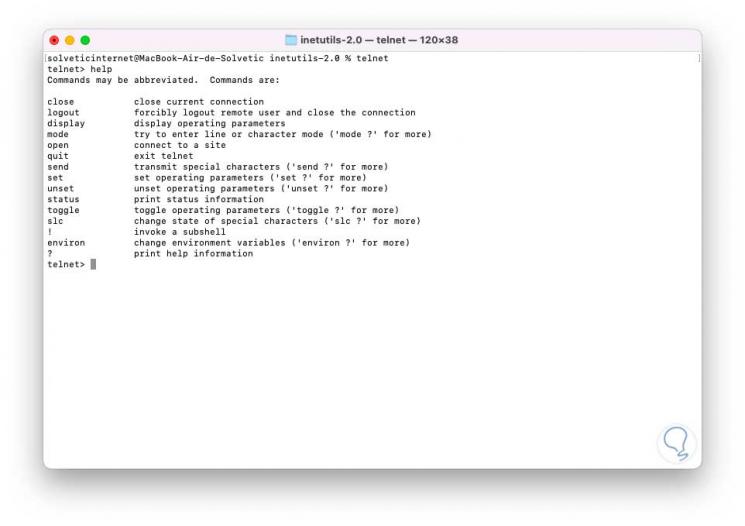
Step 14
We access the help with "help":
These are the steps that getFastAnswer has explained to you to install Telnet in macOS Monterey and work remotely with it.