macOS a few days ago announced its new operating system for Mac computers which has been called macOS Monterey, this is an operating system that has some new features..
MacOS Monterey
- Spatial Audio enhancements in FaceTime
- Universal Control to manage other devices such as iPad from macOS
- It is possible to use AirPlay content on macOS
- New function Shortcuts with which you want to create access to everyday tasks in macOS
- Safari sharing, Privacy report, Translate and Reader functions are in the More section
- New sharing options like Safari, Apple News, Apple Podcasts, Apple TV etc.
macOS Monterey is available for the following computers
- iMac: Late 2015 and later
- Mac Pro: Late 2013 and later
- Mac mini: Late 2014 and later
- MacBook Air: From 2015 and later
- MacBook: From 2016 and later
- MacBook Pro: From 2015 and later
In the following link we explain how to update your macOS Big Sur device to Monterey:
But if for some reason you do not like the new system, let's remember that it is a beta system which may present some failures, it is possible to return to Big Sur following a series of steps, one of the most essential and important being to create a copy security through TimeMachine to later recover the data.
getFastAnswer will explain the step by step to roll back macOS Monterey installation to Big Sur..
To stay up to date, remember to subscribe to our YouTube channel! SUBSCRIBE
How to return from macOS Monterey to Big Sur
Step 1
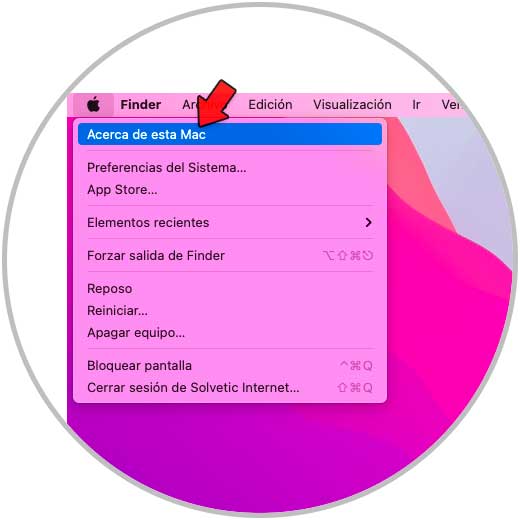
We check the version of macOS from the Apple menu with "About this Mac":
Step 2
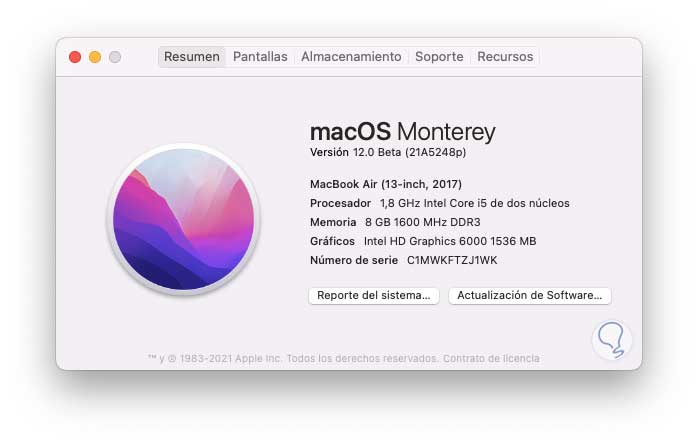
We see what macOS Monterey is:
Step 3
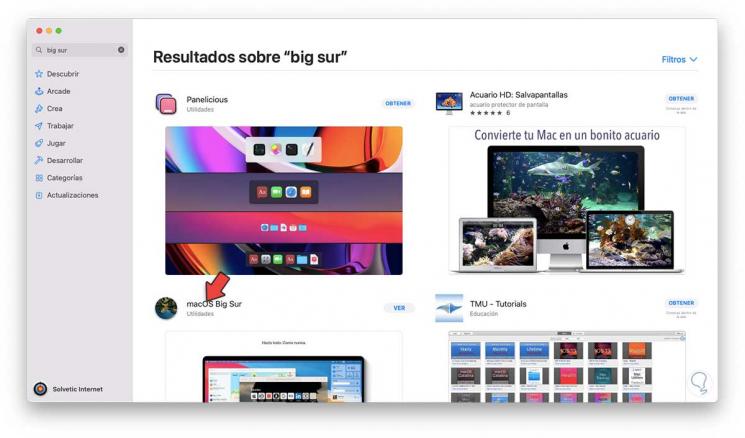
We open the App Store and look for macOS Big Sur:
Step 4
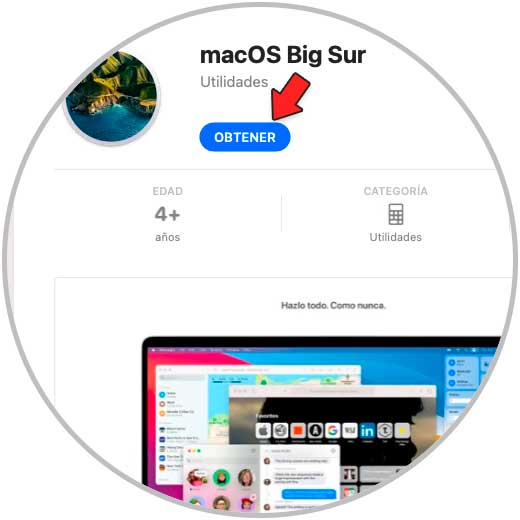
We click on it and we will see the following:
Step 5
We click on "Obtain" to download the installer, the following window will open:
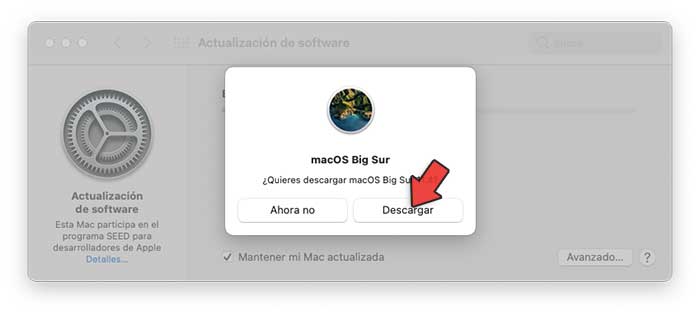
Step 6
Click on "Download" to start the Big Sur installer download process:
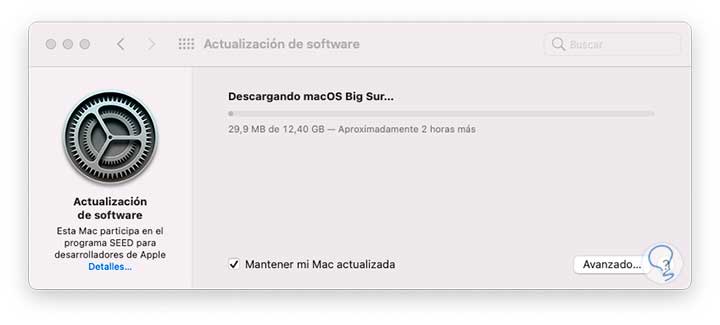
Step 7
As we see its size is considerable, we wait for the download to finish, once downloaded the installation wizard will be launched:
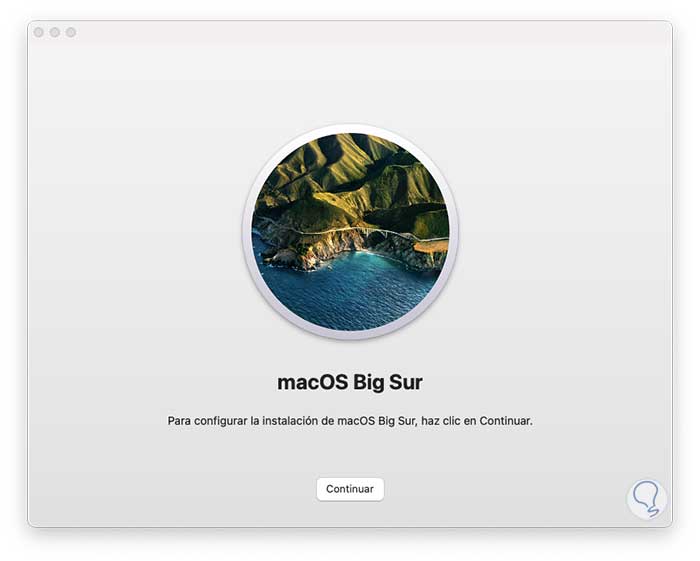
We close it since we will not do the process from there.
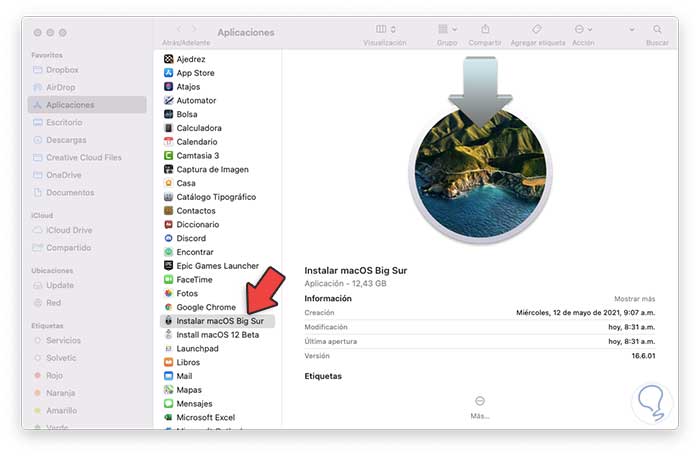
Step 8
We go to Applications and there we validate that the macOS Big Sur installer is:
Step 9
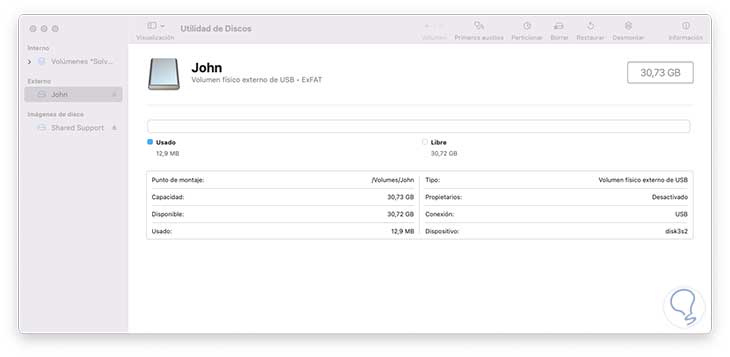
We open the Disk utility and select the connected USB:
Step 10
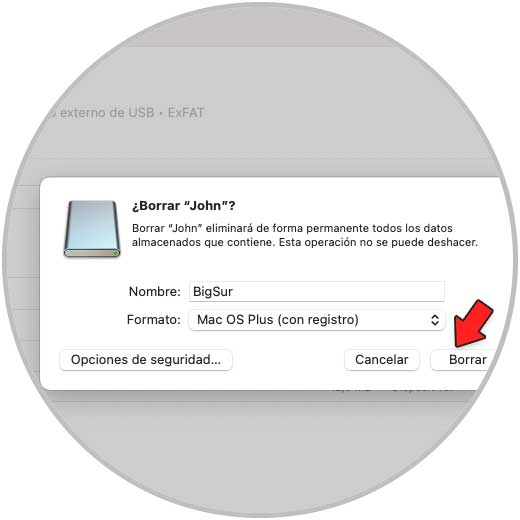
We click on the "Delete" button, in the pop-up window we assign a name and apply the changes:
Step 11
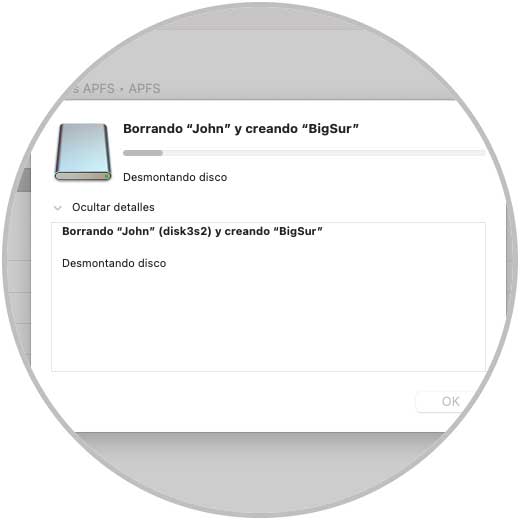
We click Delete to start the formatting process:
Step 12
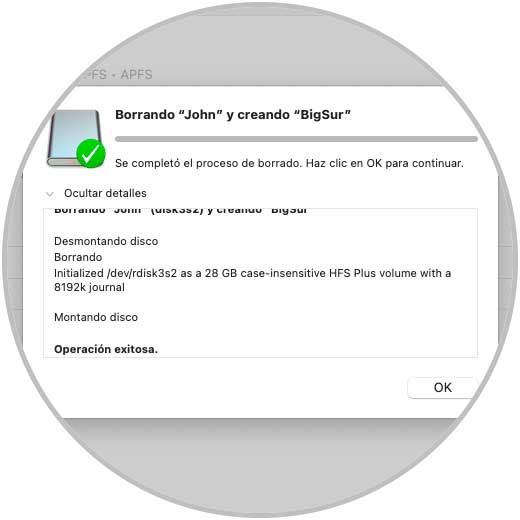
At the end of this process we will see the following:
Step 13
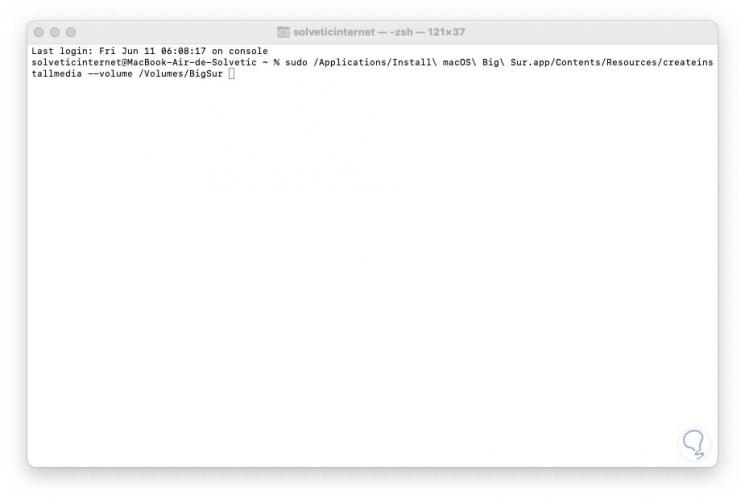
In the terminal we are going to execute the following command to create the bootable USB:
sudo / Applications / Install \ macOS \ Big \ Sur.app/Contents/Resources/createinstallmedia --volume / Volumes / BigSur
Note
In the last line / Volumes / BigSur we must enter the name assigned to the USB
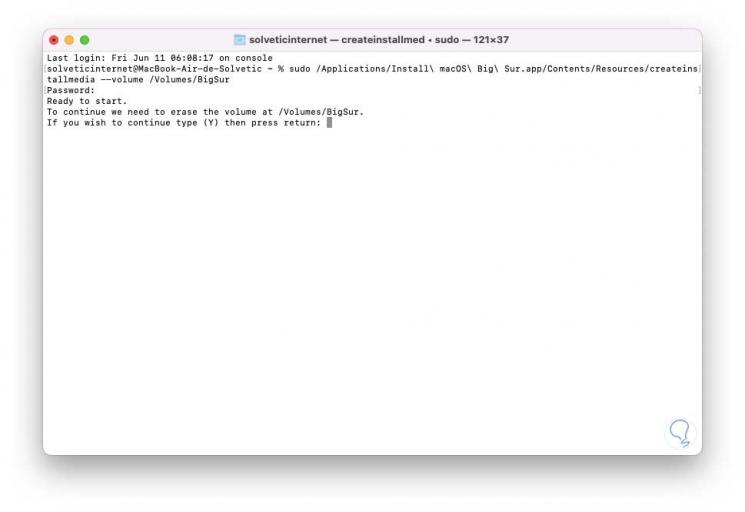
Step 14
We press Enter, enter the administrator password and we will see the following:
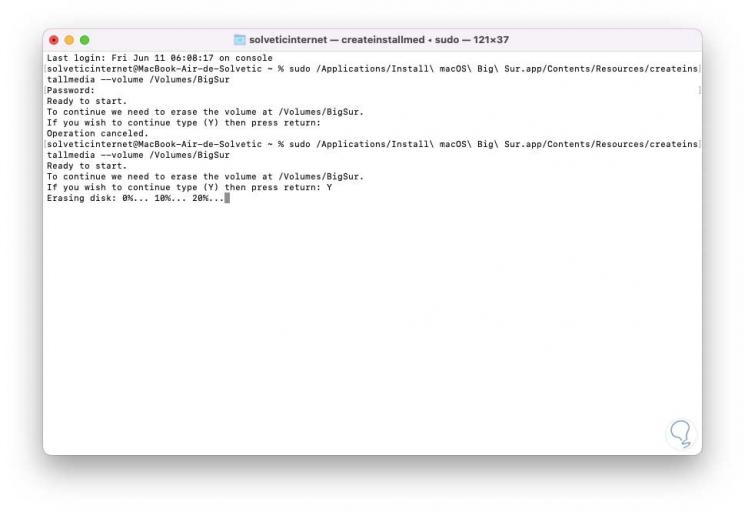
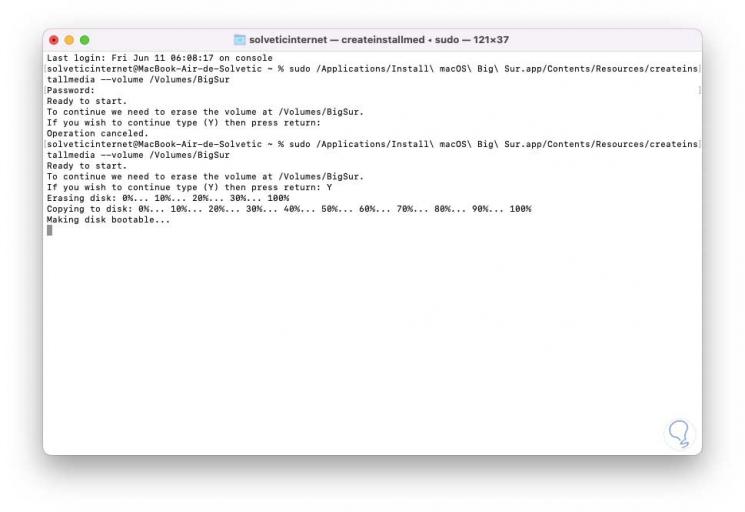
Step 15
There we enter the letter "Y" to confirm the process, the process of erasing the USB medium will take place:
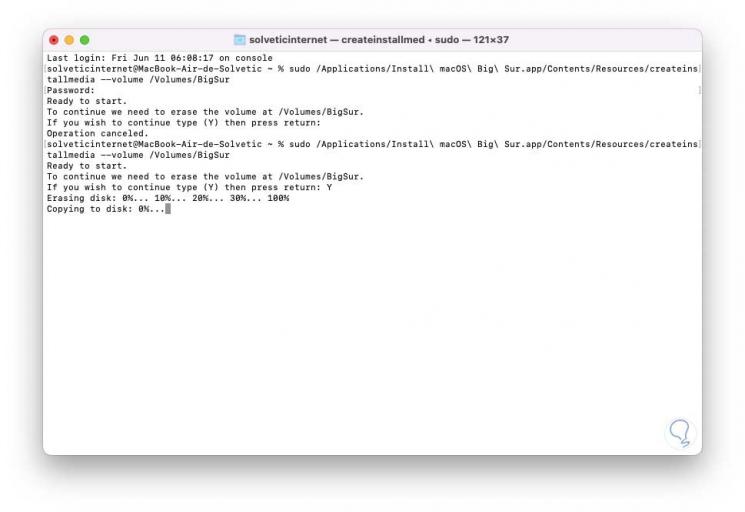
Step 16
After this the files will be copied to the medium:
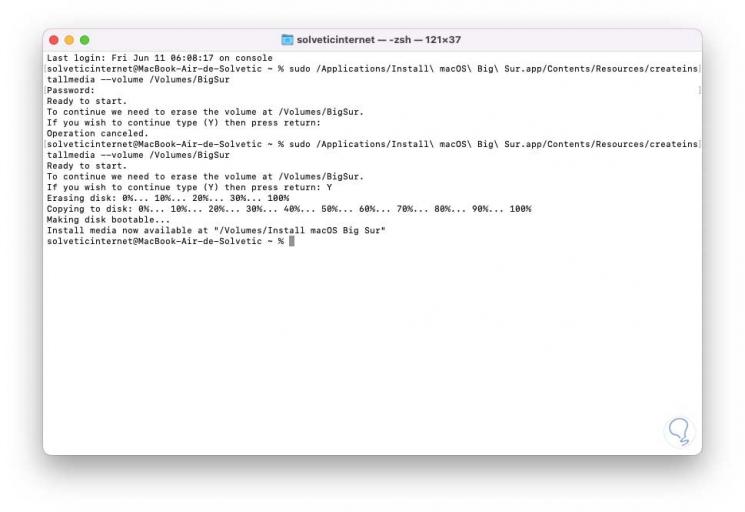
Step 17
After this the process of making the USB bootable will be done:
Step 18
At the end we will see the following:
Step 19
We can see the USB ready to be used in the downgrade process to Big Sur:
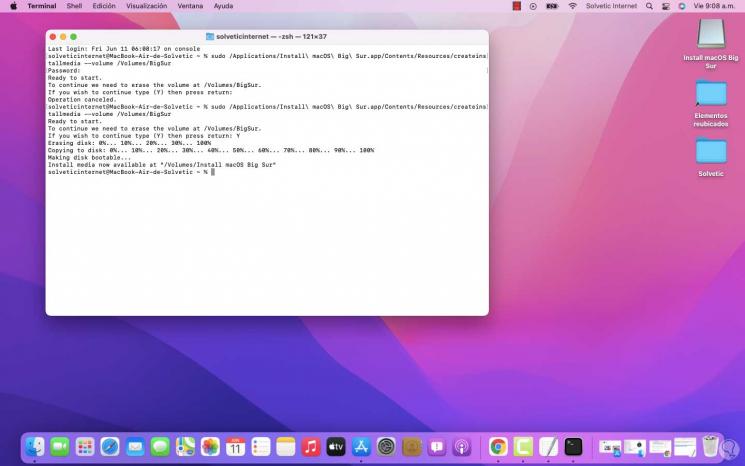
Step 20
After this we must restart the system to continue the process:
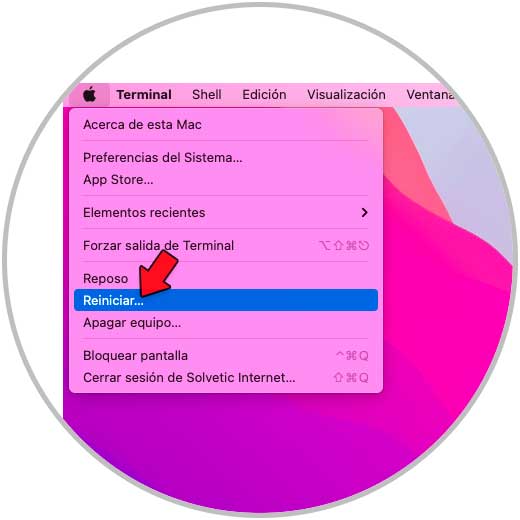
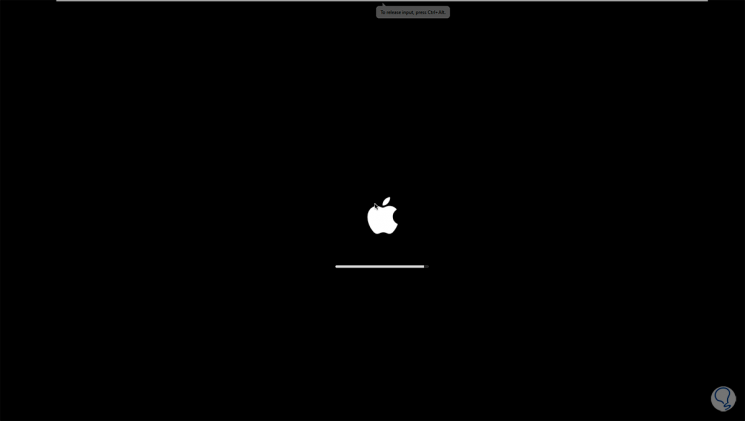
Step 21
The system will be rebooted:
Step 22
macOS will automatically detect the USB and display the following window:
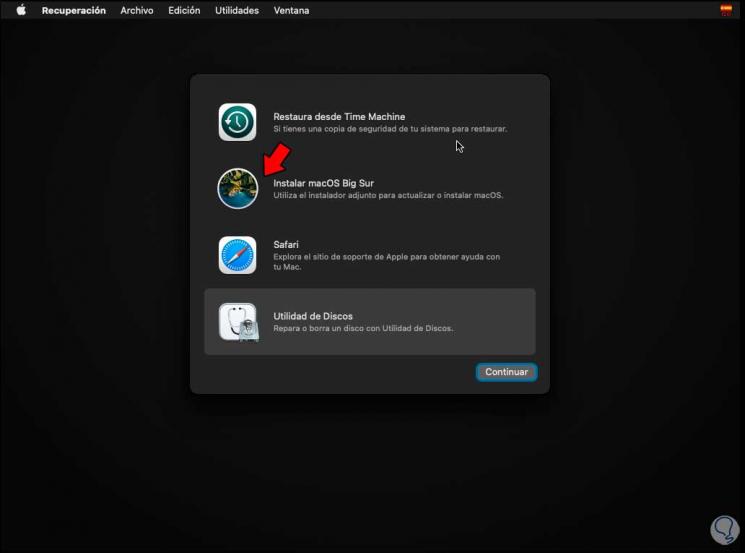
Step 23
There we click on "Install macOS Big Sur" and click on "Continue", the following will be displayed:
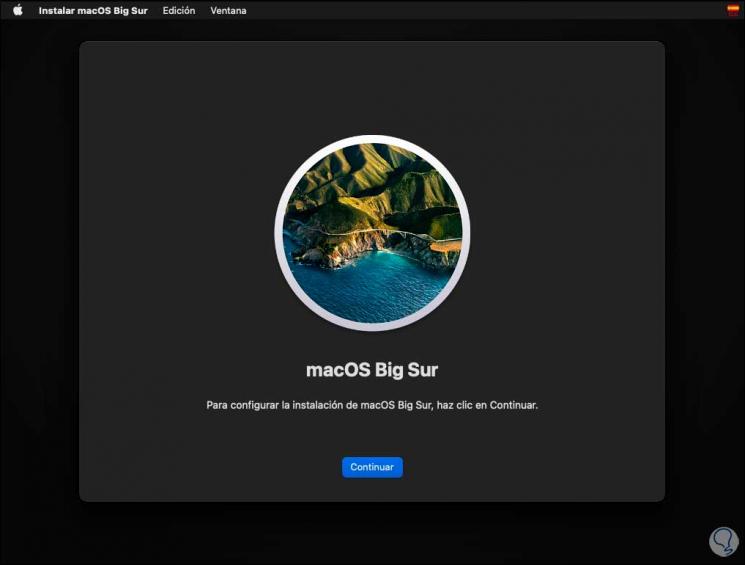
Step 24
We click on "Continue" and now it is time to accept the license terms:
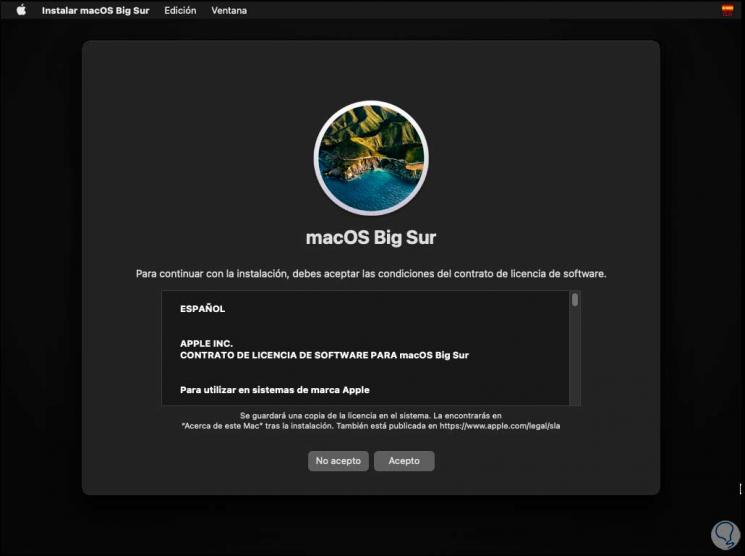
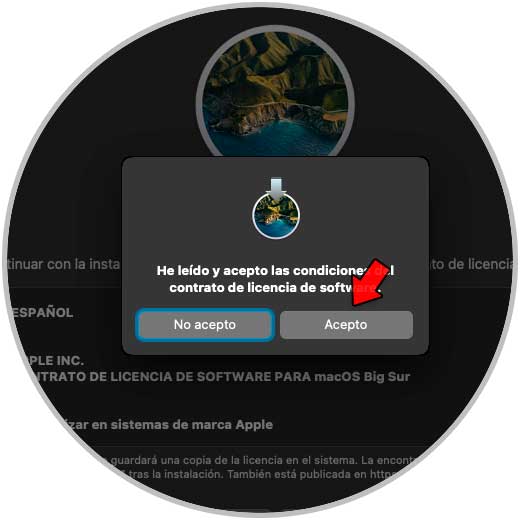
Step 25
We click I accept and in the pop-up window we confirm that we accept the license:
Step 26
After this we select the disk where macOS Big Sur will be installed:
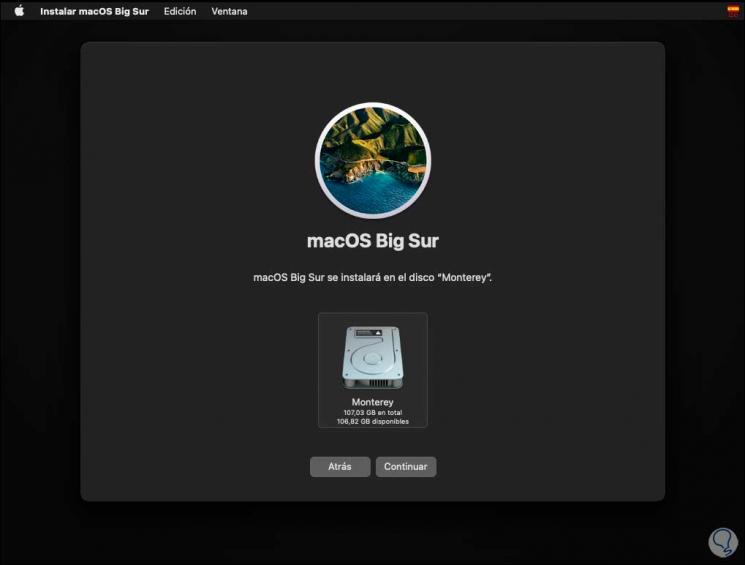
Step 27
We select the disk and click on "Continue", the process will take place:
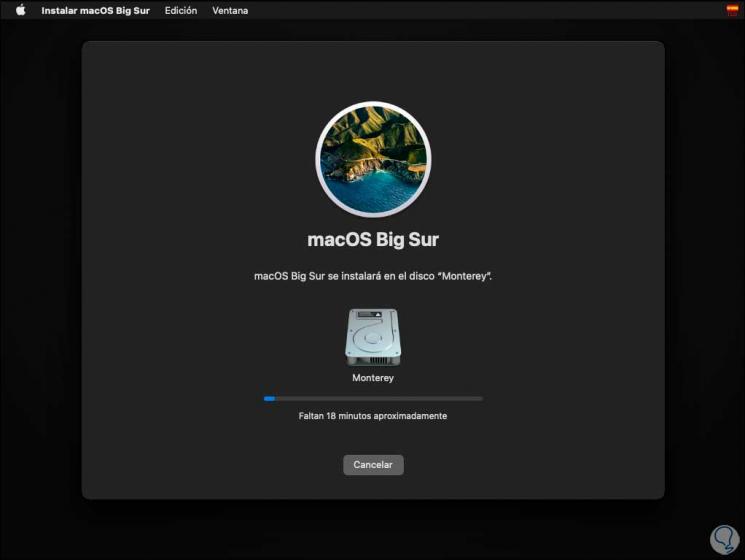
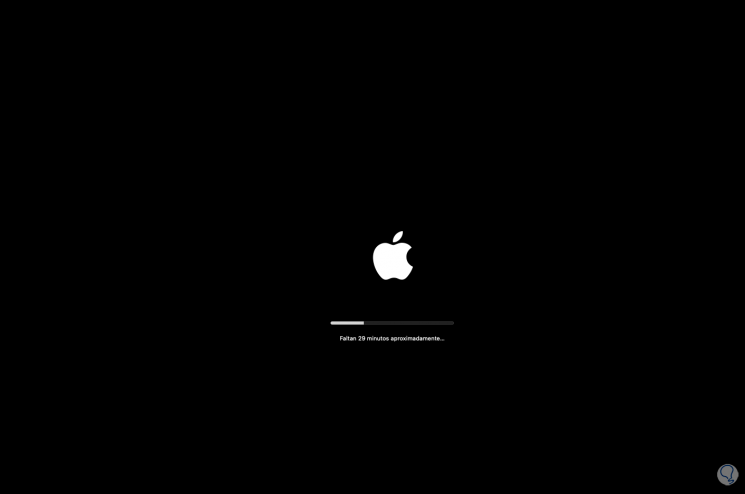
Step 28
When this process is complete, the system will continue its action and then restart:
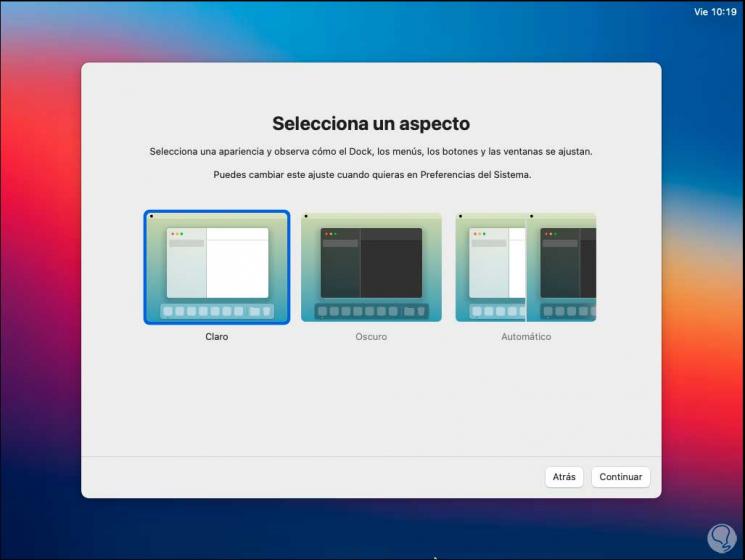
Step 29
After being rebooted, it's time to select the background:
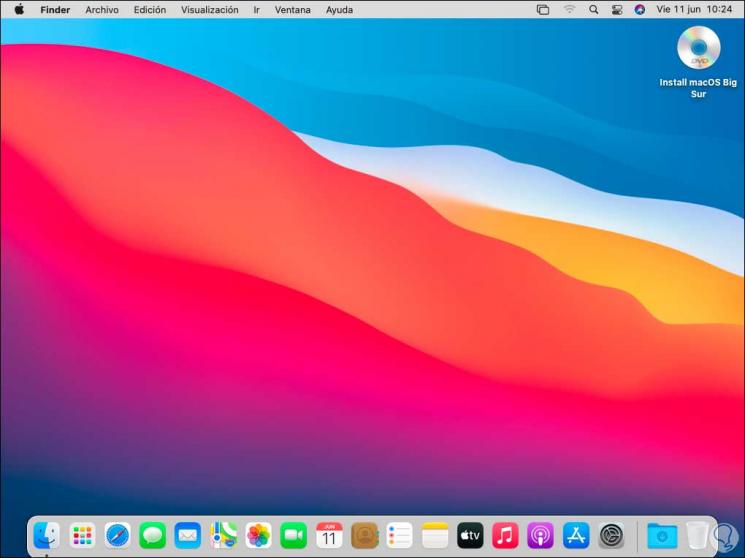
Step 30
We access macOS Big Sur:
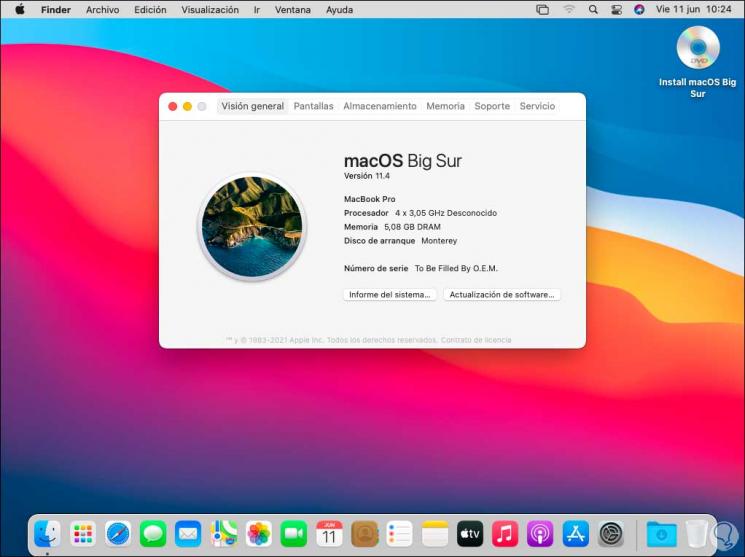
Step 31
From the Apple menu we confirm that it is Big Sur:
We can see that this is the whole process to return from macOS Monterey to Big Sur in a simple way, after this we are going to use Time Machine to recover the files in the backup..