Managing packages and applications is a task that we perform frequently for various reasons, both personal and work, but not all operating systems are compatible with the thousands and thousands of applications available in the market and this is due to factors of the file system of the system in Yes. macOS has launched macOS Monterey as a new bet on a modern system with many new features and improvements so that the user experience is as complete as possible, but even so we know that many applications and utilities will not be able to be executed there..
To help solve this application situation in macOS Monterey, Homebrew has been developed as a comprehensive and practical solution for installing and running applications. Basically when using Homebrew, it is possible to install all the utilities that Apple does not install by default in Monterey, this means many more options for use and productivity in the system.
Although everything is handled directly from the terminal, Homebrew installs each package in its own unique directory and does so with the use of symbolic links to the files in the / usr / local library for better administration of these, in addition to This Homebrew gives us the opportunity to create our own packages..
Homebrew is based on Git and Ruby with which the portfolio of applications is extended in a special way.
To use Homebrew in macOS Monterey we require yes or yes Xcode 12.5, Xcode in macOS is a group of tools focused on developers with which it is possible to create and manage apps for Mac, iPhone, iPad, Apple Watch and Apple TV.
Xcode can be downloaded or updated from the App Store. Let's see how to install Homebrew on macOS Monterey..
To stay up to date, remember to subscribe to our YouTube channel! SUBSCRIBE
How to install Homebrew on macOS Monterey
Step 1
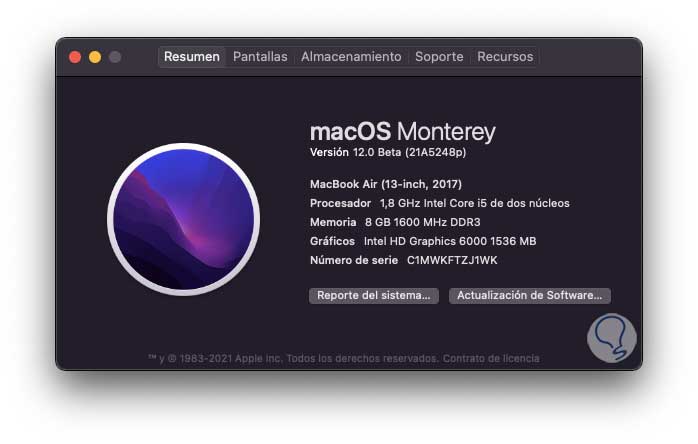
From the Apple menu we click on "About this Mac" to validate the version of macOS:
Step 2
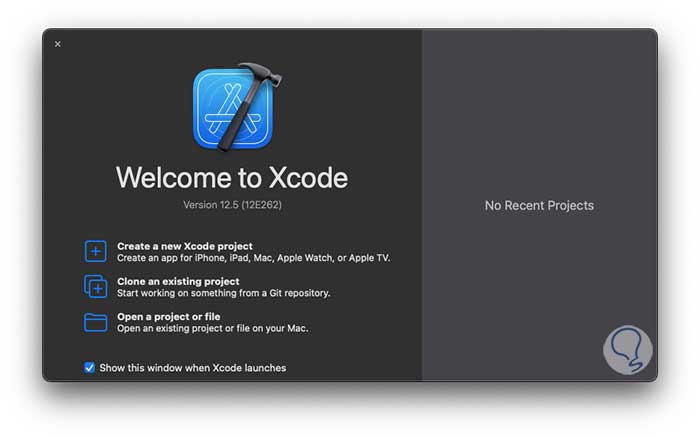
After this, we open Xcode to see that it is installed locally:
Step 3
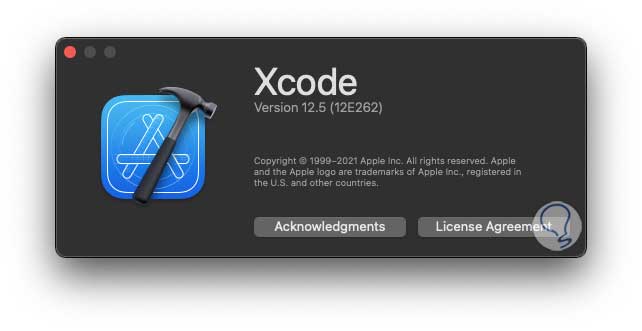
From the menu "Xcode - About Xcode" we confirm the version that must be 12.5:
Step 4
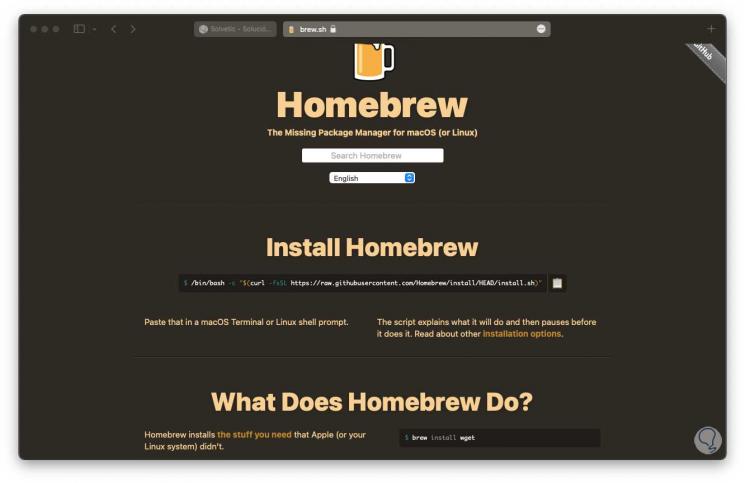
We go to the Homebrew website at the following link. There we copy the installation command.
Homebrew
Step 5
We open the terminal and paste it there:
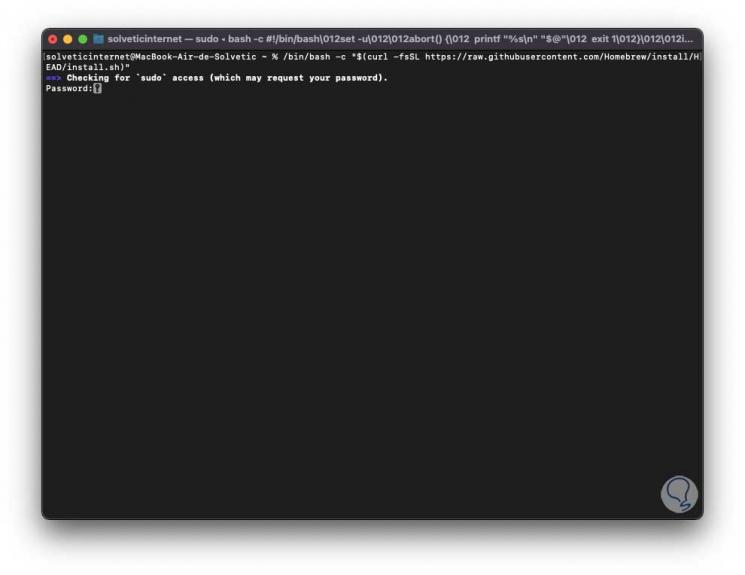
Step 6
We enter the password to complete the process and as it is a trial version (macOS Monterey) we will receive the following warning:
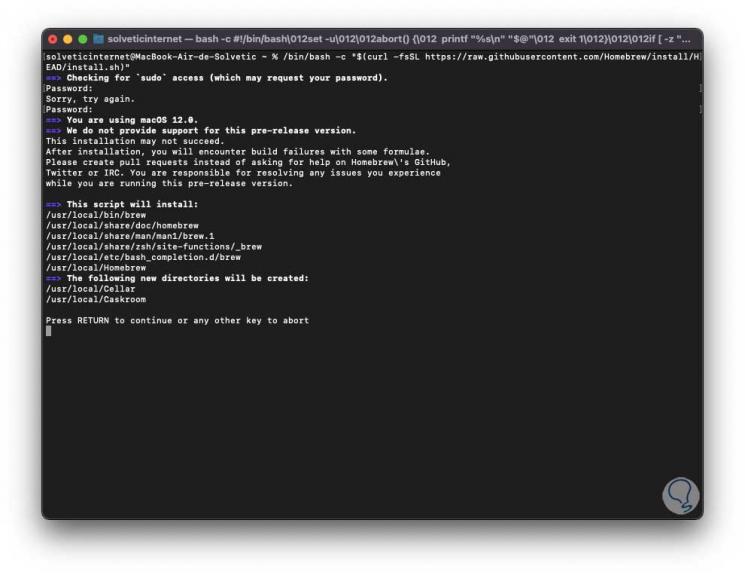
Step 7
There the use of macOS 12.0 (Monterey) is confirmed, so it is vital to use Xcode 12.5 for compatibility issues, we press the Enter key to proceed with the Homebrew installation:
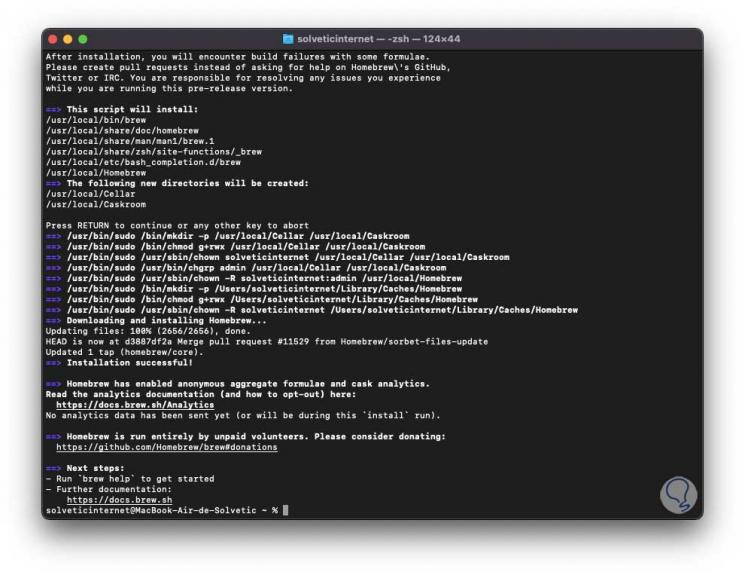
Step 8
Once installed, we run "brew help" to list the help options:
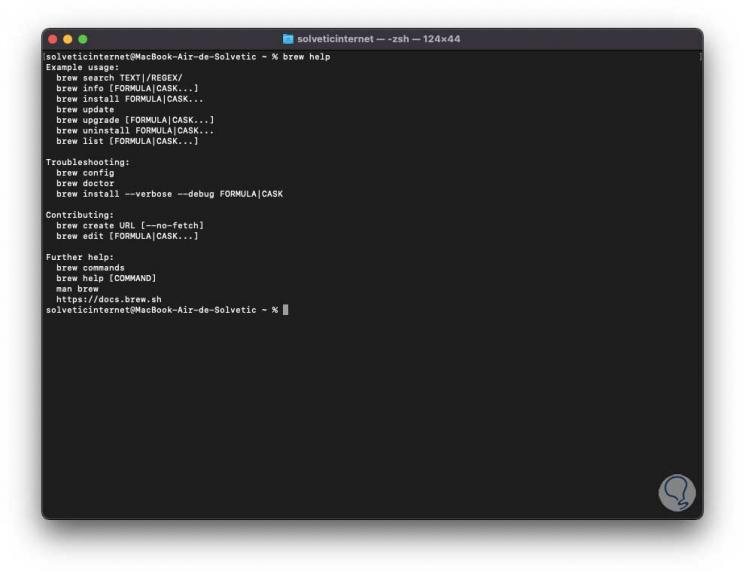
Step 9
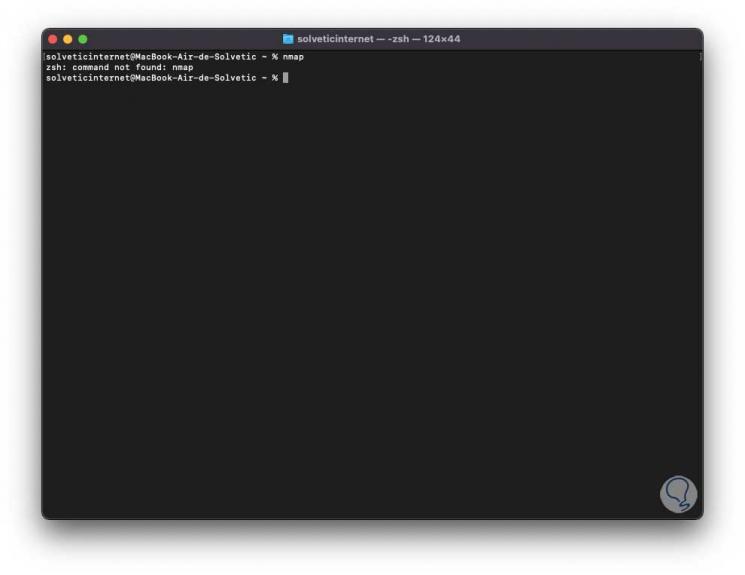
To check its usage, we run nmap to check that it is not available:
Step 10
To install it we execute:
brew install nmap
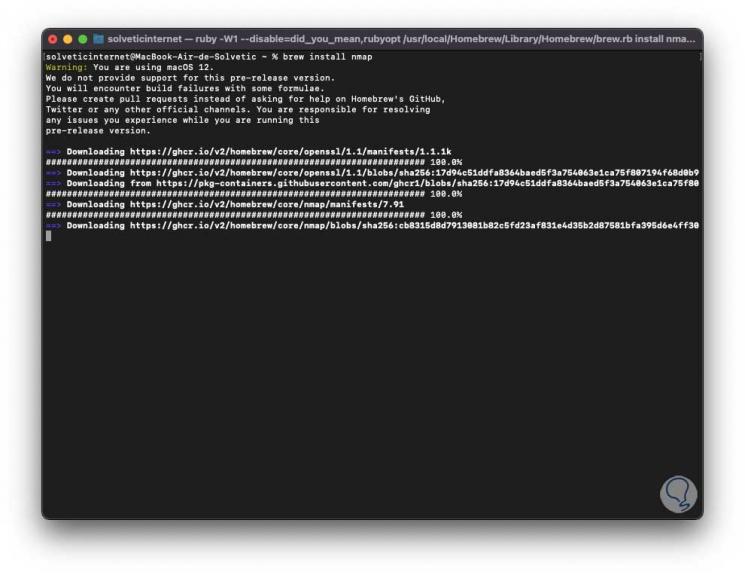
Step 11
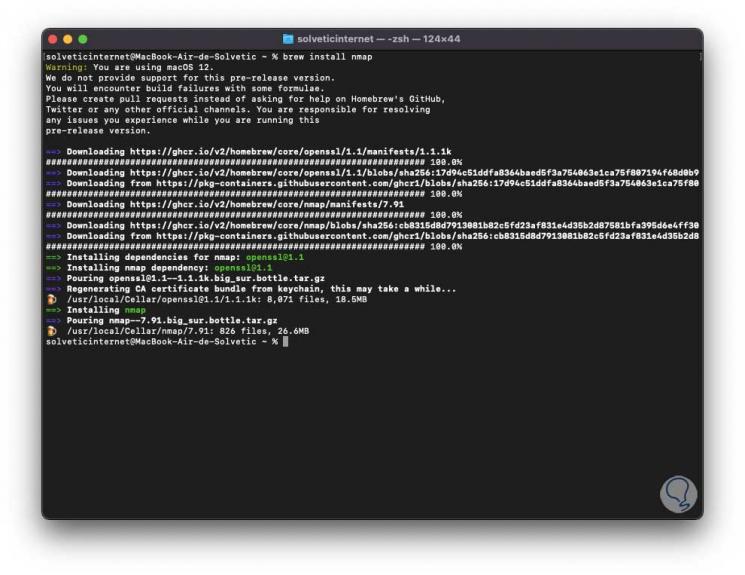
We can see that the utility installation process is taking place, at the end we will see the following:
Step 12
Again we run "nmap" to see what is available:
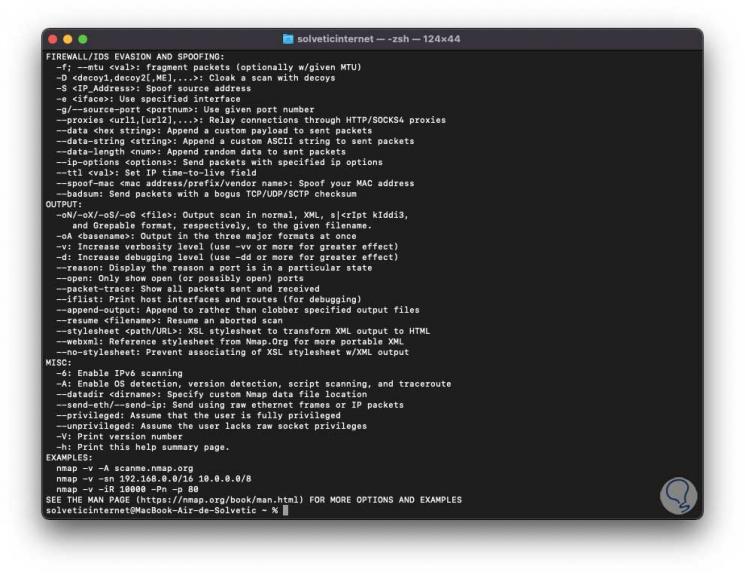
Step 13
Now it is possible to use Nmap to see that it works correctly in macOS Monterey:
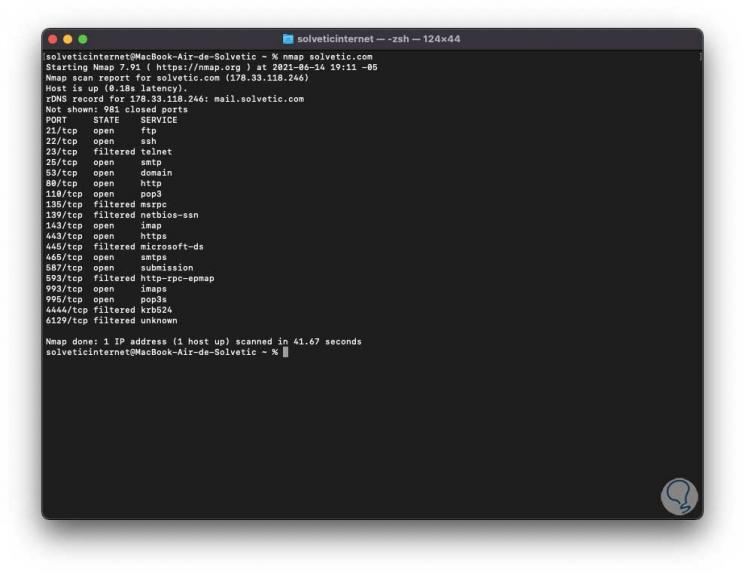
We can see how Homebrew is an ally to install a large number of tools that will make macOS Monterey a much more complete and functional system.