On many occasions we use dual boot with Windows operating systems on our computers to have different versions on a single computer and without resorting to the virtualization method, seeking to get the most out of local hardware resources. When we do this on the boot screen we can select which operating system to start with:
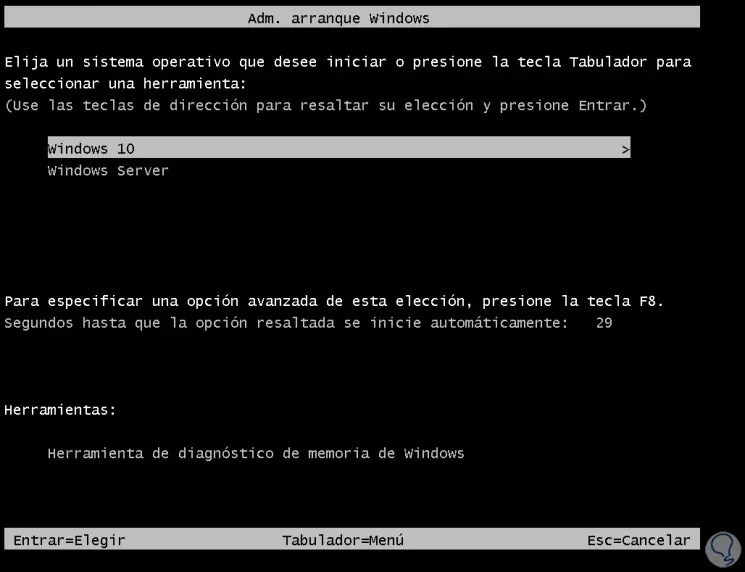
At the bottom we see the remaining amount of time to select the system, this time by default is 30 seconds, but Windows 10 gives us the possibility to change this time and for this we have several alternatives that we will see below..
To stay up to date, remember to subscribe to our YouTube channel! SUBSCRIBE
1. Change Windows 10 boot time from Settings
Step 1
The first option to use will be from Settings, in this case we go to "Start - Settings":
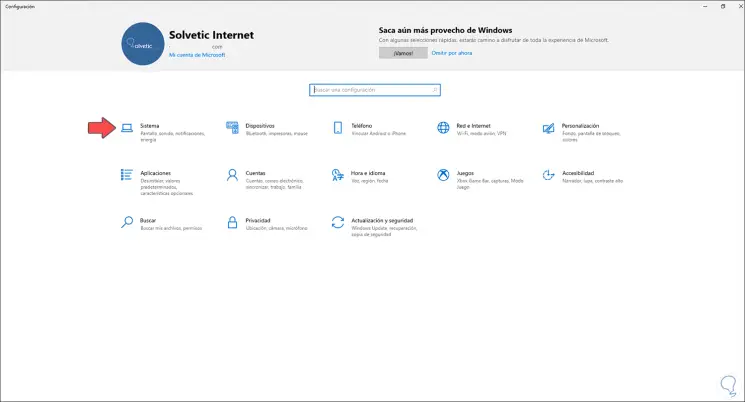
Step 2
There we go to the "System" section:
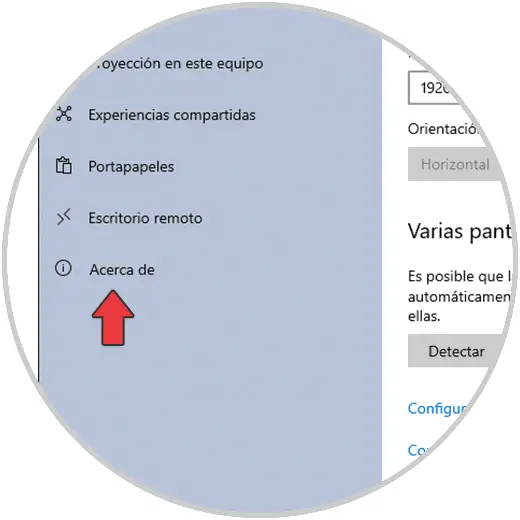
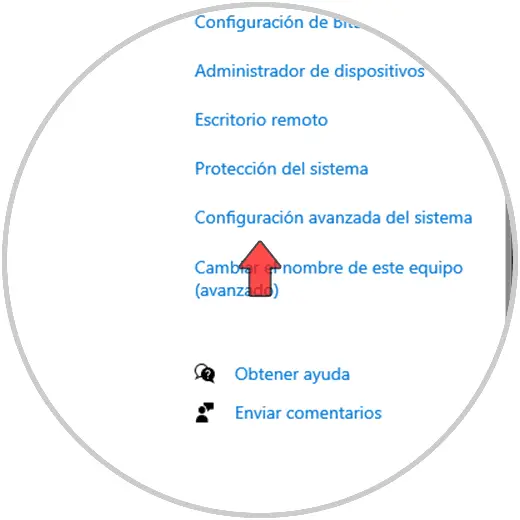
Step 3
There we go to "About" and then we click on the line "Advanced system configuration":
Step 4
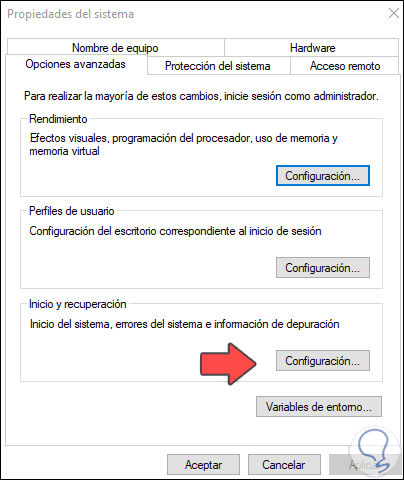
The following window will be displayed:
Step 5
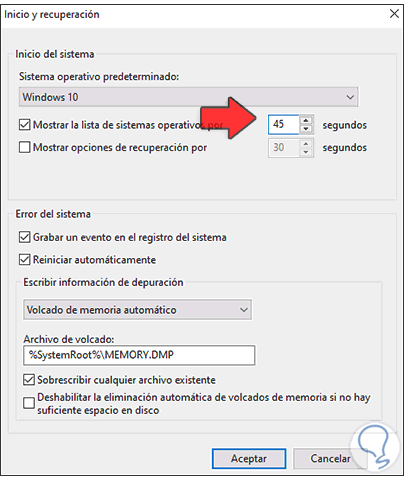
There we are going to click on the "Settings" button in the "Startup and recovery" section, we will see the following:

Step 6
We see that the default time is 30 seconds, we assign the new time in the "Show the list of operating systems by" field. We apply the changes.
2. Change Windows 10 boot time from System
Step 1
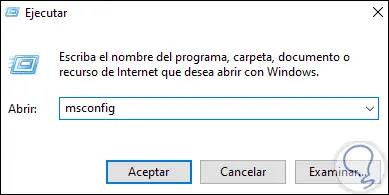
Another of the available methods is directly in the Windows 10 configuration, for this process we open Run and enter the "msconfing" command:
Step 2
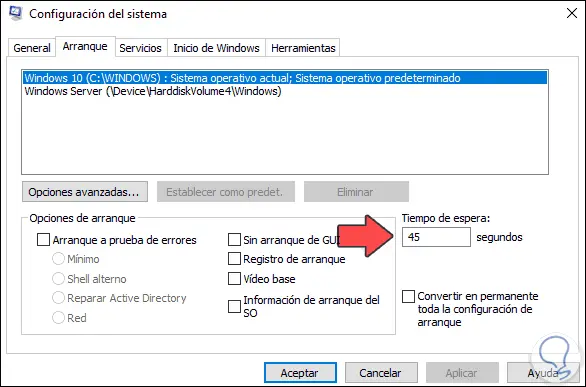
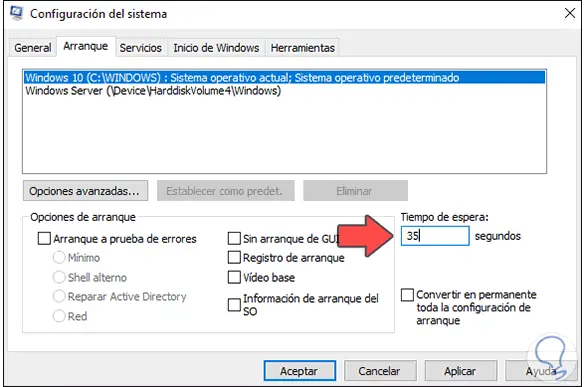
Click on OK and in the displayed window we go to the "Startup" tab and assign the new time in "Waiting time":
Step 3
We edit the desired time:
Step 4
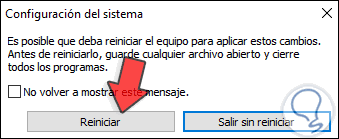
We click on Apply and OK to save the changes. There we click on "Restart" to complete the process.
3. Change Windows 10 boot time from CMD
Step 1
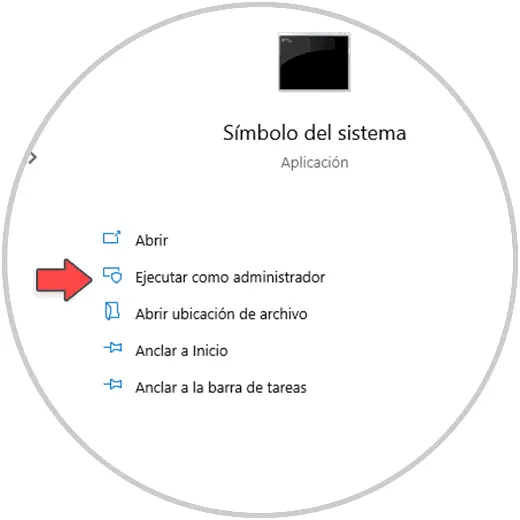
A simple method, but just as functional is to use the CMD console to set the timeout, for this method we access the CMD console as administrators:
Step 2
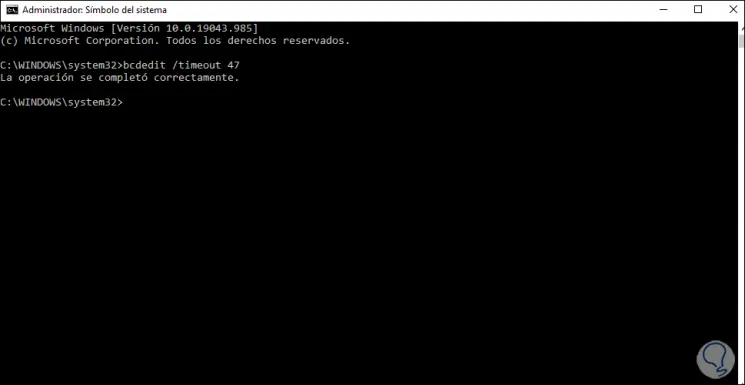
We set the desired time with the syntax:
bcdedit / timeout #
4. Change Windows 10 boot time from advanced startup
Step 1
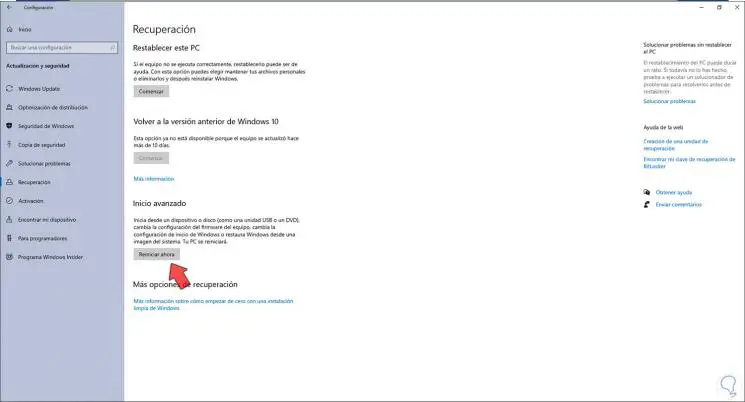
Finally it is possible to apply the time determined directly by Windows and not a custom time, in this method we go to Settings and from Update and security we will go to the "Recovery" section:
Step 2
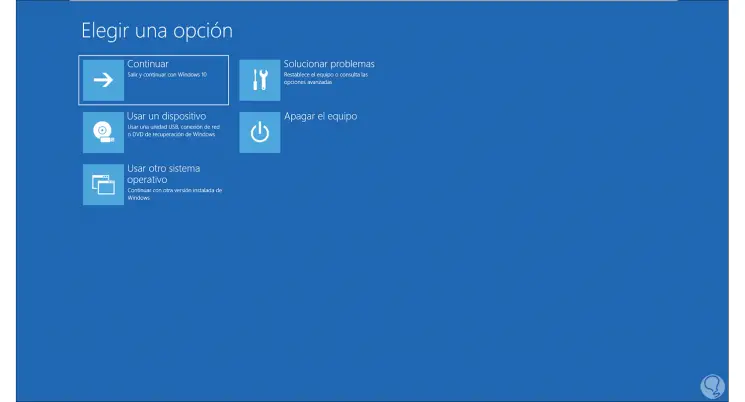
We click on "Restart now" in the "Advanced startup" field, the system will restart and we will see the following:
Step 3
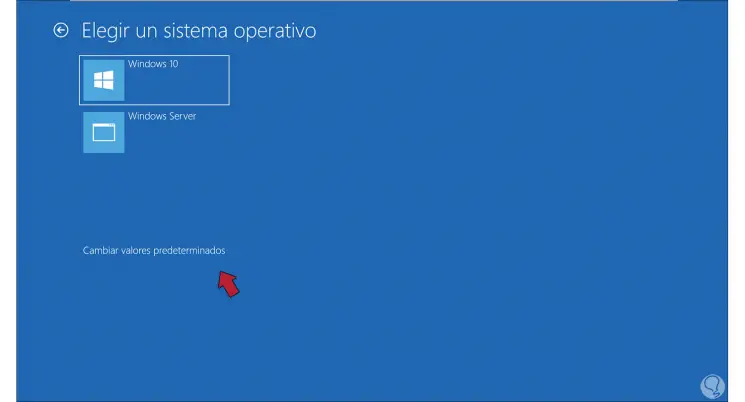
There we click on "Use another operating system", then we will see the following:
Step 4
There we click on "Change default values", then we will see the following options:

Step 5
We will click on "Change the timer" and in the next window we only have to select the new time to select the boot system:

Step 6
We restart Windows 10:

With some of the methods explained by getFastAnswer it is possible to define the time that the systems will be available to log in.