Modern technologies give us the possibility of optimizing administrative tasks as had not happened before, one of these is the ease of creating bootable USB media, thus avoiding the excessive use of DVDs (in some systems 2 or more disks were required), but with a bootable USB device it simplifies not only because of its size and portability but because it is possible to run different operating systems from it..
Through a USB Boot Mac we can take our system where we need it and run it from it without the need for tedious installations since it will start from there. Apple has announced its new macOS 12 or Monterey system and for this reason in getFastAnswer we will explain the step by step to create a bootable or bootable USB media from there.
macOS Monterey compatibility
macOS Monterey is available for the following computers:
- iMac: Late 2015 and later
- Mac Pro: Late 2013 and later
- Mac mini: Late 2014 and later
- MacBook Air: 2015 and later
- MacBook: between 2016 and later
- MacBook Pro - Between 2015 and later
To stay up to date, remember to subscribe to our YouTube channel! SUBSCRIBE
How to create bootable macOS Monterey USB without programs
At this time macOS Monterey is in a beta phase so we must be careful about where we install the system since it can be unstable..
Step 1
To start, we must have the macOS Monterey installer which is available for developers (we can register for free) at the following link:
Apple Developers
Step 2
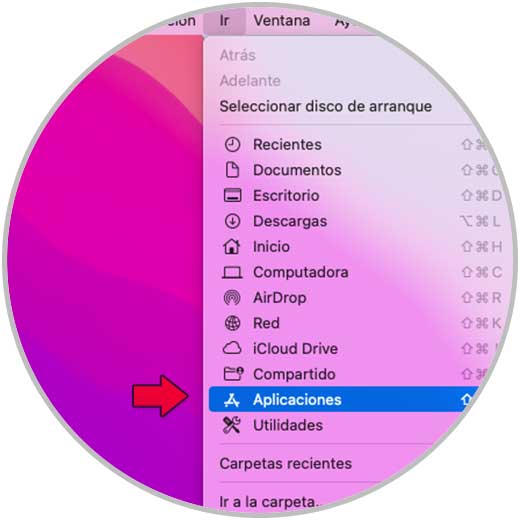
We open Applications in macOS Monterey:
Step 3
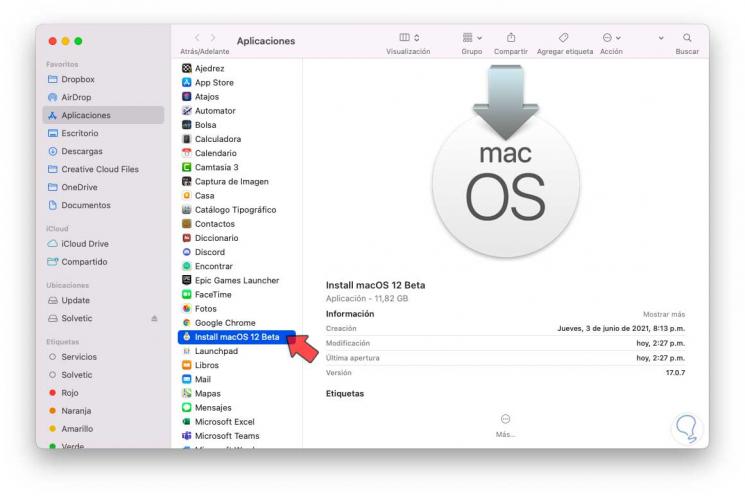
There we validate that the macOS Beta installer (macOS 12) is there:
Step 4
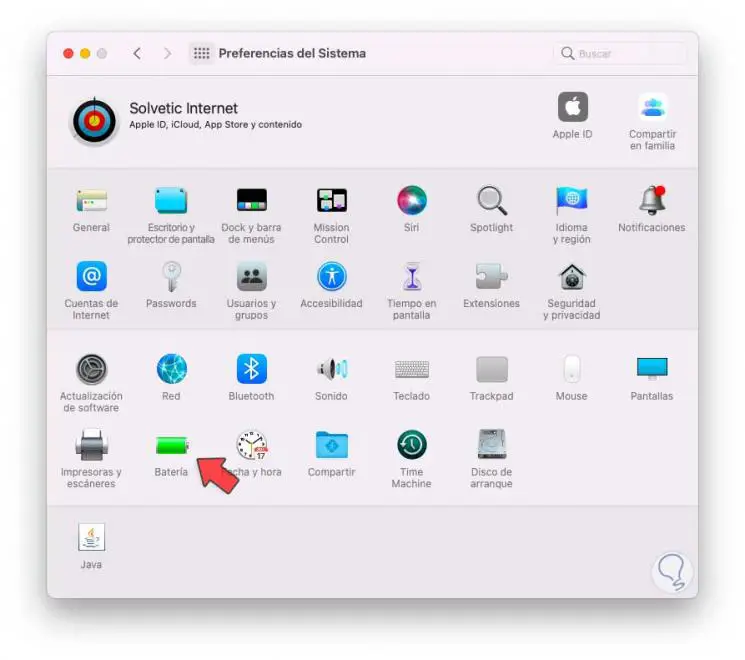
After this, we recommend avoiding that the equipment goes to sleep since this would affect the process of creating the USB media, for this, we open System Preferences:
Step 5
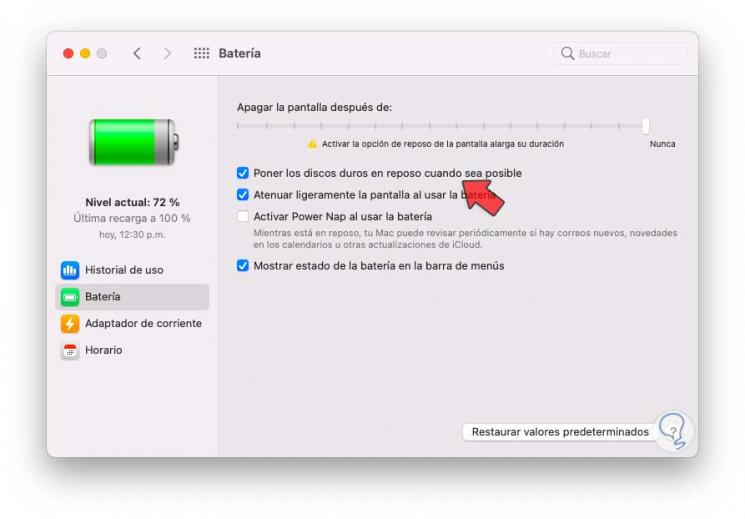
There we go to the "Battery" section, in the next window we go back to Battery and it is possible to uncheck the box "Put the hard drives to sleep when possible" to avoid the suspended state:
Step 6
With this defined, we are going to configure the USB media so that it can be used on Mac computers, this implies correctly configuring its file system and other values, for this we are going to open Disk Utility.
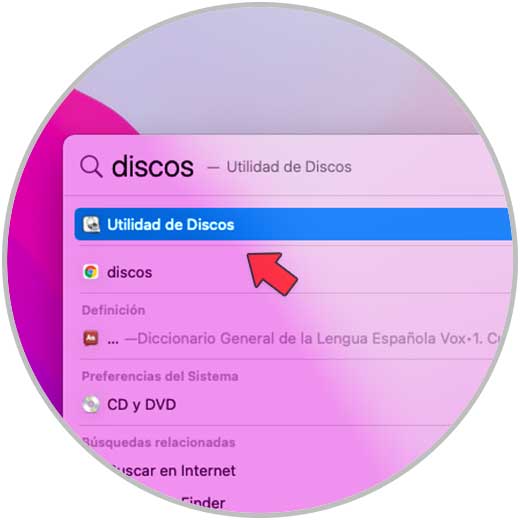
Step 7
In it we will see the following:
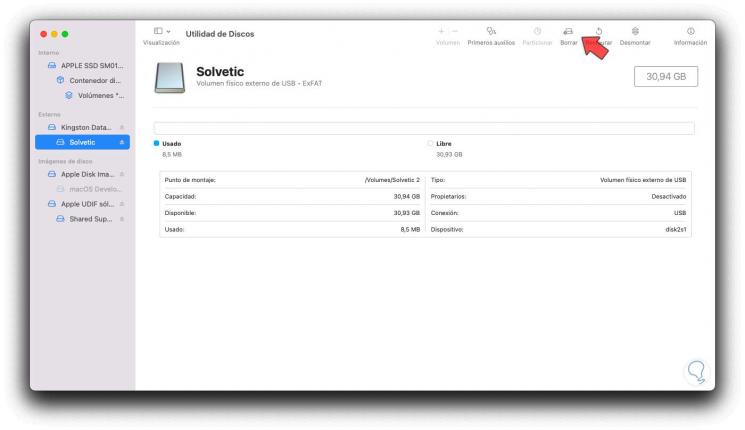
Step 8
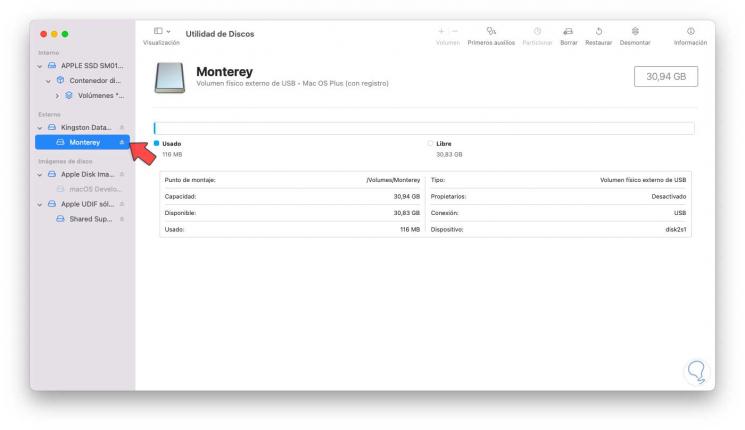
We select the USB and click on "Delete", in the pop-up window we assign a name and set "Mac OS Plus (with registration)":
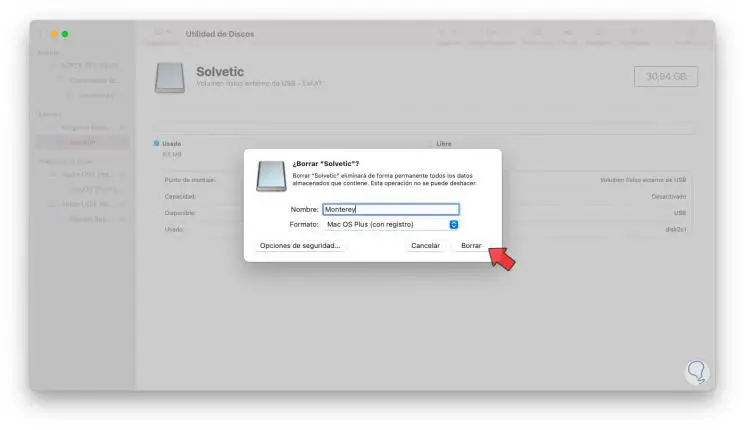
Step 9
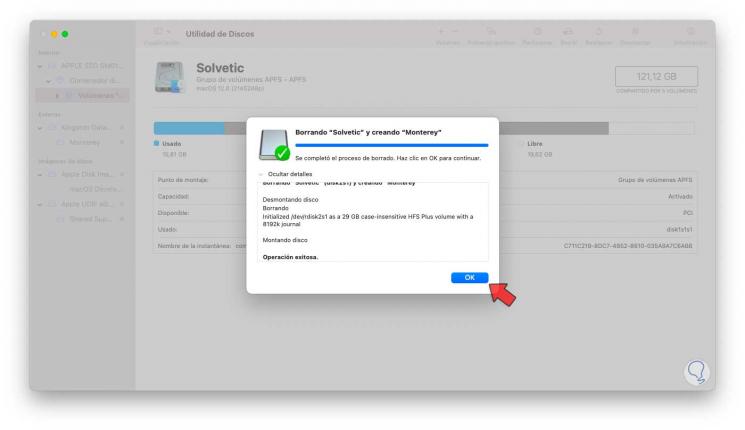
We apply the changes by clicking Delete:
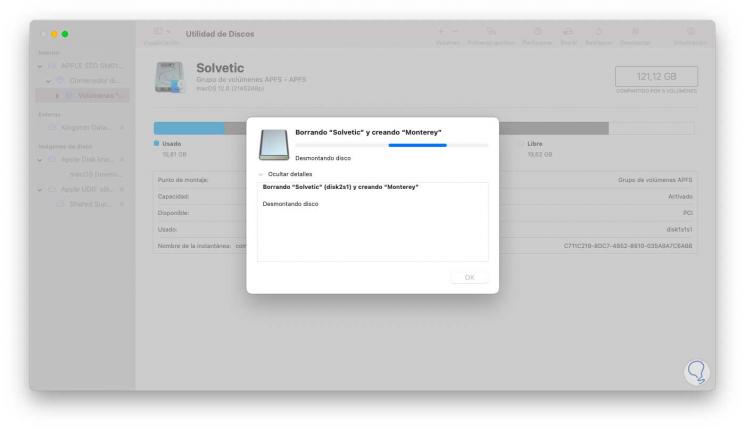
Step 10
At the end we will see the following:
Step 11
We click on the USB to see the new assigned scheme:
Step 12
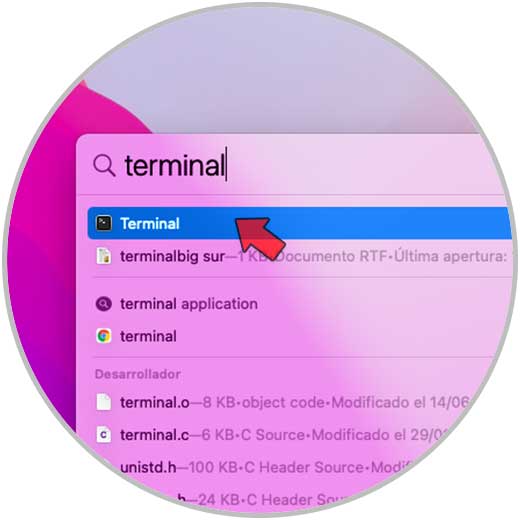
We are ready to create the bootable USB, we open the terminal:
Step 13
In the console we are going to execute the following:
sudo / Applications / Install \ macOS \ 12 \ Beta.app/Contents/Resources/createinstallmedia --volume / Volumes / "USB"
Note
the USB field should be replaced with the name created in the format.
Step 14
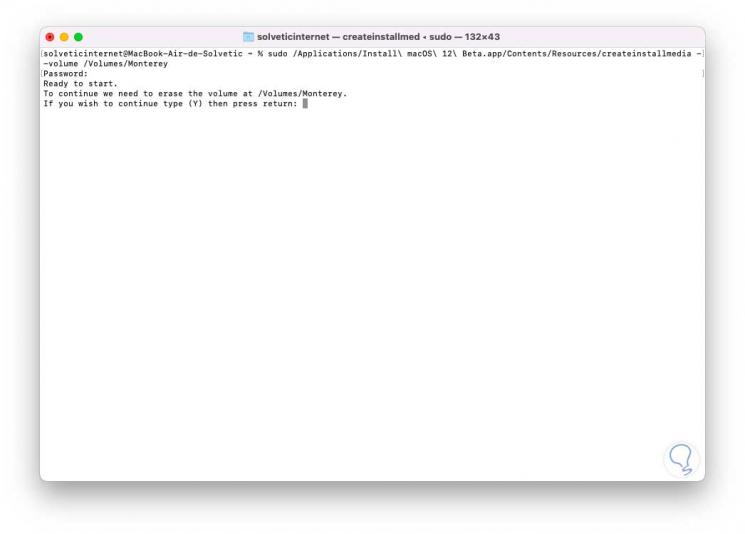
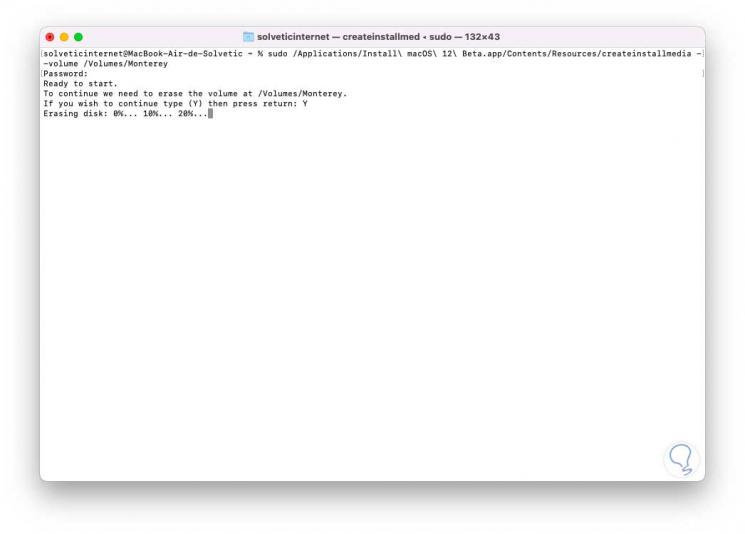
We press Enter, enter the password and we will see the following:
Step 15
We enter the letter Y to create the bootable macOS Monterey USB media, first of all, the disk will be erased:
Step 16
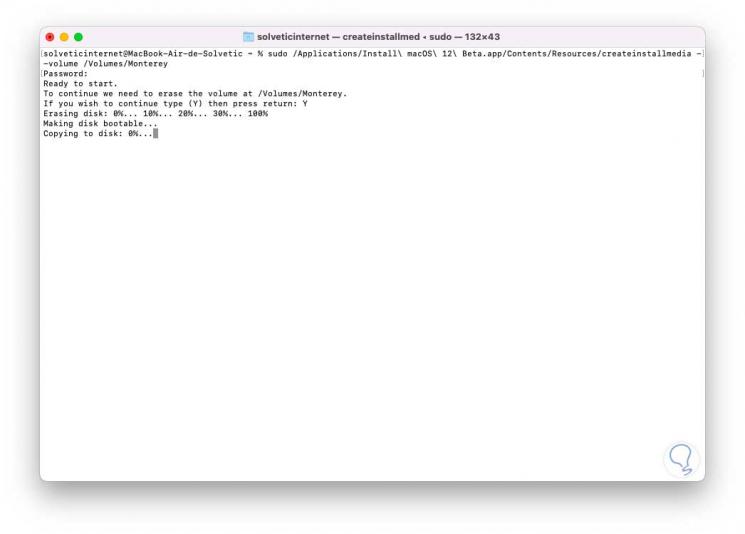
Then the boot configuration process will be done:
Step 17
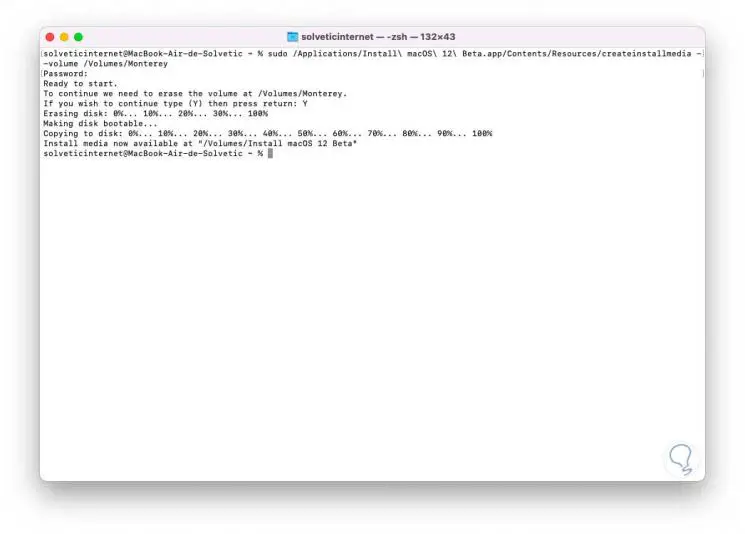
At the end of this process we will see the following:
Step 18
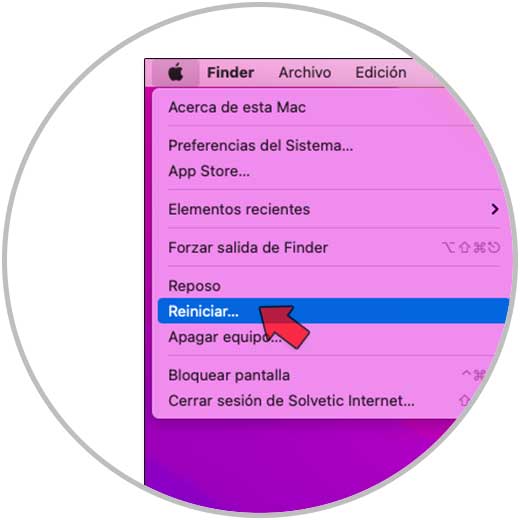
We exit the terminal, finally restart the system to select the USB media that we have created:
Step 19
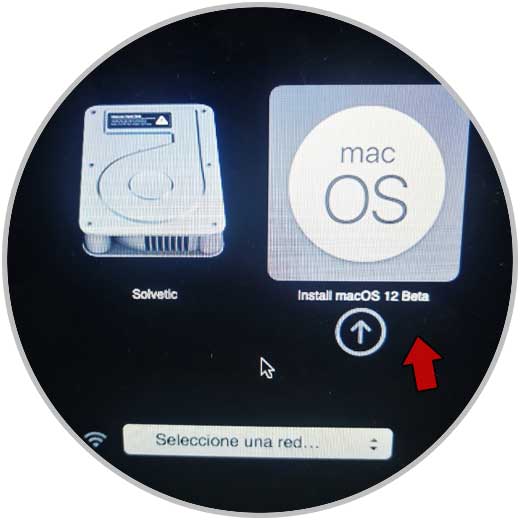
During the restart of macOS Monterey, we press the Option key to display the boot menu which will be similar to this one. In this case we will click on “Install macOS 12 beta” and we will follow the normal macOS installation process.
This is the whole process that we must carry out to create our macOS Monterey installation or boot media without the use of any additional program.