Data is the essence of many companies where each of these data represents the roles of users, daily or monthly sales, payments to suppliers, etc., working with this data should be a careful task since a bad configuration or a control not suitable can trigger serious errors. To help us accurately work on all types of data, MySQL has been developed, well known in the world of databases..
MySQL is a SQL (Structured Query Language) database server developed for two key segments such as heavy-duty, mission-critical production environments and for integration into mass deployment software.
MySQL functions
MySQL is characterized by pillars such as:
- MySQL databases are relational
- MySQL is a free and widely supported database management system
- The MySQL database server is fast, reliable, scalable, and simple to use.
- MySQL Server can be used on client / server or embedded systems
- MySQL software is open source so it is constantly being updated and adding new features
MySQL Features
Among the main features of MySQL we have:
- makes use of a multilayer server design made up of independent modules.
- it can be configured using CMake for portability issues.
- It has been tested with Purify which is a commercial memory leak detector and with the Valgrind utility.
- Makes use of B-tree disk tables (MyISAM) with index compression.
- It has transactional and non-transactional storage engines.
- It has a thread-based memory allocation system.
- It implements hash tables in memory which can work as temporary tables.
- Integrate SQL functions through a class library.
- It can be installed on different operating systems.
- Work with data like FLOAT, DOUBLE, CHAR, VARCHAR, BINARY, VARBINARY, TEXT, BLOB, DATE, TIME, DATETIME, TIMESTAMP, YEAR, SET, ENUM
MySQL objectives
The current version of MySQL is 8.0 (which we will work on in this tutorial) which has functions such as:
- New data dictionary which stores information about the database objects.
- Atomic data definition statements (Atomic DDL).
- Grant tables in mysql system database now function as InnoDB (transactional) tables.
- We found a new caching_sha2_password authentication plugin for access security improvements.
- MySQL now supports roles which are called privilege collections.
- User account categories have now been added.
- MySQL now keeps password history information.
- Now it is possible to create and manage resource groups.
- Table encryption can now be managed globally by defining and applying encryption defaults to each segment.
With all this in mind we will learn how to install MySQL on Windows 10..
To stay up to date, remember to subscribe to our YouTube channel! SUBSCRIBE
How to install MySQL on Windows 10
Step 1
Enter the MySQL URL in the following link:
MySQL
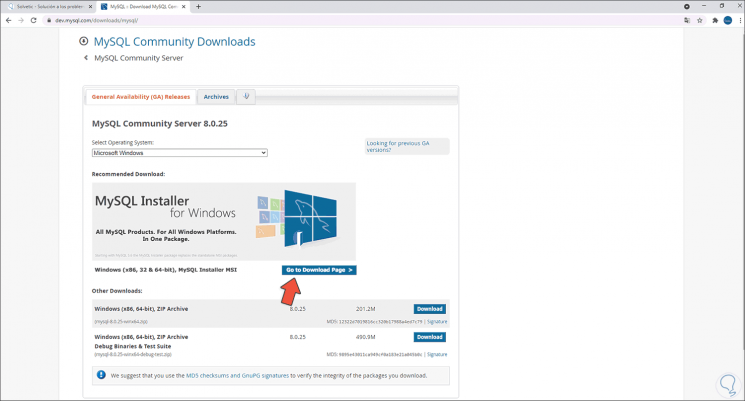
Step 2
We click on "Go to Download page" to download the full version of MySQL:
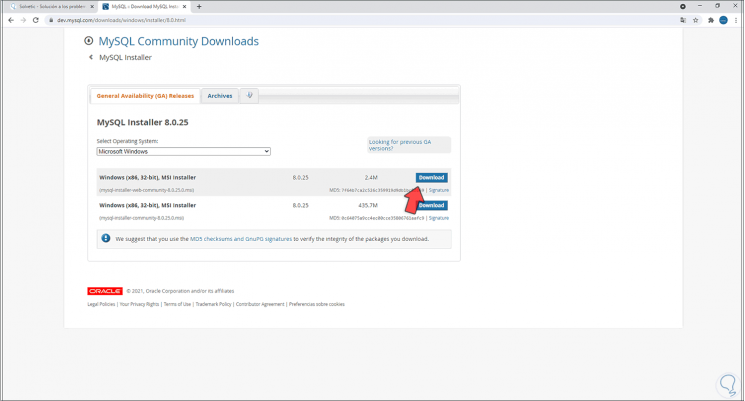
Step 3
There we download the desired installer:
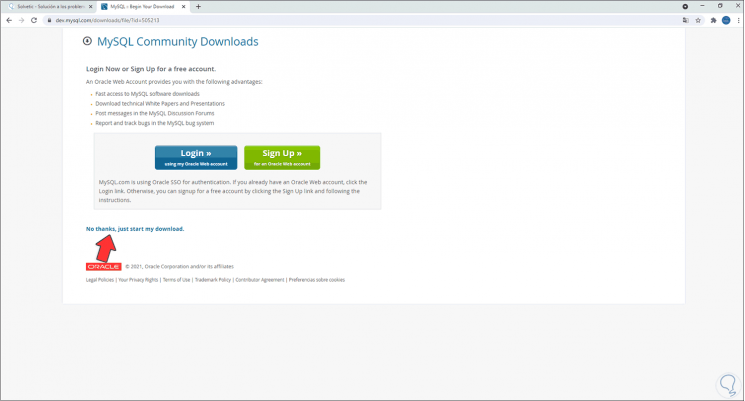
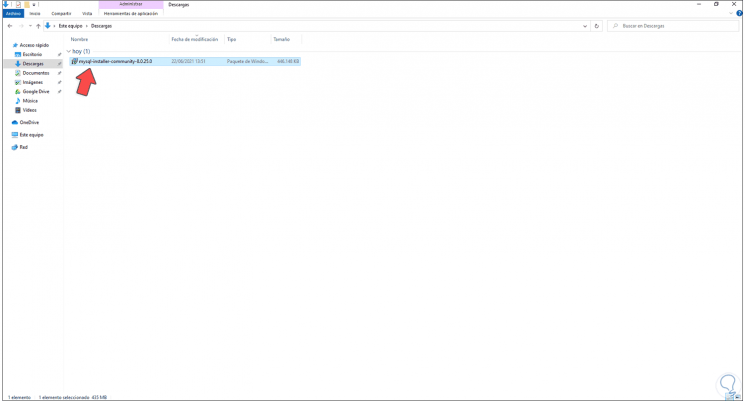
Step 4
We click on "No thanks, just start my download" to start the MySQL download, we validate the download:
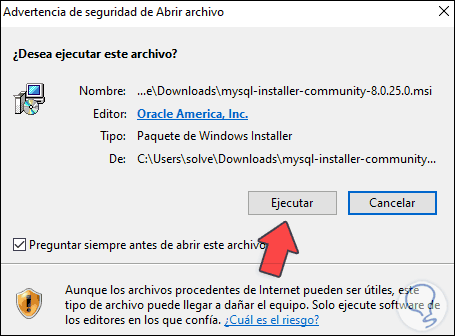
Step 5
We run the MySQL installer on Windows 10 and it will be necessary to confirm the operation:
Step 6
The following window will open:

Step 7
There, the services will be downloaded:
Step 8
After this the following will open:
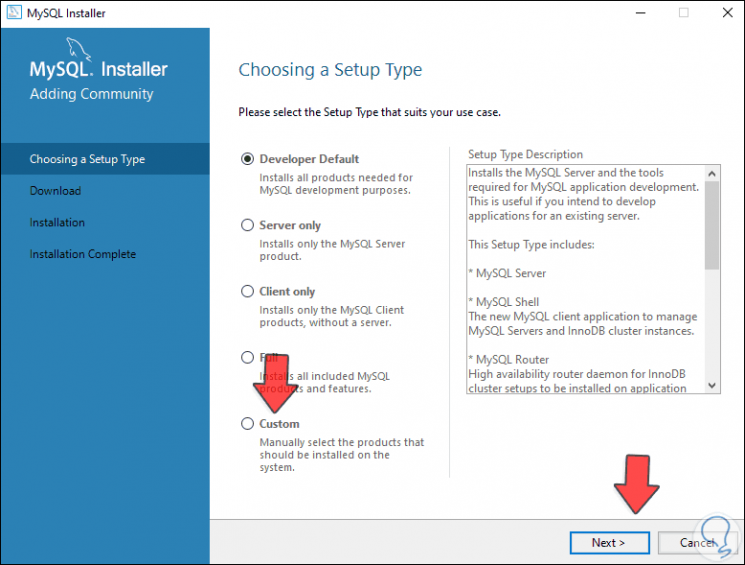
Step 9
We activate the "Custom" box to customize the installation:
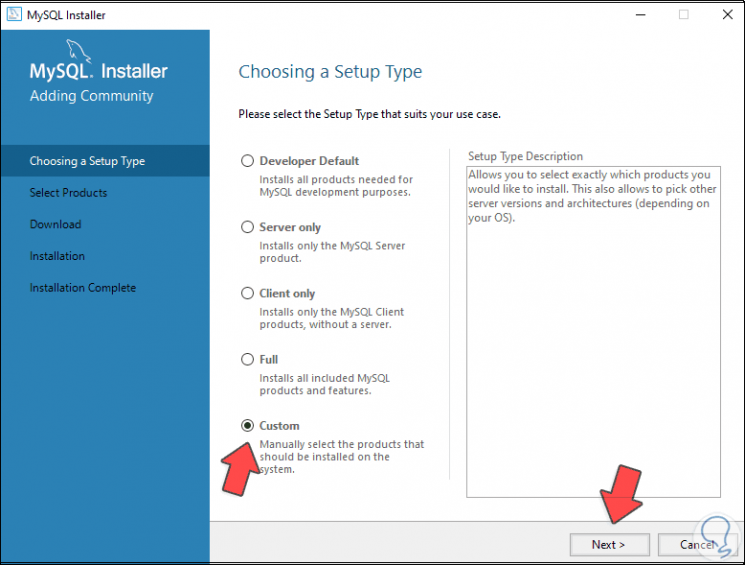
Step 10
We click Next and we are going to add the desired MySQL packages, for this we select the package:
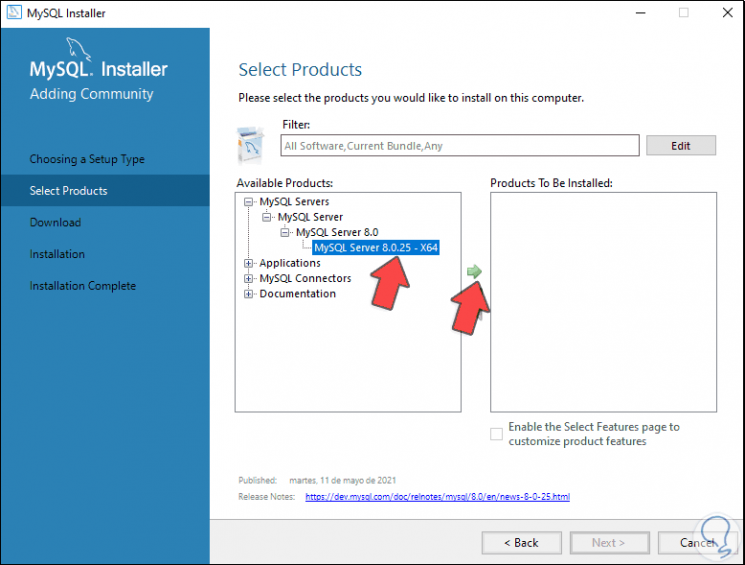
Step 11
Then we integrate it with the central arrow:
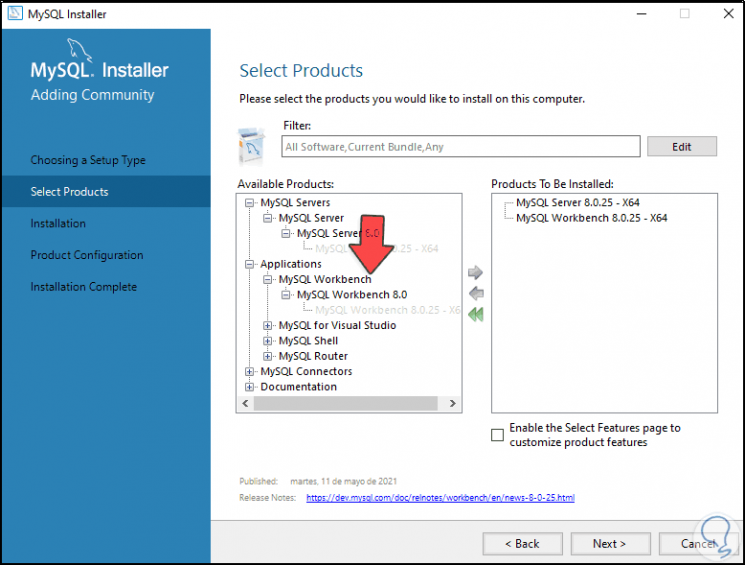
Step 12
We repeat this process with the desired packages such as MySQL Workbench:
Step 13
And then the MySQL Shell:
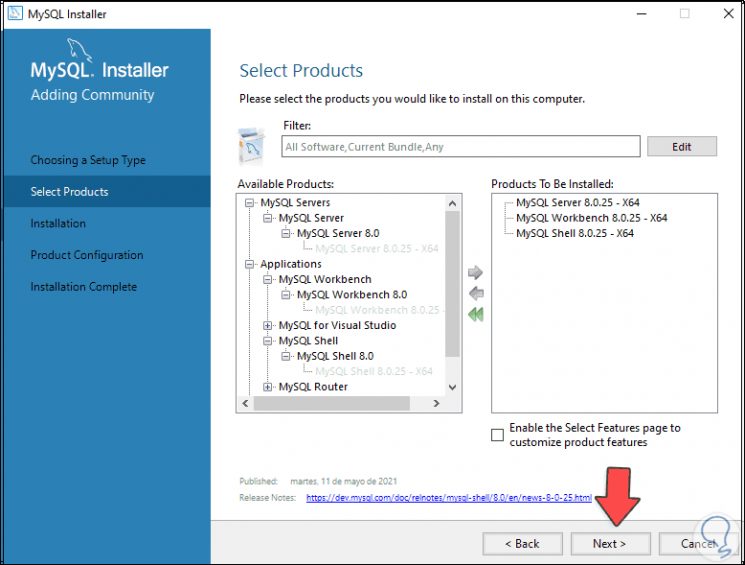
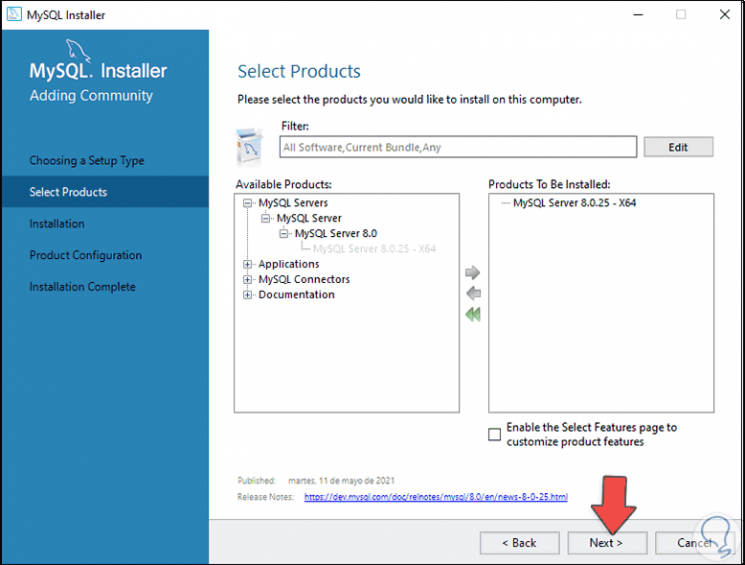
Step 14
We click Next and we will see the selected packages:
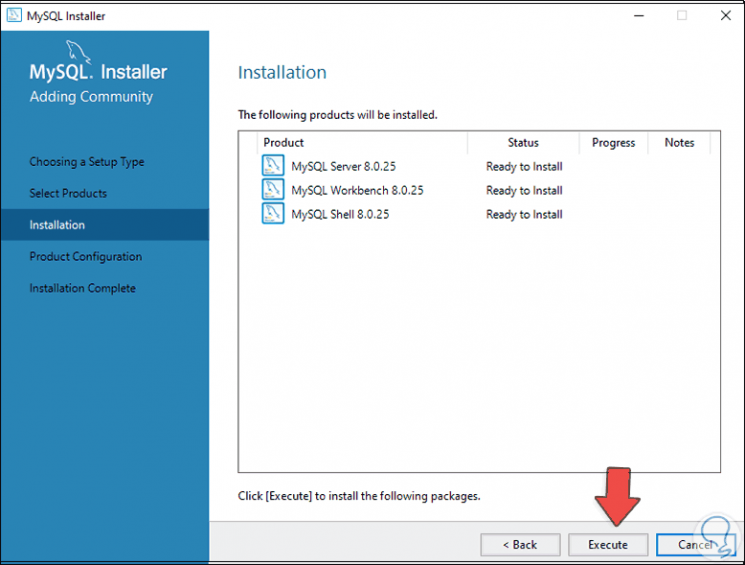
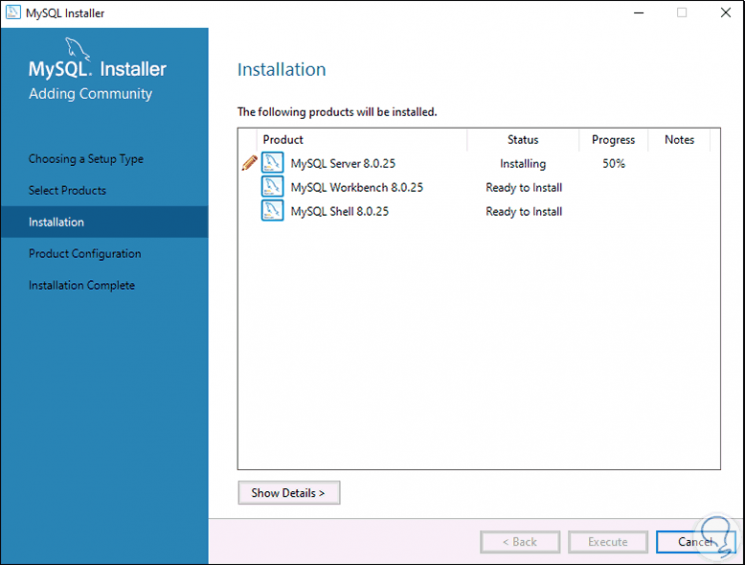
Step 15
We click on "Execute" to download and install these packages:
Step 16
At the end we will see the following:
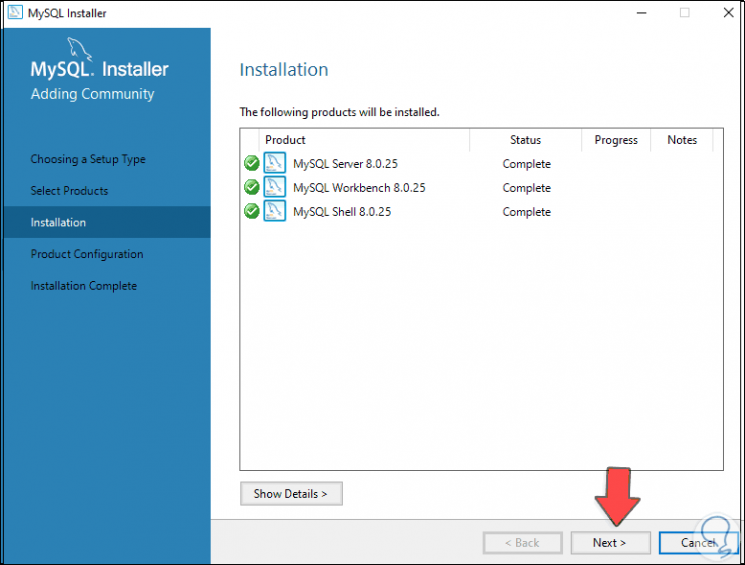
Step 17
We click Next to see the following window:
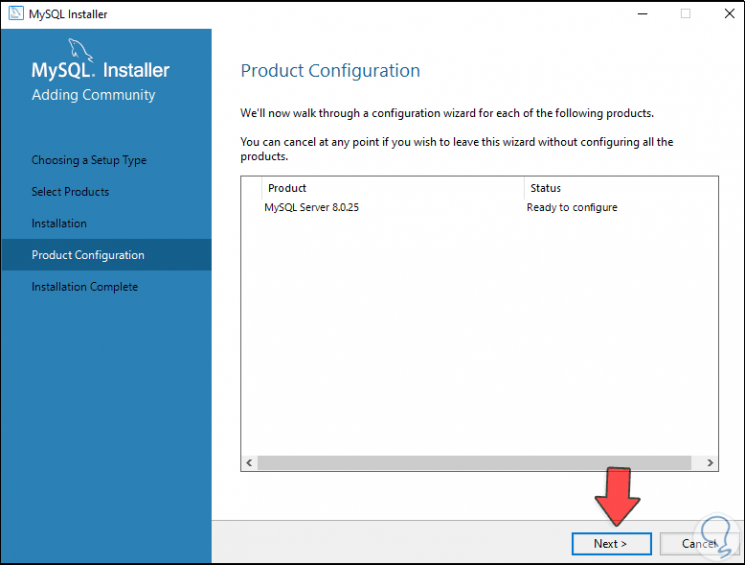
Step 18
In the next window we will see the following configuration:
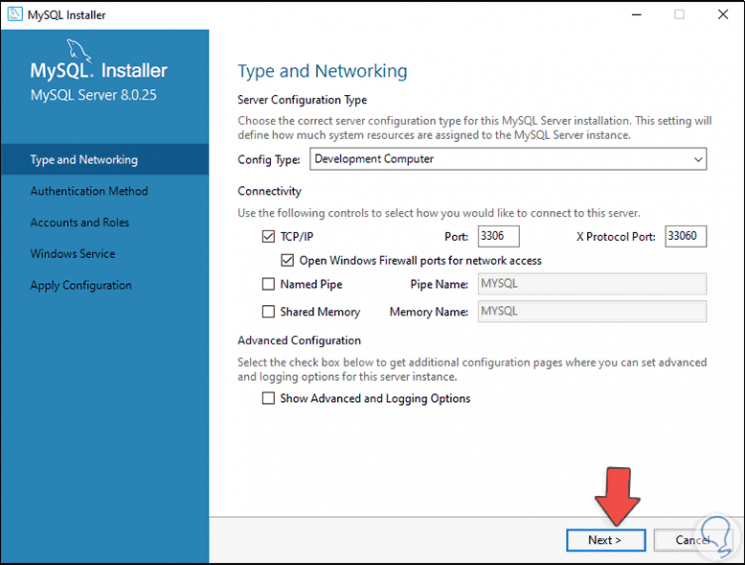
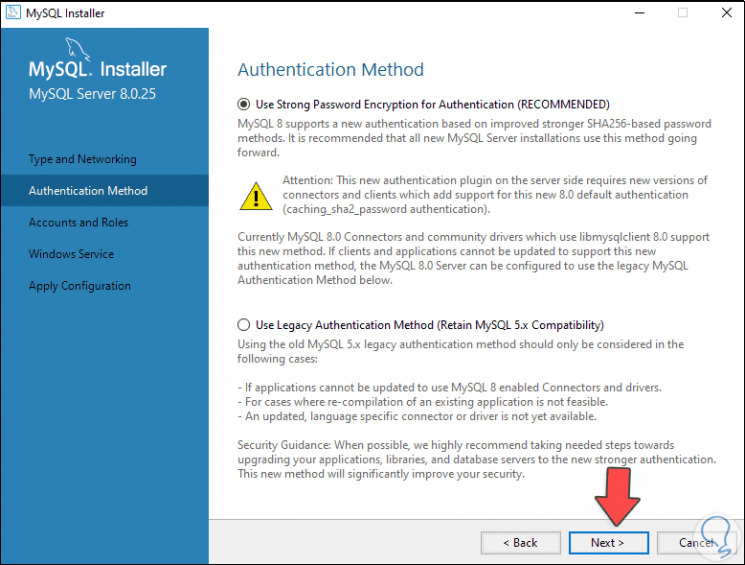
Step 19
We leave the default values and click Next, in the authentication method window we leave the "Use Strong Password Encryption for Authentication" box active:
Step 20
We click Next and we will see the following:
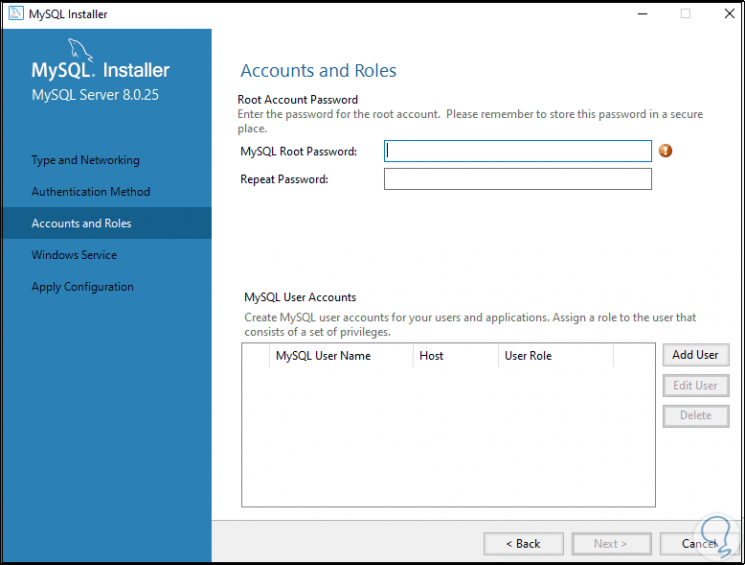
Step 21
We are going to assign the password of the root user:
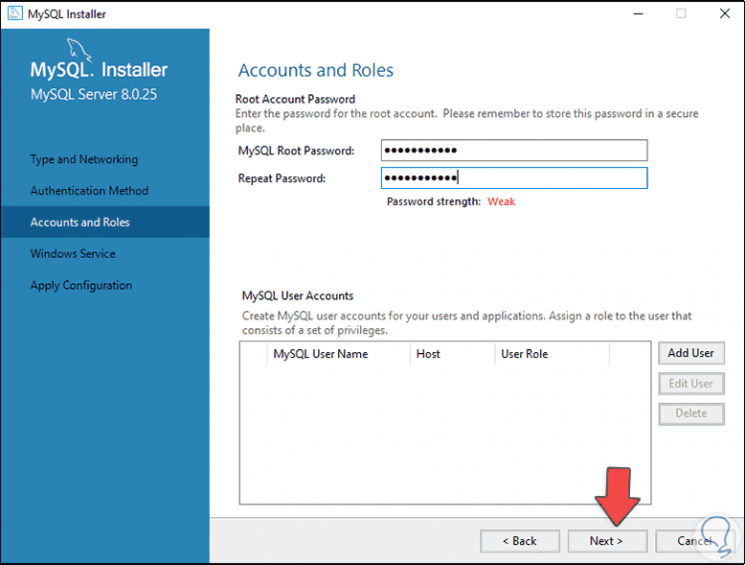
Step 22
We click Next and in the next window we leave the default values:
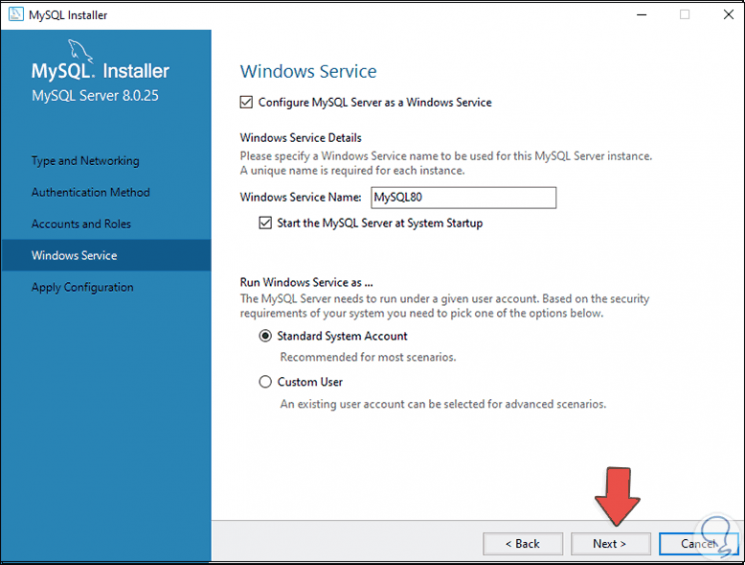
Step 23
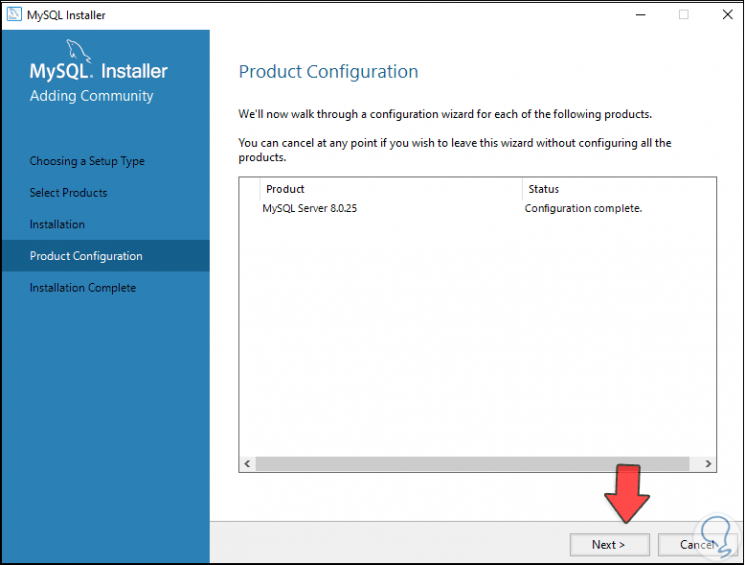
In the next window of the wizard we will see this:
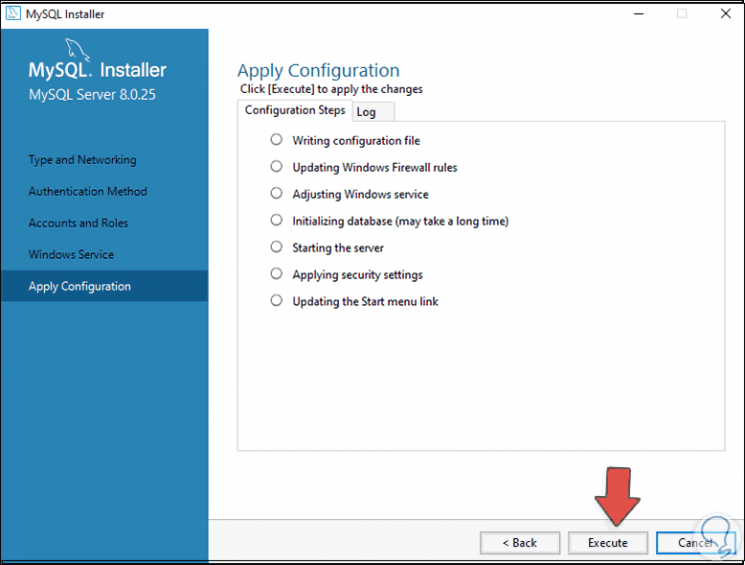
Step 24
We click on "Execute" to complete the MySQL installation process in Windows 10:
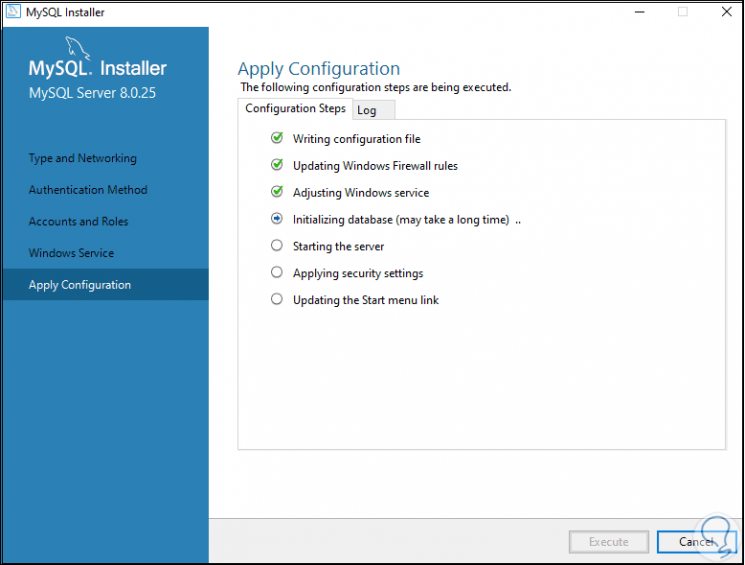
Step 25
At the end we will see this:
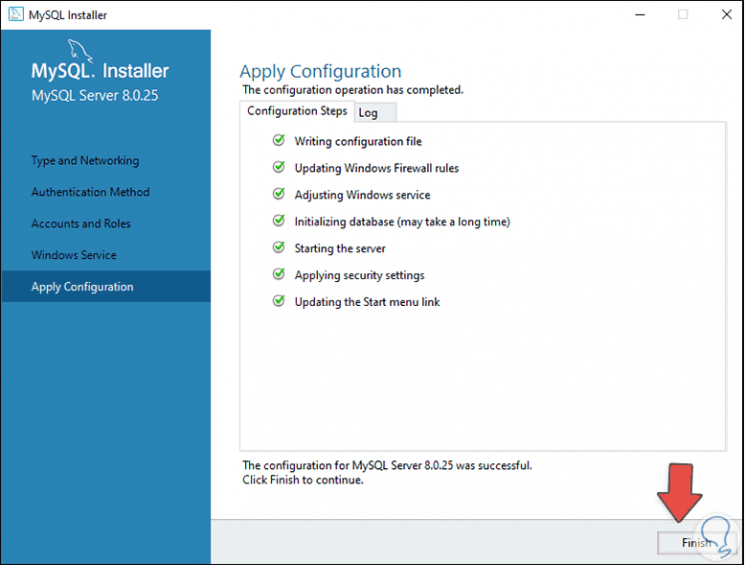
Step 26
We click on "Finish" to complete the installation:
Step 27
By clicking Next we will see the last window of the process:

Step 28
Again we click on Finish, the MySQL Shell will open:
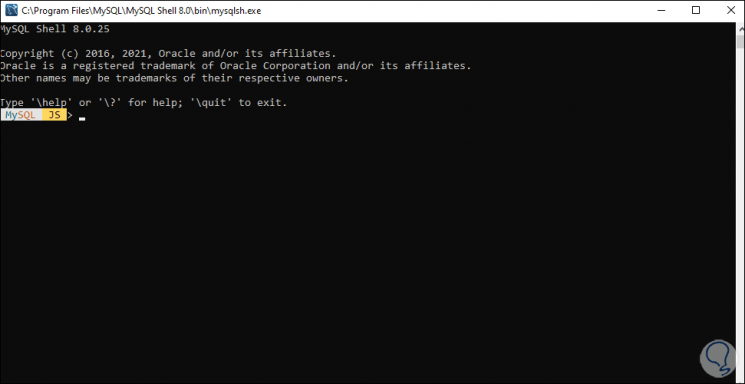
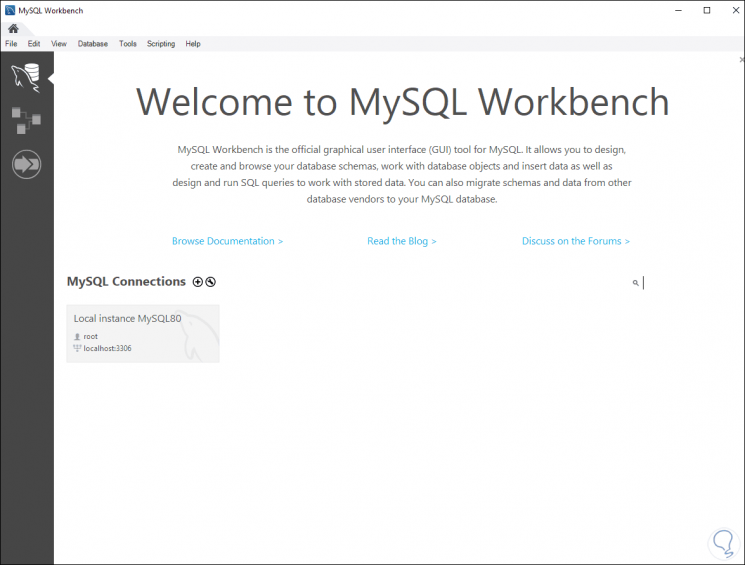
Step 29
Then the MySQL platform will open. We left the platform.
Step 30
We open the File Explorer and go to the path where MySQL has been installed:
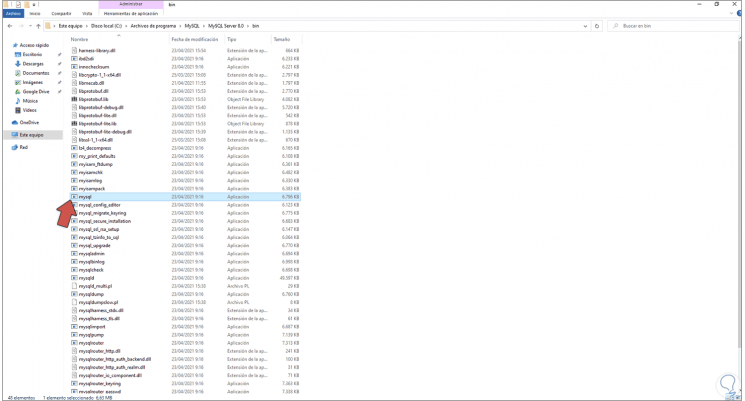
Step 31
It is necessary that this path (where the MySQL executable is), is in the system variables, for this in the home search we enter "environment":
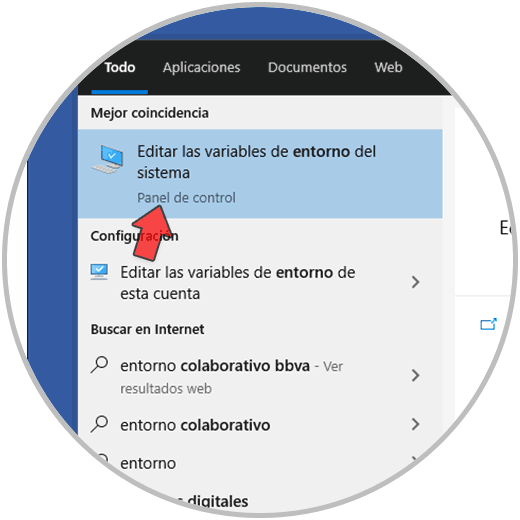
Step 32
We select "Edit the system environment variables" and the following window will open:
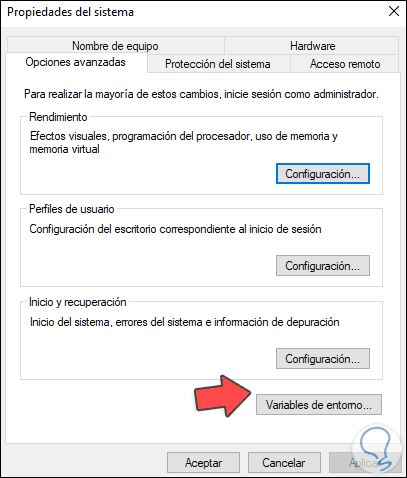
Step 33
We click on "Environment variables" and the following window will open:

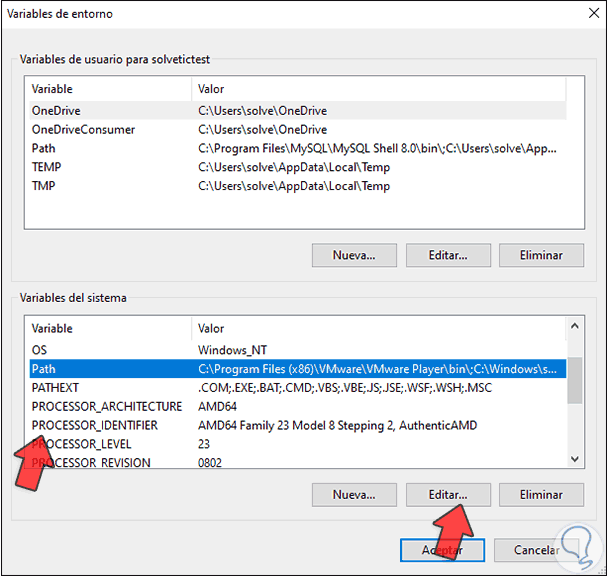
Step 34
There we select the "PATH" line and click on "Edit":
Step 35
We will see the following:
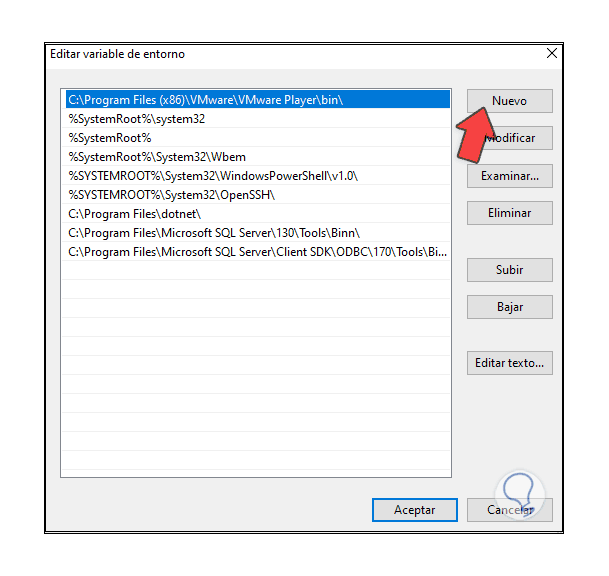
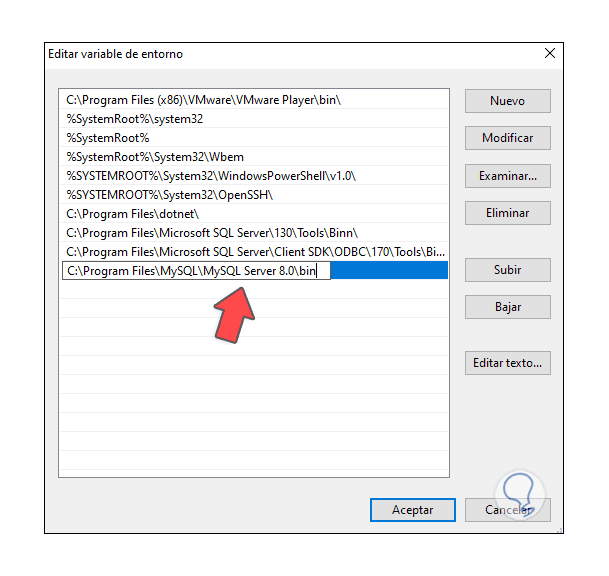
Step 36
We click on "New" and paste the path of MySQL. We apply the changes and close the windows.
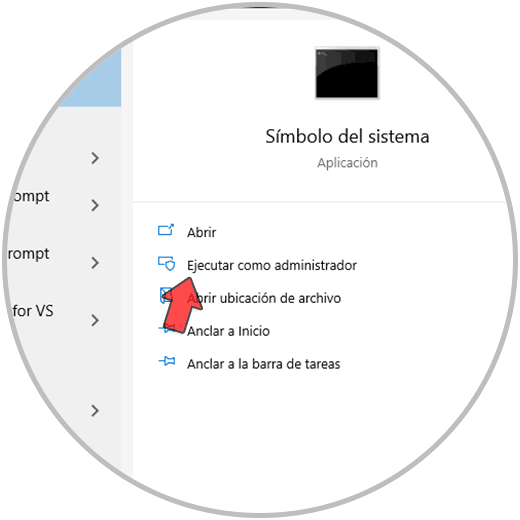
Step 37
Now we access CMD as administrators:
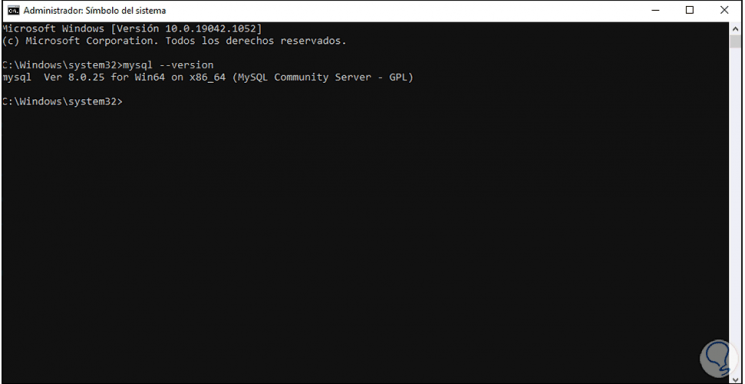
Step 38
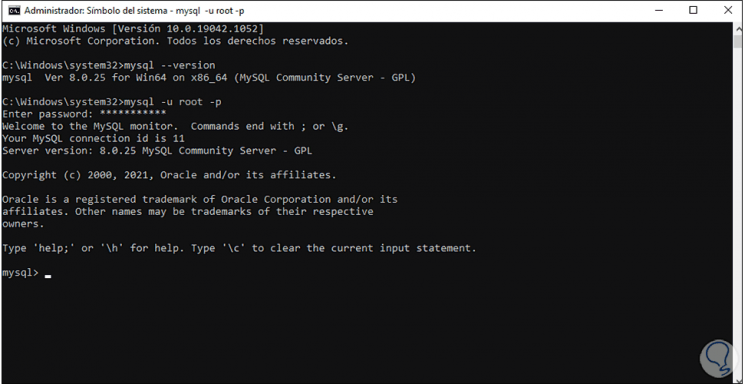
In the console we execute "mysql --version" to see the installed version of MySQL:
Step 39
Now we are going to access MySQL, for this we execute:
mysql -u root -p
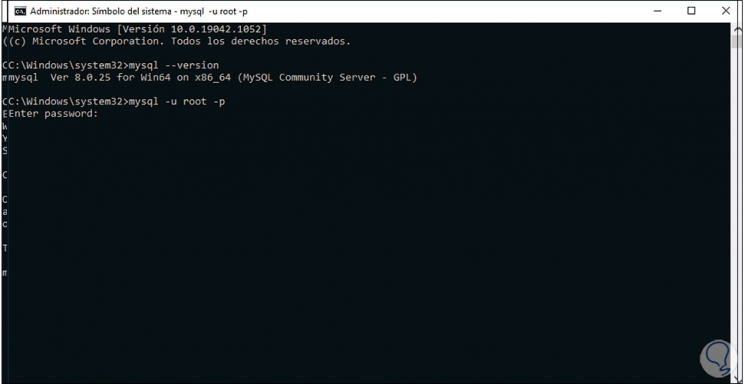
Step 40
We enter the password created in the configuration and we will have access to MySQL in Windows 10:
This has been the whole process to correctly install MySQL on Windows 10 and have a powerful database manager.