
Do we still need to present Todoist, the best Android task management application? Behind a minimalist design, this application brings together a wealth of features to help you organize your schedule. In this tutorial, you will learn how to tame the Todoist interface. As a bonus, we reveal some secrets hidden within the app to better master this powerful task manager..
Basic Todoist Functions
We all once wondered how best to organize the 86,400 seconds of a day. To stop chasing time, the first instinct must be to learn how to manage it by setting priorities and a list of your goals. You still have to have the right tools.
The advent of digital today makes it possible to manage your schedule very easily. No need to burden your mind or memory with chores to do later. Task manager apps are a great way to make sure you don't forget anything and improve your productivity..
There are a plethora of applications in the Play Store to manage your schedule. Todoist available on multiple platforms (Windows, Mac, iOs, Android) certainly offers the best in the field today. For example, you will be able to create tasks even without an internet connection , set up all kinds of reminders (notifications, SMS, emails), prioritize the most important things and directly follow the objectives achieved.
- To get started, open the Google Play Store
- Install Todoist on your Android smartphone
- You will then be asked to create an account. If you wish, you can use your Google account credentials
During the first launch the application appears quite empty. Rest assured Todoist is particularly easy to learn. Its well thought out ergonomics and minimalist design are very pleasant to use..
- Click the yellow + button
- Enter the task to do without forgetting to add the due date. For this you can use everyday language. For example you can type dentist Friday at 4 p.m.
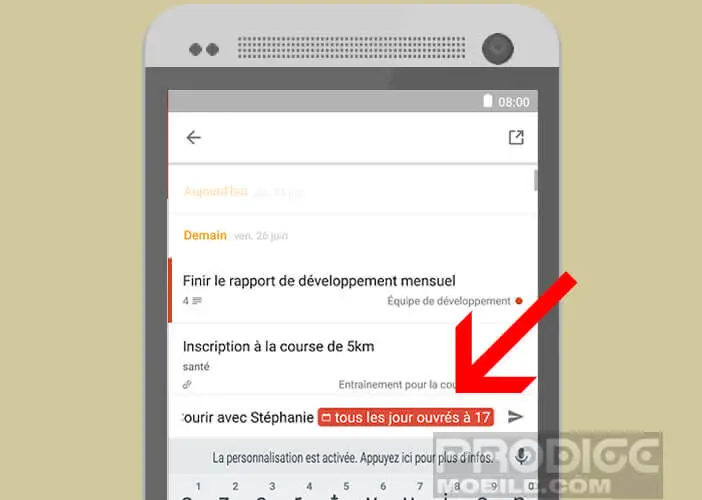
- Save your new mission by clicking on the little arrow
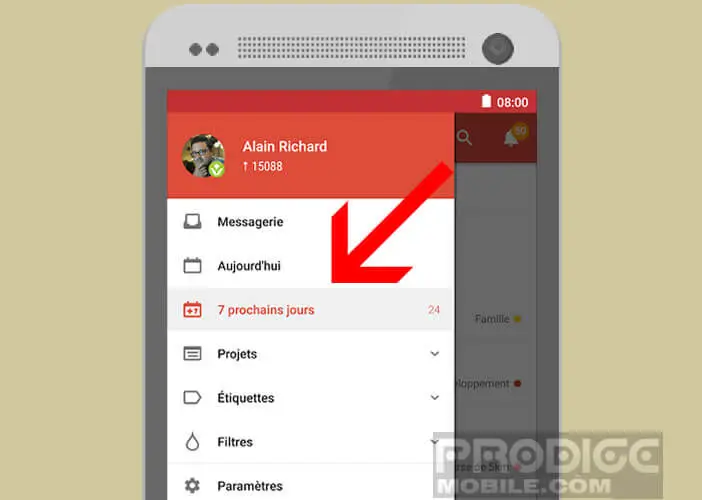
- Then return to the start page by opening the left pane and selecting the Next 7 days item
- To move a task, all you have to do is select it by keeping your finger pressed on it and then drag it up or down the list according to its importance.
- To erase a task, you will have to put your finger on it and make a movement from left to right
Create subtasks
The importance of prioritization cannot be stressed enough. Try to separate important jobs into multiple subtasks. This will make it easier to distinguish what is urgent and what is not. To do this, just follow this tutorial
- Create your main task using the method described above
- Then enter your subtasks
- Go back to the main Todoist page
- Select your subtask by swiping your finger from right to left
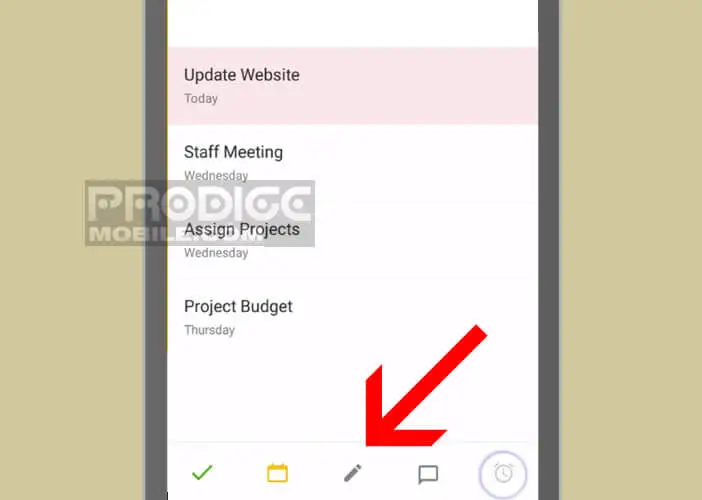
- Click on the pencil icon
- Press the Parent option then select the main task
Set up recurring dates
Depending on the mission that falls to you, you will certainly have to perform repetitive tasks . Rather than having to enter the same job on a regular basis, let's see how to assign a recurring date to a particular job. Once it is over, it will repeat automatically on the next previously defined date.
- Select a recurring task
- Open the submenu
- Choose from the list the option the recurring date of your choice
Note that it is also possible to set up a recurring task date using natural language. To do this, you just need to add one of the following terms in the description field:
- Every day at 2:00 p.m.
- Every Fri, Thu at 10:30 am
- Each 15
- Every last day
- Every April 10
- Every working day
- Every 4 days
- Everyday
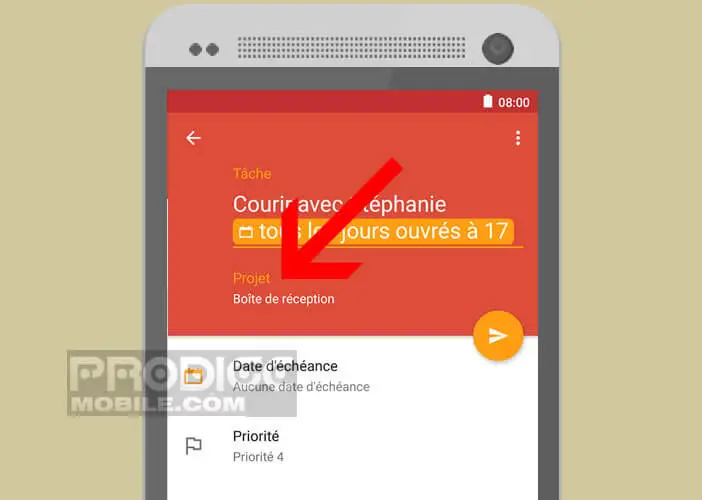
Integrate a task into a project
After several weeks of using Todoist, you will definitely feel the urge to create a project. Moreover, their usefulness no longer needs to be demonstrated, in particular when it comes to managing dozens of tasks. Do not hesitate to integrate them into your organizational plan.
- Launch the Todoist app
- Select a task
- Click on the pencil icon at the bottom of the screen
- Place your finger on the Project label. By default, tasks are integrated in the inbox
- Then select the project of your choice from the list
This type of organization allows different tasks to be grouped under the same category. To view all the actions, all you have to do is open the general pane, then select the Project heading then the name of the one that interests you.
Save your projects
As you know, no one is immune to error or false manipulation. It is therefore advisable to regularly make backups of these projects in order to be able to recover these tasks in the event of accidental deletion. This functionality is integrated directly into the Todoist application
- Click on the Menu button
- Tap Settings
- Select the Backup option
- Click on the date of the backup you want to recover
- Download the ZIP file containing all the information of your projects
- Then keep this file in a safe link
If needed, you can use one of these files to restore accidentally deleted jobs. To do this, you will need to use the import function from a template available from the application settings.
Save time with Todoist shortcuts
Todoist has several shortcuts to help you increase your productivity. These will allow you to go faster and be more efficient even on the go. For your information, here are the most popular shortcuts for Todoist.
Assign a project to a task via a shortcut
Adding a task is a very quick operation to implement. Thanks to the Quick Add tool, you can add a due date, add a label or integrate it into a project without even having to open a second screen or a menu of options.
- Start Todoist
- Click on the + button to create a new task
- At the end of your task description, add the # symbol and type the first letters of your project name
- Select its name from the list or click on the add button to create a new one
Add a collaborator
Delegating tasks that you don't have time to do will help you reach your goals faster. Unfortunately, getting rid of a job is not an easy exercise. Communication plays a major role. Thanks to Todoist, you can easily assign a particular mission to one of your team members.
- Create a new task
- Add the + symbol in the description field, then select the name of one of your colleagues from the list.
- Then click on the save button
The tool will automatically recognize each information entered and notify your employee of the creation of a new task.