Cleaning may be a hobby for very few people, but there are good reasons to keep your PC clean - even if you don't mind the dust. For the how and why, read on. Spoiler: even more speed is provided!
Why clean at all?
Well, there are, of course, obvious reasons to keep your computer clean - a four-year-old sodden computer, full of dust, sticky leftover food, and splashed coffee is just not a pretty sight. But it doesn't bother everyone either, as everyone knows who has worked in a company with many colleagues. However, the health aspects should not leave anyone indifferent: computers collect vast amounts of dust that not everyone gets, and myriads of germs live on input devices.
Above all, however, it is the moving parts and cooling systems that really scream for a mop: a fan that is moistened with dust is much louder than its clean counterpart. And it can't keep up with cooling either. Dirty heat sinks also suffer massive losses in performance. In 90 percent of the cases, you may not even care about the cooling performance - however: The performance of PCs is slowed down not least by the development of heat. Critical temperature values usually lead to graphics and computing power being throttled. The other way around, of course, would also be a problem: If the computing power is not throttled, for example by your manual intervention, excessively high temperatures could damage the hardware permanently..
Which parts are important?
Let's start at the top of the desk: The monitor is probably obvious, coffee splashes, droplets from sneezing, prints from colleague Fettfinger, who absolutely had to show something on the screen, slain insects - the portfolio is extensive and obscures the view. The mouse and keyboard are used the most, nobody can avoid dirt. On the one hand, this is important for hygienic reasons: Fats and food residues from the fingers land on the keys, germs in turn land on this film and the fingers then pick them up again. From there, they land all too quickly on the tongue (turn the page) or in the eye.
 Finger on the mouse and then in the eye? Better not!
 The tower with several construction sites is usually waiting under the desk. First of all, the case fans at the front and rear, as well as any built-in foam filters, are very important. The latter can usually be found in the front of the housing, as the air is usually directed through the housing from the front to the back. Alternatively, at least a fine-meshed perforated grille should sit in front of the front fan. Last but not least, any openings in the housing for cables are also threatened by dust..
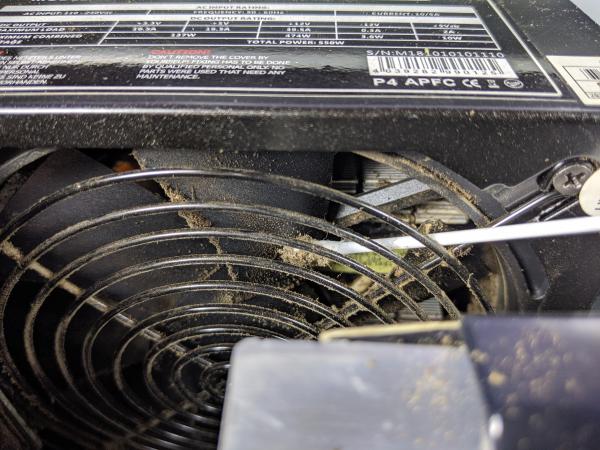
 Dust catcher number 1: case fans and filters.
 There are other active cooling systems (fans) in the case, usually for the CPU, the GPU on the graphics card and the power supply unit. And it is precisely these that are often the source of annoying noises. But the passive heat sinks of all components are also gradually collecting dust. Ultimately, however, there will be something, less tragic, dust everywhere - from cables and hard drives to RAM modules.
Clean the screen
It is best to start with the monitor - that makes you happy immediately! But there are a few things to consider here: First, you should disconnect the device from the power supply and let it cool down. It is best to use a clean (!) Microfiber cloth for cleaning, as many screens scratch very quickly if there are dirt particles on the cloth or if you use kitchen paper or the like. Caution is also required with the cleaning fluid: things like glass and all-purpose cleaners are taboo anyway, but even pure tap water can leave traces of (lime) and streaks on the device. The best thing to do is to get an LCD screen cleaning kit, which you can find at both electronics stores and most hardware stores. Alternatively, distilled water also works. 1:1 mixed with household vinegar you even get a real alternative to purchased cleaning solutions.
When cleaning yourself, you have to avoid two things: moisture and too much pressure. The cloth should be slightly damp, but not dripping wet. When wiping, you have to be careful with the pressure, LCD screens are very sensitive. You can see this immediately when you press the display lightly with your finger - you will immediately see worrying "interplay of colors". It is better to wipe more often than to apply pressure.
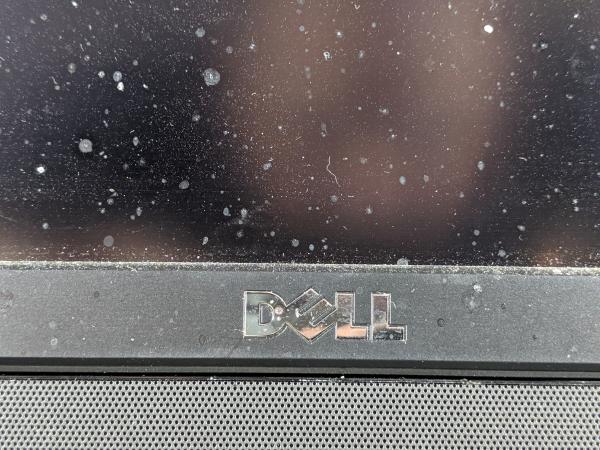 Only when the monitor is off can you see the full extent - even if this condition is due to years under the table.
 Clean input devices
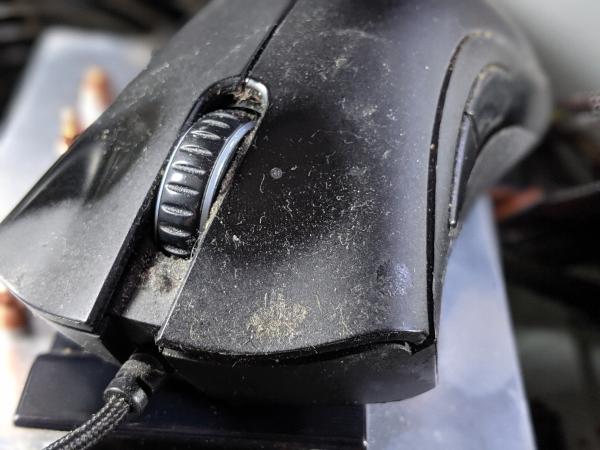
Mice are usually quite insensitive and you don't need any special materials and you can simply wash them off the outside with water. In the unlikely event that you still have an (ancient) mouse with a ball inside, the real tip is: invest in an up-to-date mouse. Above all, you should immediately open the lower flap, remove the mouse ball and clean it - as well as the small rollers that are moved by the ball. With more recent mice, the model is very important, but mostly you can't take them apart - only a needle or something similar can help against dust under the buttons and on the mouse wheel. Above all, however, dirt accumulates on the sliding surfaces - you should also clean your desk / mouse pad accordingly.
You could spend half a weekend with the keyboard. With mechanical keyboards you can pull off all the keys individually and remove every speck of dust, with cheaper keyboards it is sometimes at least possible to unscrew the housing and remove the interior. There is often a thin rubber mat between the buttons and the circuit board that you can wipe off. However: it's not really worth it. Wiping it with a damp cloth and a little disinfectant spray is enough to kill germs.
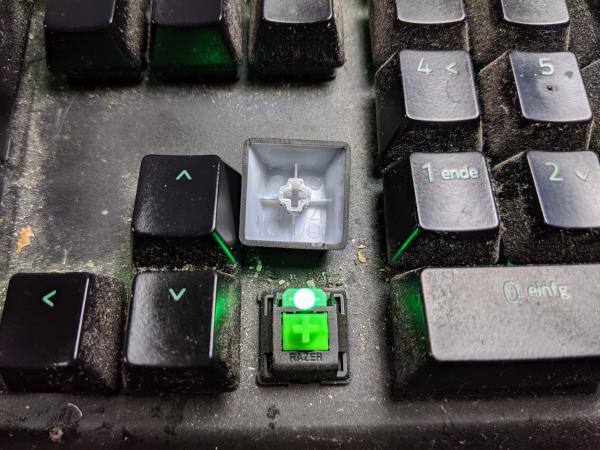 With mechanical keyboards, keycaps can be easily removed.
 A real tip for all keyboards, on the other hand, is compressed air from the can: pretty much any dry dirt between the keys can be removed within seconds and without effort. These rubber / putty-like substances that are pressed into the keyboards promise similar things - but they don't keep it. Experience shows here: either nothing happens or the keys are removed from the keyboard. In addition, the stuff usually stinks and, in the worst case, leaves a certain film on the keys.
In extreme cases, you can of course unplug the keyboard and clean it completely in water - as long as it is one hundred percent (!) Dry again when you put it into operation, for example a night in a rice bag, the bathroom will not be damaged. Cheap keyboards also often have drain holes so that they can be cleaned under running water.
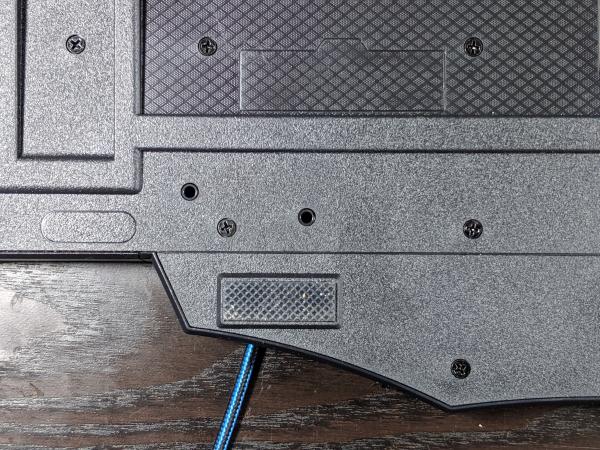 Simply clean under running water - no problem thanks to such processes.
 Clean the fan and interior
The highlight, however, is the computer itself. First of all, the computer has to be disconnected from the power supply. You should then ground yourself once, for example by touching an unpainted piece of heating pipe. Of course, an antistatic workstation (aka rubber mat) would be better, but it works that way too. A vacuum cleaner is ideal for roughly cleaning the interior and the fan. With fans, you have to be careful not to over-speed them.
After that, your best friends are dust towels or, if necessary, kitchen towels and cotton swabs. The case fans, filters, hard drives, memory modules and the upper parts of the CPU, power supply and GPU fans can be easily cleaned with a dry cloth. If more dirt has accumulated, also use a damp cloth - but then everything has to dry completely before it can be connected to the network again. Otherwise everything is full of dust on the fan again within seconds.
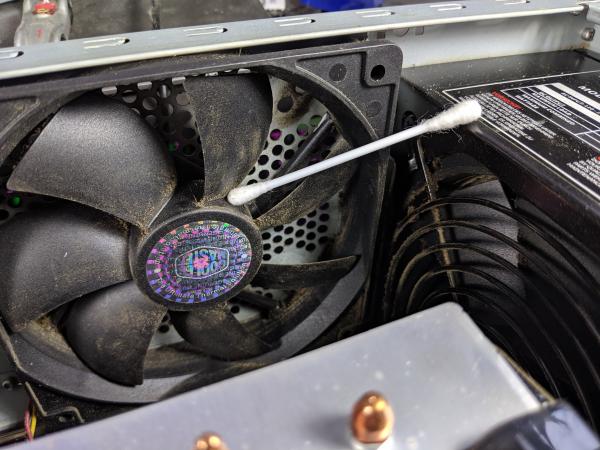
 The greatest success can be achieved with cotton swabs.
 You do the fine work with cotton swabs - and you will need a lot of them! You can easily calculate two per fan blade. With the graphics card in particular, this often turns into fiddling: Put on the chopsticks, pick up the dirt with a slight twist, pull out carefully without "losing" the dirt. It's a drag, but it's enormously worth it. You can usually only get the various heat sinks halfway clean with cotton swabs. Important: Use each side of the stick only once, otherwise you distribute more than you clean.
Finally, go over everything that has been cleaned with the vacuum cleaner to collect lost and loosened dust.
Of course, you could also remove the fans and heat sinks from the mainboard, CPU and graphics card in order to clean them meticulously - but it is only recommendable under certain conditions: Removing dirt from non-moving parts (except heat sinks) is a lot of fiddly screwing and you would then have to assemble everything with thermal paste, which is another source of error for inexperienced users.