You can update the Linux kernel in Ubuntu in several ways, together with the system or separately. Here's a step-by-step guide to bringing the heart of your system up to date.
The kernel
A Linux distribution like Ubuntu essentially consists of a desktop environment, a collection of tools and the core of the operating system, the Linux kernel. First of all, you should find out which kernel version is running at all. The easiest way to do this is in the terminal with the command " uname -rs ". You will then get an output like "Linux 5.0.0-25-generic". More precisely: In Ubuntu 18 you should still find a 4.x kernel, in Ubuntu 19 the 5.x versions.
Basically, it makes sense to trust Ubuntu's update management and update the entire system at once, but you can also do this without graphic support - and for the brave without any automatisms. As before any major update, the mandatory advice: Back up your most important files in advance. And if you update the kernel manually, more on that later, then forget about the "mandatory"! The following procedures are as simple and natural as they are safe, but problems can never be completely ruled out. Here on a fresh Ubuntu installation, none of this is a problem at all. Well almost..
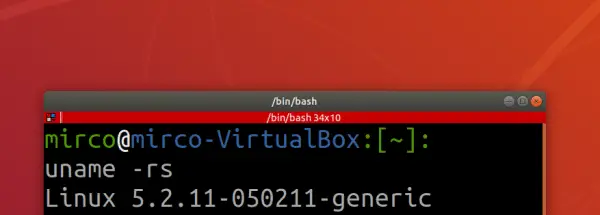 Your current version in the terminal.
 Update management
Ubuntu is aimed at normal users and offers a correspondingly simple way: Press the meta key (Windows key) and simply search for the " update management ". As soon as you start this, available updates for all Ubuntu components are searched for and, if necessary, offered for installation. You can use the " Settings " button to play around with the update system, but you usually don't need to. Especially not for a standard update that also includes any new kernel versions.
You just have to confirm the dialog , wait and restart - the new kernel, if available, is already installed. Check again in the terminal with " uname -rs "..
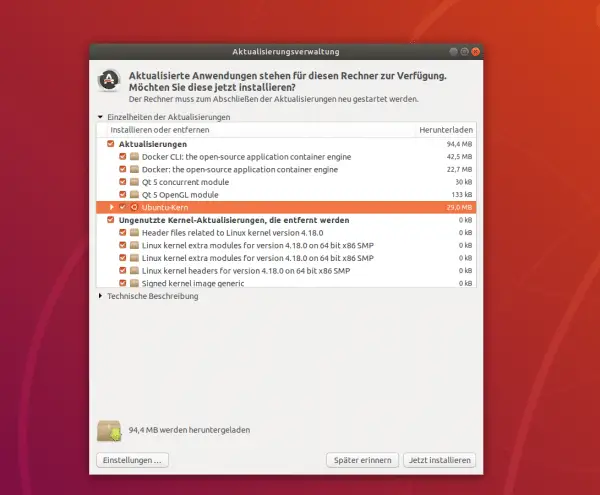 The normal update mechanism is sufficient.
 terminal
The classic way works in the terminal - but the same thing happens in the background that happened above. There are always the same three steps:
- Update the package sources with " sudo apt-get update ".
- Perform a simple update with " sudo apt-get upgrade ".
- Do one with intelligent dependency handling: " sudo apt-get dist-upgrade ".
The third step takes care of any changed dependencies on installed programs, i.e. third-party software required for their function. Files may also be deleted locally in this step. However, this is only problematic if you have actually installed software manually or are using old, expired programs that have outdated dependencies. If so, you tend to be aware of it.
Here, too, a restart waits if necessary and then " uname -rs " should report the current kernel.
Manually with Ukuu - be careful!
Now comes the really exciting part: What if you want to use version 5.x of the current kernel with Ubuntu 18? And / or maybe just want to update the kernel, not the whole system? This is also possible, of course, but it can cause problems, since it is not the kernel that Ubuntu has tested for your Ubuntu version and provided by system update. For example, if you have proprietary drivers running, certain kernel modules or the guest additions in a VirtualBox installation, these could refuse to work after the upgrade. In the worst case, something no longer works at all.
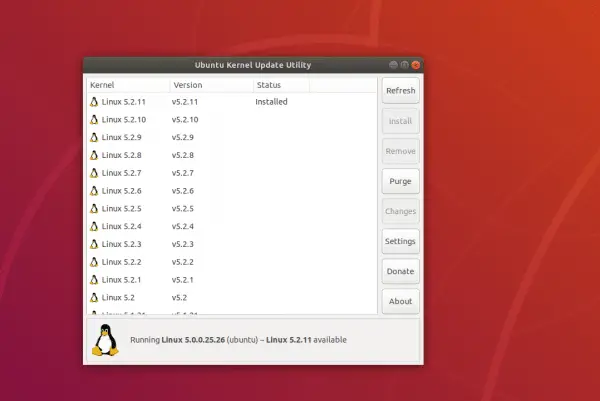 Ukuu makes kernel selection very easy.
 Perhaps the easiest way to do this is to use the Ukuu tool, the "Ubuntu Kernel Update Utility". First of all, you need to add what is known as a PPA, a Personal Package Archive. These are simply package sources on the Canonical platform Launchpad.net, which every user can set up there freely. So it is not software tested by Ubuntu / Canonical! That's how it works:
- Add the PPA: "s udo apt-add-repository ppa: teejee2008 / ppa ".
- Update the package sources with " sudo apt-get update ".
- Install Ukuu with " sudo apt-get install ukuu ".
- Start Ukuu with " sudo ukuu-gtk " in window mode .
Note: Since version 19.01, Ukuu has switched to a paid model and closed source and is therefore no longer free. The reason for this was the few donations for the open source project and the management of many open requests for the sole developer. Older versions of Ukuu are still open source and freely downloadable, so the application can still be used for free, minus the new features. The Ukuu version in the teejee2008 repository is still free, even if it is no longer up-to-date - but it should work without any problems.
The rest is now completely intuitive: You get a list of all available kernel versions, the installed kernels are noted and also the currently running kernel - the only one that you cannot remove using the "Remove button". Just find the kernel you want, click Install, and restart .
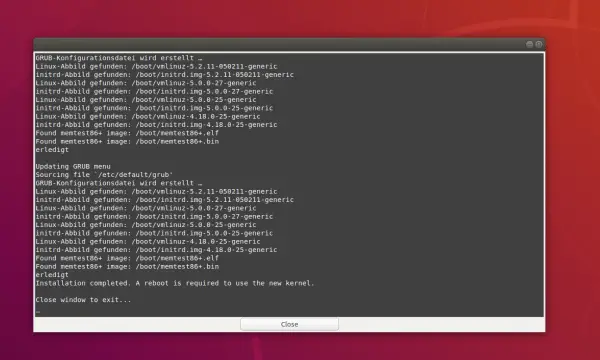 The installation shows exactly what is being changed on the system.
 If the restart does not work or you simply prefer to boot with another installed kernel - no problem! If you hold down the [SHIFT] key while booting the computer , you will end up in the GRUB boot manager menu. Open the advanced settings there: Here you will find all installed kernel versions and you can simply boot with a different kernel in the event of problems or dissatisfaction. Back on the desktop, you could then, for example, uninstall the manually installed but unwanted kernel via Ukuu.
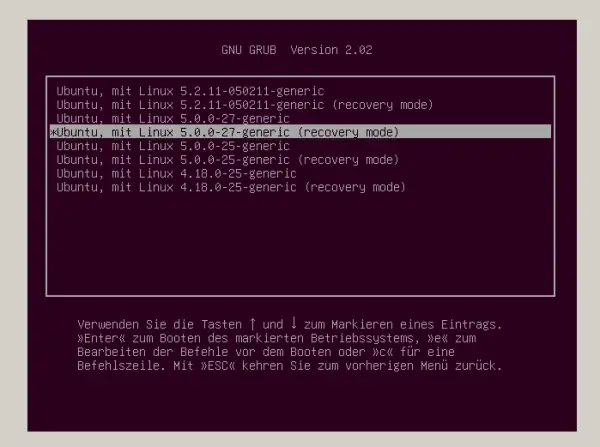 When booting, you can select individual kernels from the Grub menu.
 By the way : Here in the test with an Ubuntu 18.04.3 LTS, the operation with the latest kernel 5.2.11-050211-generic worked in a virtual machine - except for the guest additions mentioned. But that can of course be repaired.