"Drag & Drop", ie the "holding and dragging" of program content, has been one of the standard functions of graphic operating systems for decades. With the update to iOS 11, the useful function has finally arrived in the world of mobile Apple devices. In practical everyday life, the iPhone and especially the iPad benefit enormously from the new possibilities. We'll show you how to use drag and drop on iOS 11.
Drag and drop on the iPad
The iPad has been able to place two apps next to each other for a long time (Split View). With the update to iOS 11, Apple has expanded multitasking yet again. The pivotal point is the new dock, which collects open apps and app favorites at the bottom of the screen. In a full screen app, swipe from the bottom of the screen to reveal the dock. Now tap an app icon and drag it to the left or right edge of the screen . The apps now appear next to each other. This makes it particularly easy for you to exchange files, text excerpts and more between two apps (see next section).
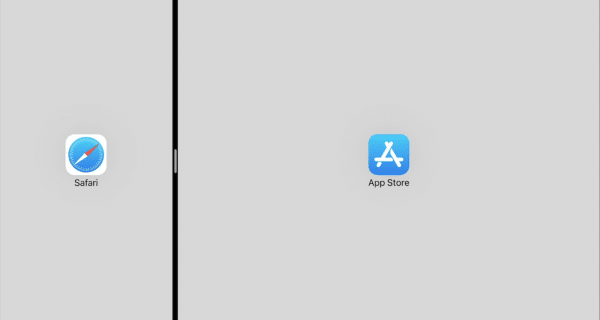 Use drag & drop to place two apps next to each other.
 But that's not all: you can now even drag a third app onto the screen , for example the iMessage messaging app. The third app then appears "floating" between the two open ones. You can then hide them again by swiping left or right..
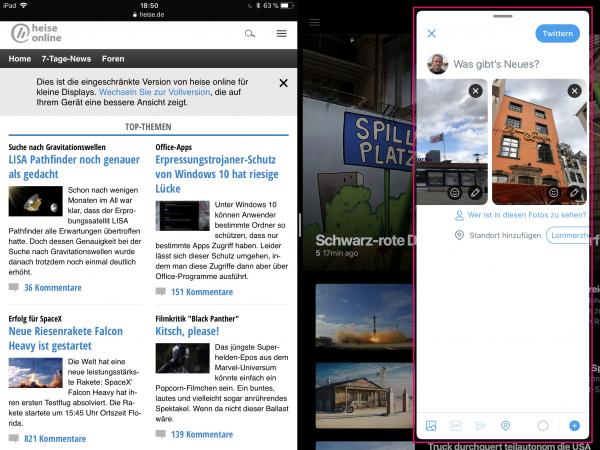 The iPad can even run three apps at the same time under iOS 11.
Especially with Apple's own apps such as the Files app, Safari or Pages, Keynote and Co., multitasking in combination with drag & drop provides a great plus in convenience. For example, you can comfortably drag photos into a Keynote presentation instead of going through the insert dialog. Unfortunately, not all apps support the new features yet . The official apps from YouTube and Facebook, for example, cannot yet be opened in multitasking.
In addition to the improved multitasking, drag & drop is especially helpful for exchanging between two apps . For example, you can drag a link from Safari to the Twitter app to include in a tweet. This works the same with photos, text snippets and other content. The prerequisite for this is, of course, that both apps have already been updated for drag & drop..
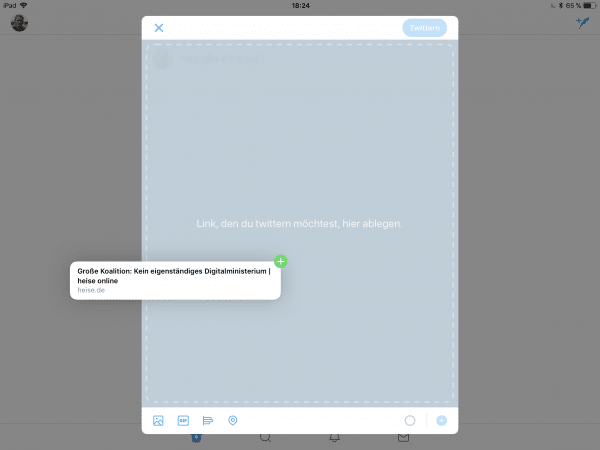 You can conveniently move content from one app to the other using drag & drop.
 Drag and drop between apps is easiest when they are opened side by side as described above. But it works differently, for example from one full-screen app to another: highlight the content you want to share, then start dragging and hold your finger on the screen . Now fade in the iPad dock with a swiping movement from the lower edge of the screen and tap on the " Target app ". As soon as it appears, let go of the shared content to transfer it to the new app.
At first, these finger acrobatics require a little practice. But once you get used to it, sharing content via drag & drop is surprisingly easy. By the way: Depending on the content, it is also possible to share several elements . An example: You want to publish several photos from your gallery on Twitter. To do this, first press and drag the first image. While continuing to hold it, tap the next photos with a free finger. The system will now add this to your selection. Once you're done, now drag this to the destination.
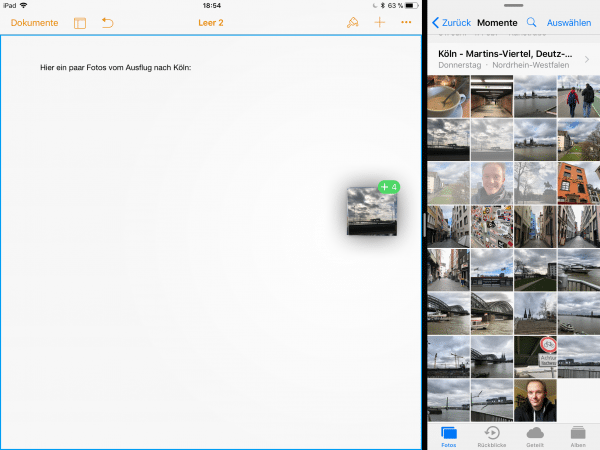 You can also copy multiple items, such as photos from the photo gallery.
 Drag and drop on the iPhone
In contrast to the iPad, the new drag & drop function on the iPhone plays a rather subordinate role . This is mainly due to the fact that the smartphone does not yet offer an option to open two apps side by side. Dragging content such as links or text excerpts from one app to another is not yet an issue - at least in the current iOS 11.3. Still, there are a few use cases for drag and drop on iPhone.
For example, in compatible apps, it is possible to drag content within the app . For example, text and photos in Apple's Notes app can be arranged in a different position by pushing and dragging.
 So far, drag & drop "only" works within the same app on the iPhone. The feature is still practical.
 The home screen is also easier to tidy up thanks to drag & drop by organizing several apps into folders in one go. To do this, press and hold an app icon until the symbols "wobble". As before, you can now position icons on top of each other to create a folder. The novelty : if you tap other apps with the other hand while you are moving an icon, iOS 11 will add them to your selection. You can now pack this batch of apps directly into a folder. Incidentally, this practical tip also works on the iPad.