When it comes to presentation tools, Microsoft PowerPoint is the one that often comes to mind first. And that's right, it is well qualified for this, being a simple and effective tool for both novices and experts in the tech industry. With this tool, you can easily add narration to your PowerPoint, according to your preferences. For example, you might need to record a PowerPoint presentation with audio for a project, or you might need to share a presentation online with comments on your point of view, or you might still have a homework assignment. consisting of making a presentation remotely due to containment due to COVID-19. How then could you do it?
The best way to add narration to a PowerPoint presentation would be to make a recording of your PowerPoint presentation. There are 2 ways to do this. The first method is to use the audio recording feature built into the PowerPoint presentation program, to make a video recording of the slideshow. Alternatively, you can record the PowerPoint audio-video presentation using a professional screen recorder. Discover here a detailed tutorial for each of these methods. Please just read this article to know how to make an audio-video recording of a PowerPoint presentation!
Also read: How to turn PowerPoint presentation into video with sound and animation?
1. Add narration in PowerPoint with the built-in audio recorder
You can add your voice to PowerPoint slides using the built-in audio recorder and save the entire PowerPoint slideshow video. To record a PowerPoint presentation, please follow the steps below:
Step 1: Choose a PowerPoint for preparation
Start PowerPoint on your computer and prepare for the slideshow presentation..
Step 2: Start slideshow recording just with one click
Select the " Slideshow " tab from the top menu, then click " Save Slideshow ". Here you can choose "Record from Beginning" or "Record from Current Slide". Then click on " Start recording ".
Note: You can select the parts you want to record at the top of the window, such as “Slideshow and Timings” and “Narratives, Ink and Laser Pointer”..

Step 3: End the presentation by selecting the end of the slideshow
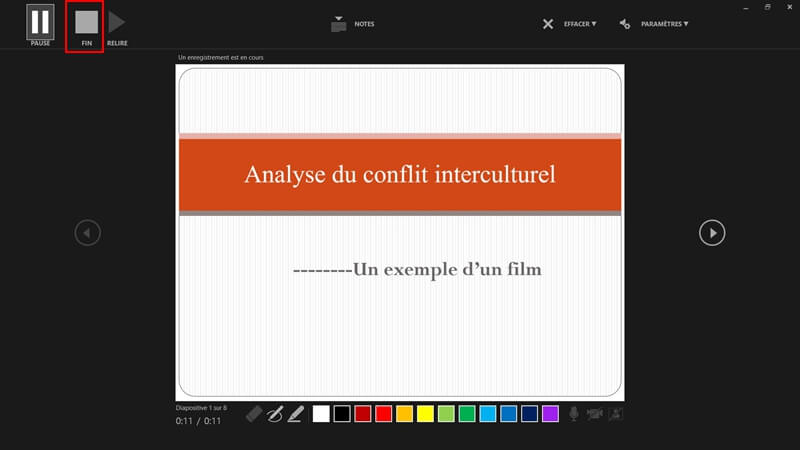
Start the audio for your slideshow. If you want to edit your PowerPoint presentation, just click on the stylus icon in the bottom left corner of the screen, this will allow you to edit your slides. When this is done, click on the " END " button in the top left corner.
Step 4: Save a PowerPoint display
Now go to " File "> " Save As ". Then under the file format, select the "PowerPoint Slideshow" and save the file to the output folder you want. Send the PowerPoint slide show to your audience, when the file is opened, your recording will then automatically play as a video..
Advantages and disadvantages of the integrated audio recorder
Advantages :
- Record narration on each slide.
- No need to install any other software.
- Various reading options are available.
Disadvantages:
- No audio recording when transitioning between slides.
- Saving only possible in PowerPoint slideshow format.
- PowerPoint Slideshow only available with devices where PowerPoint is installed.
- Cannot include webcam in video.
- Cannot pause or resume playing video while viewing.
2. Record PowerPoint presentation with audio via FonePaw Screen Recorder
Even though you can use PowerPoint's built-in recording feature to record your slides with audio, it can be quite a hassle to use it. Indeed, it will not be able to meet all your needs without accompanying disadvantages. But if you want to produce a video with more professional effects then you will need a specialized screen recorder. FonePaw Screen Recorder is just the professional recording tool you need that can meet all your PowerPoint presentation recording needs.
With FonePaw Screen Recorder , you will be able to record high quality PowerPoint presentation with audio. It is able to help you record screen or webcam activity, with or without sound. Various features are also available to you, including: zone selection, video editing, scheduling a recording as well as different recording modes. Besides that, there are many video output formats and settings available. So you don't need to worry about video recording compatibility. What else ? It is fully compatible with desktops and laptops running Windows 10/8/7 and macOS 10.9 to 10.15.
Video settings with FonePaw Screen Recorder:
- Video format: WMV, MOV, MP4, M4V, GIF, F4V, AVI, TS.
- Audio format: WMA, MP3, M4A, AAC, CAF.
- Video image: 20 fps, 24 fps, 25 fps, 30 fps, 60 fps.
- Video quality: Very low, Low, Medium, High, Very high, No loss of quality.
Free TrialFree Trial
To record PowerPoint presentation with FonePaw Screen Recorder, please follow the tutorial directions below. As an example, we will show you how to do it on macOS system.
Step 1: Free Download FonePaw Screen Recorder
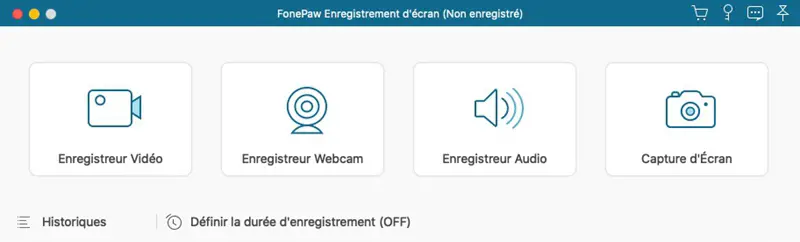
Download and install FonePaw Screen Recorder on your device. Start the screen recorder and you will see the interface below displayed. Click on " Video Recorder " to begin the process.
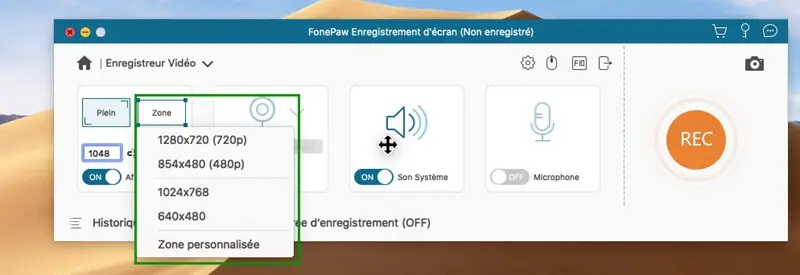
Step 2: Configure the recording area and narration
To improve the appearance of the presentation, we recommend that you record the PowerPoint slide show in full screen or in a specific area of 1280 x 720. To include narration in the presentation, you will need to turn on the microphone. If you want to record the presentation with the webcam video, you can also enable it.
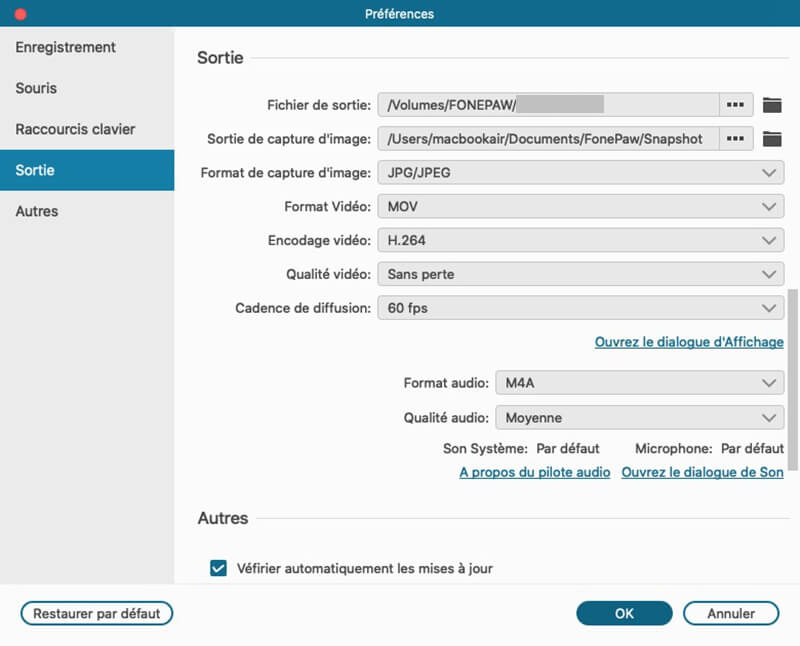
Step 3: Choose output settings and video quality
Click on the cog icon to enter "Preferences". Go to " Output ", from there you can adjust: the format, the output location, the video quality and the frame rate. There are various video formats available: on Mac, there are: MOV, MP4, M4V and GIF; on Windows there are: MOV, MP4, M4V, GIF, etc.
Tip: We recommend you to choose MP4 format with high picture quality and frame rate of 30, it will allow you to get very good quality video but small in size.
Step 4: Save PowerPoint presentation with one click
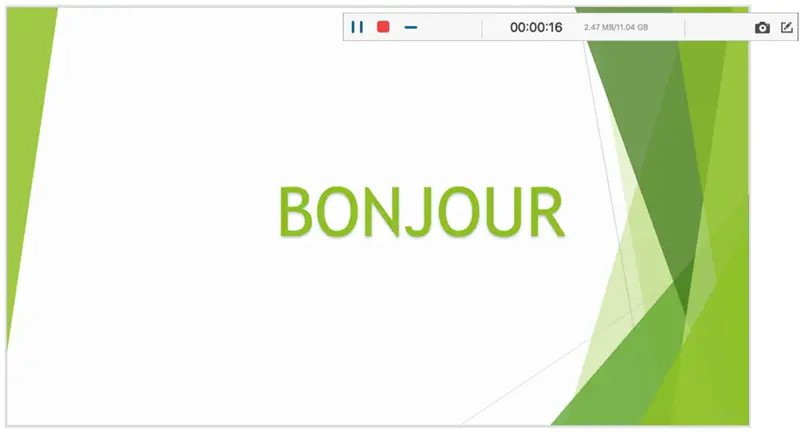
Once you are ready to prepare, click on " Start Slide Show " in PowerPoint. At the same time, click the “ REC ” button to start recording. You will be able to speak while making marks on your slides, everything will be recorded. While recording, you can click the “-” button to hide the recording bar.
Step 5: Complete the recording
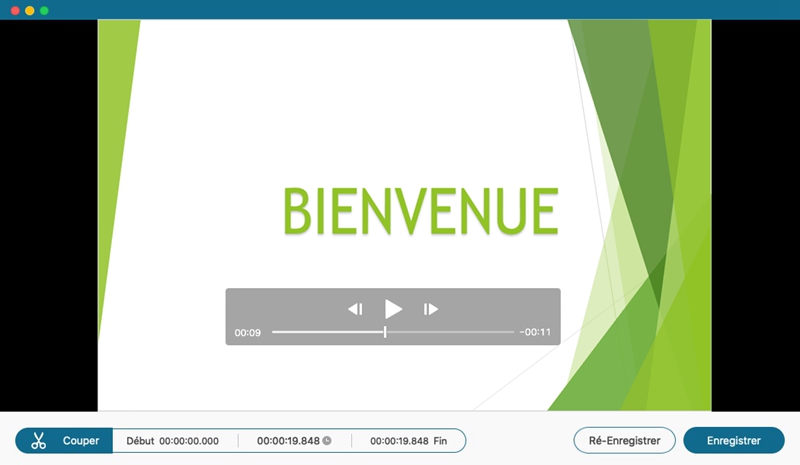
When you are finished, click on the red square button to stop recording. You can view the video capture to see if you have benefited from it. Before exiting, don't forget to save the recording of your PowerPoint presentation in the chosen local folder by clicking on the " Save " button . After that, you will be able to share your video on social media with just one tap.
Advantages and Disadvantages of FonePaw Screen Recorder
Advantages :
- Stable recording of PowerPoint presentation, with audio and webcam.
- Save video presentation as various file formats: MOV, MP4, M4V, GIF, WMV, etc.
- HD streaming and recording with 1: 1 output quality.
- Multi-functional recording tools available, which can be used to record audio and take screenshots.
- Support for keyboard shortcuts for recording a presentation.
- Direct and easy sharing available to various social media platforms including Facebook, YouTube, Google+, Twitter, etc.
- No advertisements and watermarks present in the video recording.
Disadvantages:
- Slicing features not available in the trial version.
- Only 3 minutes of recording are available in the trial version.
In summary, these were all the details you need to know on how to record PowerPoint presentation with audio. Try these tips and see which method works best for you to do your screen recording. Note that there are a lot of pros and cons that you would need to consider. We sincerely hope you enjoy recording your PowerPoint presentation.