RDP stands for "Remote Desktop Protocol" and is a proprietary network protocol from Microsoft for remote access to your Windows computer. You can use it to display and control the screen content, for example. The port is not open by default on every system and may be blocked by Windows’s own firewall. We explain how to allow remote access privately and publicly, how to change the port and how to check if the RDP port is open.
Allow remote access in the network
To make sure that the port for RDP is open via the Windows firewall and that your system is accessible in the local network, follow our step-by-step instructions or take a look at the brief instructions .
1st step:
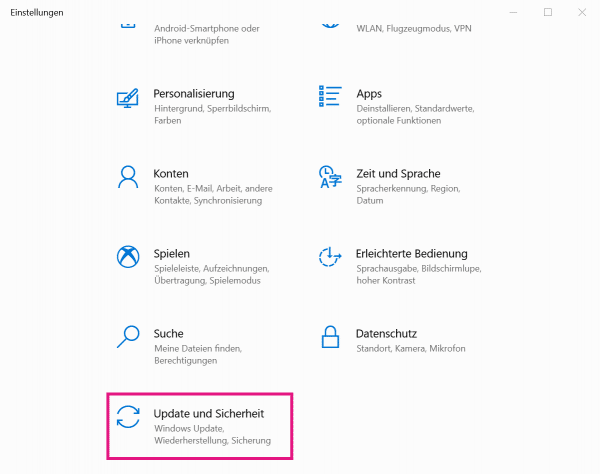 Open the Windows settings using the key combination [Windows] + [I] . Scroll down and open " Update & Security ".
 2nd step:
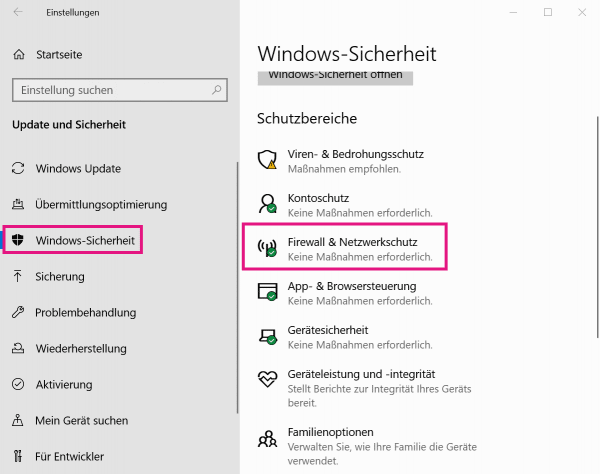 Select Windows Security from the menu on the left, then click Firewall & Network Protection. A new window is opening up.
 3rd step:
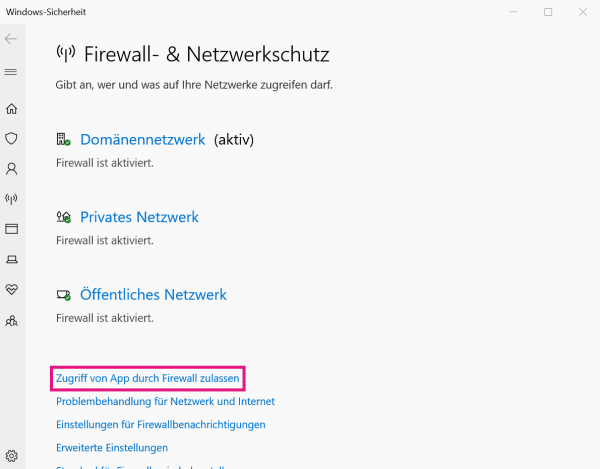 Click here on " Allow app access through firewall ".
 4th step:
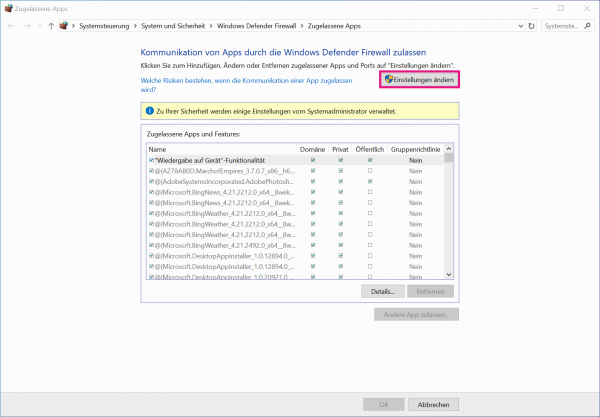 Then go to " Change Settings ". Enter your username and password when asked.
 5th step:
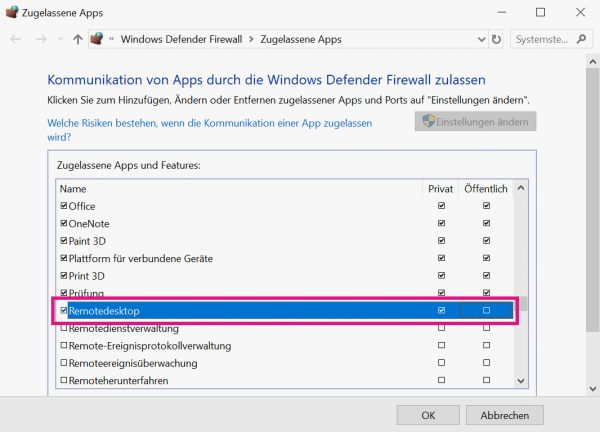 If you want to allow remote access to your desktop, navigate under Allowed Apps and Features to Remote Desktop . Put a checkmark there and decide whether your desktop should be available " public " or only " private " in the local network. Click OK for the change to take effect.
 Change the standard RDP port via the registry
If the RDP port is set to 3389 by default and you want to access your system publicly over the Internet via remote access, then this represents a security threat. It is possible to change the default port via the registry. Follow our step-by-step instructions or take a look at the brief instructions ..
1st step:
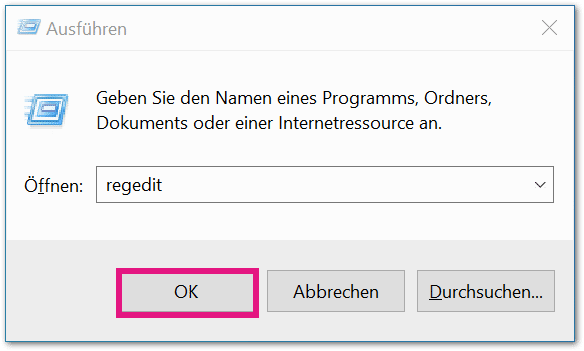 Simultaneously press the [Windows] + [R] keys and enter " regedit " in the run dialog. " OK " or [Enter] takes you to the registry.
 2nd step:
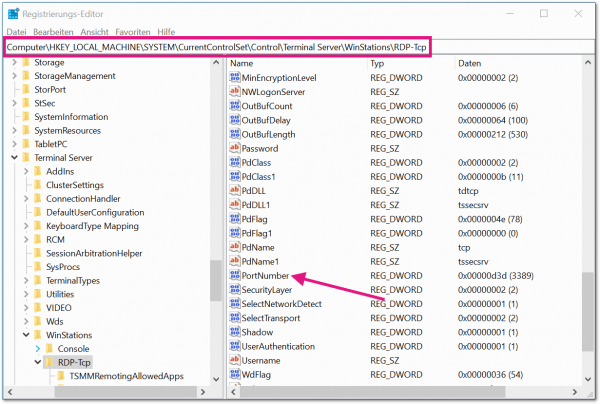 Navigate to " Computer \ HKEY_LOCAL_MACHINE \ SYSTEM \ CurrentControlSet \ Control \ Terminal Server \ WinStations \ RDP-Tcp " and double-click on " PortNumber " on the right .
 3rd step:
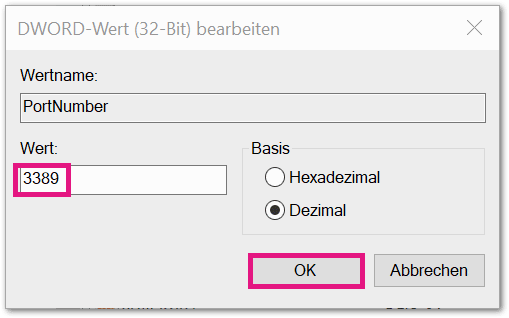 Change the base to " Decimal " and enter a new port number one . Save the change with " OK ".
 Check that port 3389 is open
1st step:
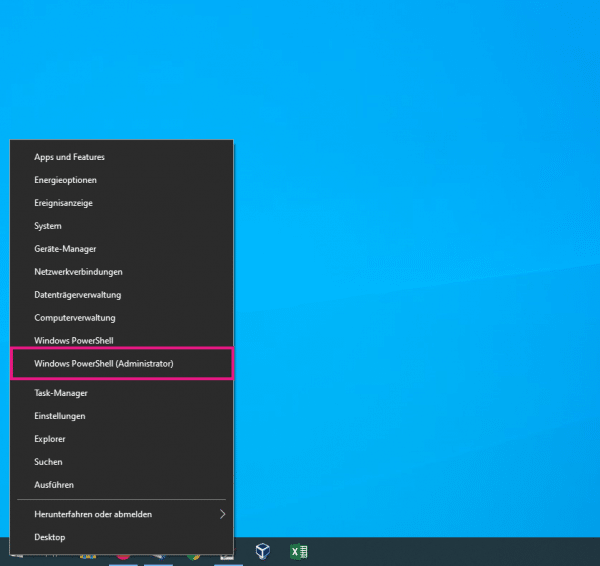 Open Windows PowerShell as an administrator. To do this, press the [Windows] + [X] keys and select " Windows PowerShell (Administrator) ". Enter your username and password when asked. With older Windows versions select the " Command Prompt (Administrator) " instead of PowerShell . Tip: It's even faster with [Windows] + [X] followed by pressing [A] .
 2nd step:
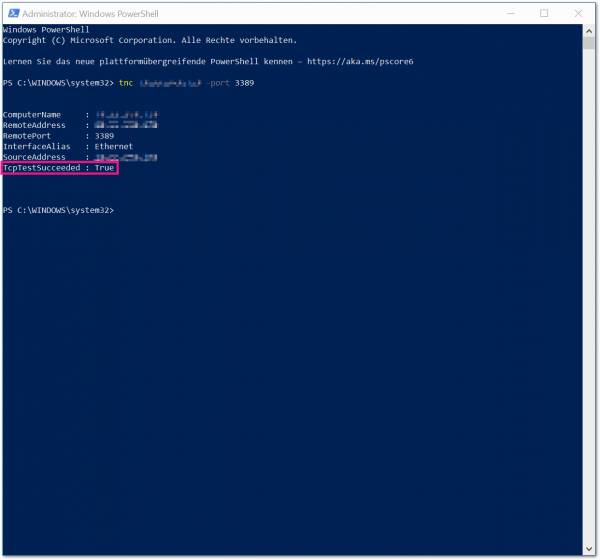 Now enter " tnc 192.178.168.2 -port 3389 " and press [Enter] . Replace 192.178.168.2 with your IP address. Read here how to find out your IP address. If you have changed the port, change the 3389 accordingly . If public access is permitted, the value " True " should appear next to " TcpTestSucceeded: " .
 Quick start guide: Allow remote access in the network
- Open the Windows settings via [Win] + [I] and click on " Update and Security ".
- Under Windows Security, go to Firewall & Network Protection.
- Click here on " Allow app access through firewall " and then on " Change settings ".
- Now search for " Remote Desktop " and decide whether your network should be " public " or " private " accessible via the port. Set the appropriate tick and confirm with " OK ".
Brief instructions: Change the standard RDP port via the registry
- Press the [Win] + [R] keys and enter " regedit ".
- Navigate to " Computer \ HKEY_LOCAL_MACHINE \ SYSTEM \ CurrentControlSet \ Control \ Terminal Server \ WinStations \ RDP-Tcp ".
- Double click on " PortNumber " and change the base to " Decimal ".
- Now enter a new value for the port. Confirm with " OK ".