Have you ever wanted your team to join you while you were participating in a great webinar?
Whether you want to make a Webinar recording for personal use or share content with others, this tutorial can help you know how..
Read also:
- How to record a Zoom video conference on the PC? (opens new window)
- How do I make an audio-video recording of a WebEx meeting? (opens new window)
# Step 1: Download a screen recorder
FonePaw Screen Recorder (opens new window) can help you keep track of a live stream event, highlights of an online meeting (opens new window) , elusive video game knowledge, and more. By taking advantage of the great features of FonePaw Screen Recorder, you can make your life much easier and more interesting.
The features of FonePaw Screen Recorder:
- Desktop screen recording
- Video recording from the webcam
- Possibility to record audio separately
- One-click photo capture
- Export recording in various file formats
- Recording planning
# Step 2: Configure recording
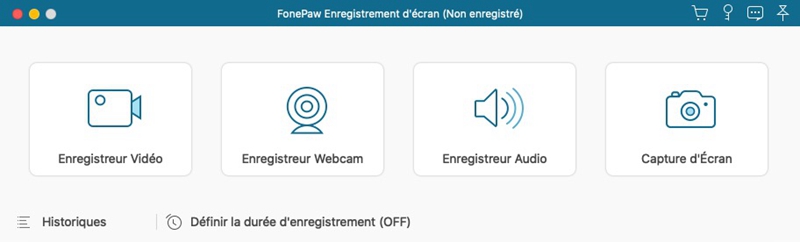
Open an Internet browser and navigate to your webinar. Launch FonePaw and select "Video Recorder" mode.
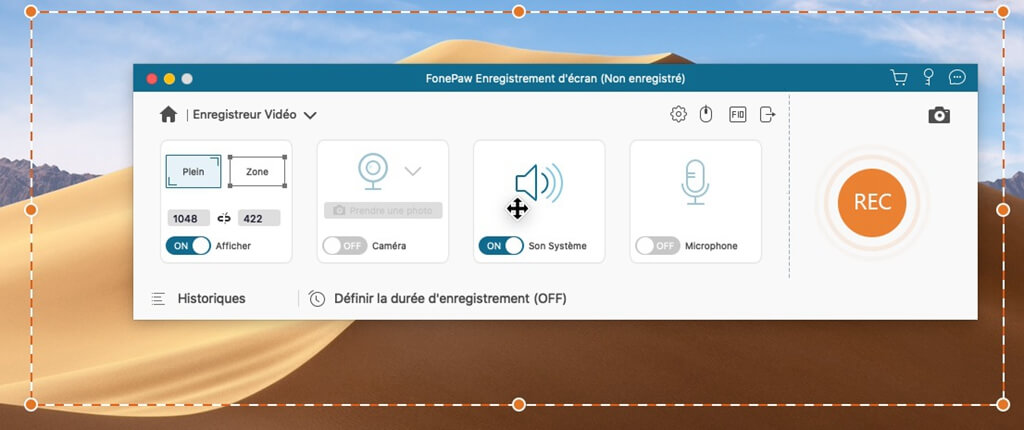
Make sure “System Sound” is turned on, so the software can record audio from your computer. If it is still disabled, just press the corresponding “ON / OFF” button. In the rare event that you want to record your voice, be sure to activate the "Microphone" with the start of the recording..
Note:
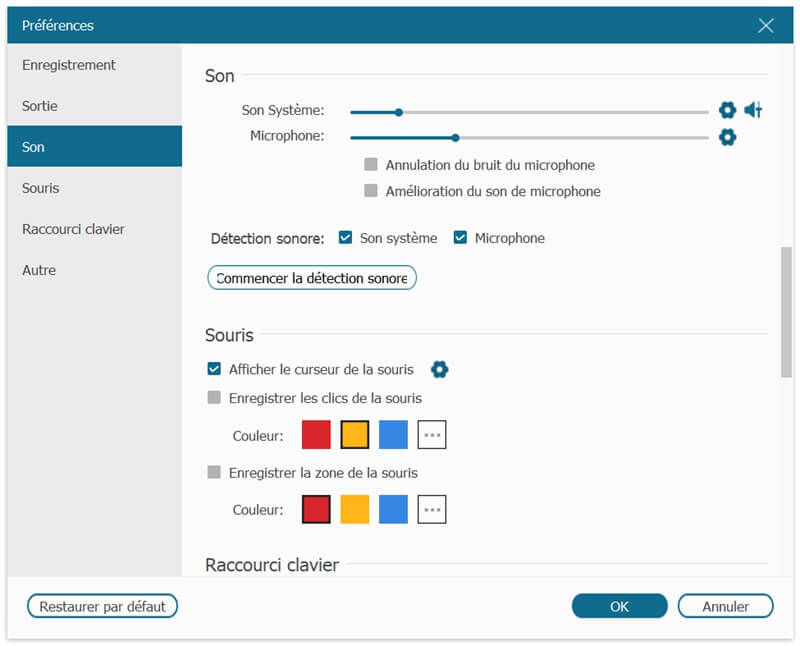
You can preview the sound recording in the Windows version of FonePaw Screen Recorder in advance. It offers you an option of sound detection which allows you to avoid audio recording failure. It is available for system sound or microphone detection.
Then use the mouse cursor to select the region of the screen to record. You can adjust the area to capture by moving the corners of the selected area..
If you want to do a full screen recording of Webinar, then select the “Full screen” option.
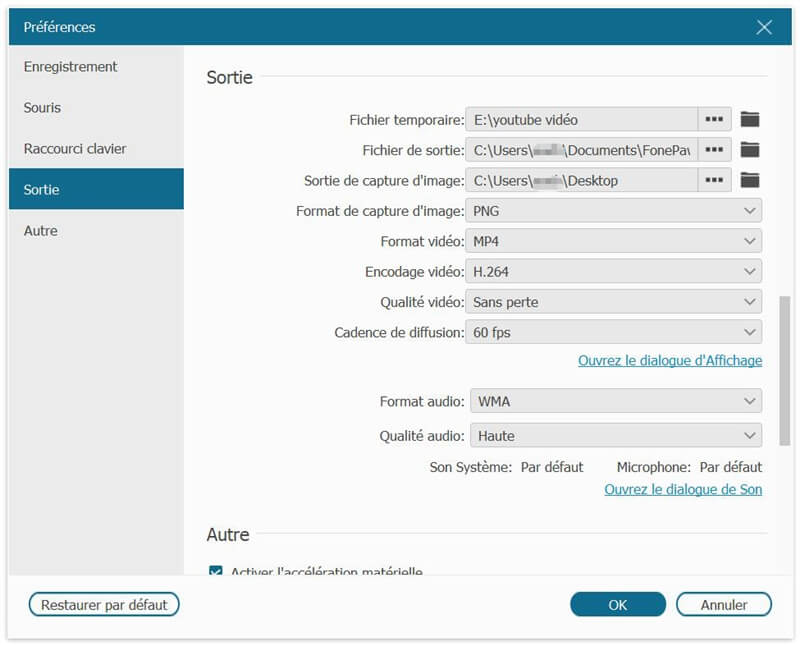
To save your video files as MP4 file on your computer, click on “Record Setting” icon, then go to “Output”> “Video Format” and choose the format you want to have.
# Step 3: Record Webinar
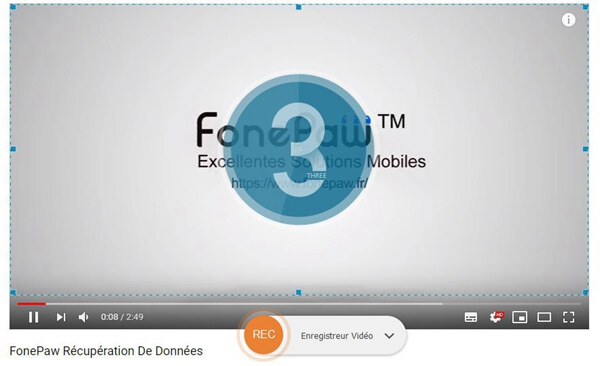
When Webinar starts, click on the “REC” button, FonePaw will then start a 3 second countdown, then recording will start.
When Webinar is running, be careful not to move the window or tabs of your Internet browser or your applications. FonePaw will log everything that enters the chosen region.
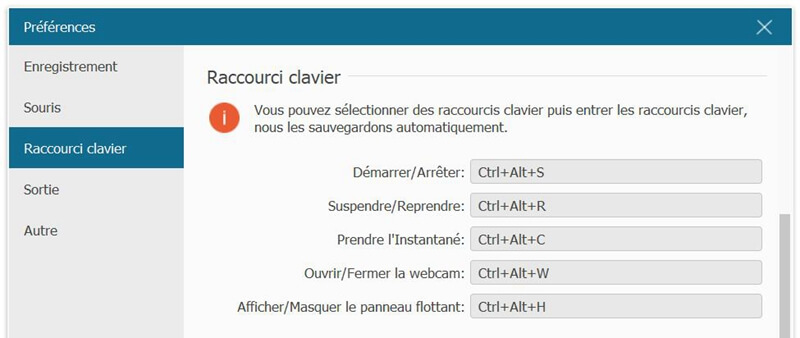
Press the stop button to end the recording when the webinar comes to an end. You can also use hot keys to control recording settings.
# Step 4: Edit and save
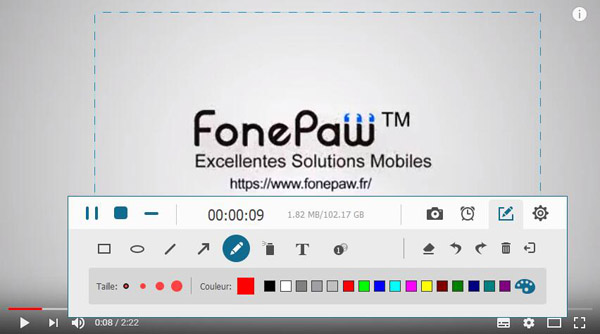
In the interface of FonePaw Screen Recorder, you will be able to preview the video recording you just made. Cut the sections you want and take screenshots of the recording.
To cut the sections you no longer want, move the two orange arrows at the ends, the section between these two arrows will be the one that will be kept. Click on "Cut" when you have finished your selection.


To save an image from the video recording, move the playback cursor to the image you want to capture, then click the camera icon. The captured images will appear in the “History” list.
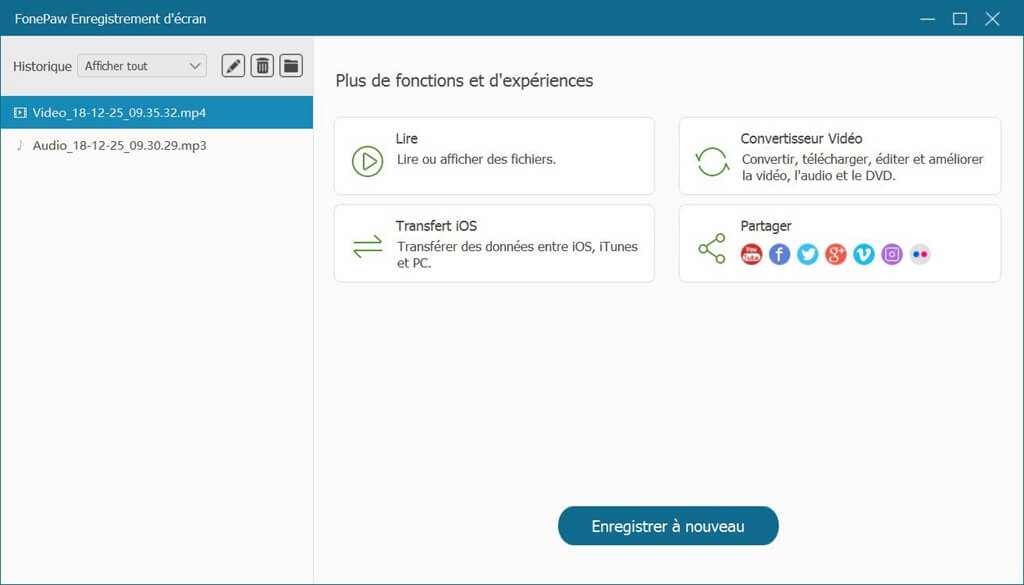
Save your webinar recording, then tap the share button and choose the social network or sharing destination (like YouTube, Facebook, or Twitter) you want to use.
# Final tip
Recording your screen may reduce your computer's performance. To reduce the risk of video lag or jitter, it is recommended that you close any unused applications that may lower the resolution of your computer screen.
Webinar recording is just a convenient way to capture things on your screen. Here are some other ways to use this screenshot and audio-video recording software.