What is WebEx? Why is it so popular?
WebEx is a company that offers on-demand collaborations, Webinars, meetings and online courses (opens new window) as well as video conferencing services. WebEx was founded in 1995 and has grown into one of the most popular online communication services.
WebEx is very well known for its reliable communication services and for its many features, such as Outlook / Slack integration, file sharing, whiteboard use as well as internal recording. One of the biggest advantages with WebEx is that anyone can join a meeting just by logging in on their computer or smartphone..
Why Choose FonePaw Screen Recorder to Record WebEx Meetings?
FonePaw Screen Recorder (opens new window) not only allows administrator but also attendees to record a WebEx meeting.
If you are the administrator of a meeting, you can record a WebEx meeting session through its built-in recording features. However, if you are a participant of a WebEx meeting, you will need to use an external recording program. There are many screen recording programs available in the global market today. However, quite a few screen recording / webinar programs limit recordings to less than an hour while conferences conducted over WebEx can take over an hour. If you need to record an important meeting conducted on WebEx, then you will need to use a WebEx meeting recording program, such as FonePaw Screen Recorder.
Read also:
- How to record a Zoom video conference on the PC? (opens new window)
- How to record video or audio calls on Google Hangouts? (opens new window)
WebEx recording software
FonePaw Screen Recorder is the best solution that will allow you to efficiently record WebEx meetings. FonePaw Screen Recorder has been designed for users who need audio-video recordings of ongoing activities on their computer screen. This program will allow you to record meetings longer than 24 hours without interruption. With FonePaw Screen Recorder, you will be able to record high quality WebEx meetings and upload them to YouTube..
Easy Guide to Recording WebEx Sessions
# Step 1: Download and Install FonePaw Screen Recorder
As you can see, FonePaw Screen Recorder is really a very handy tool capable of recording WebEx sessions. Before you start recording, click the download button below and install this powerful screen recorder on your computer.
# Step 2: Select Video Recorder mode
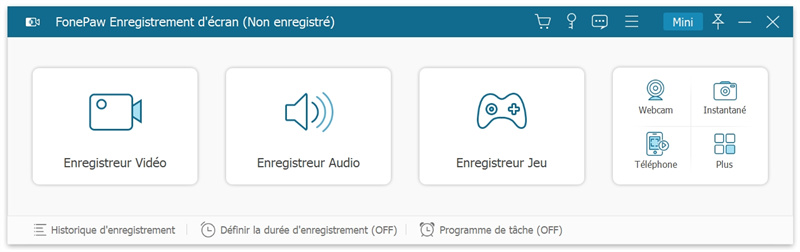
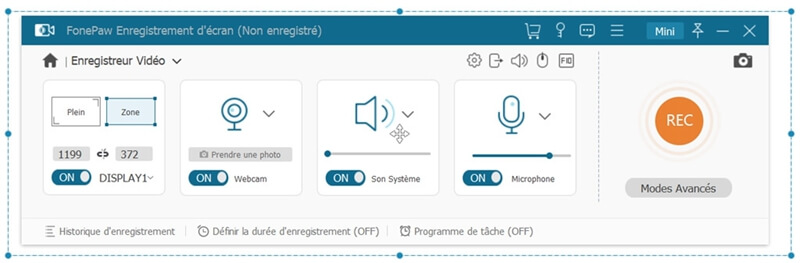
Before starting a meeting on WebEx, start the recorder and select the "Video Recorder" mode visible on the home page of the software..
# Step 3: Adjust recording settings
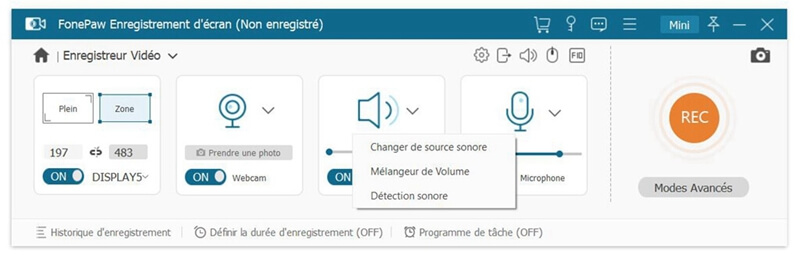
Next, adjust the recording settings so that you get video of a WebEx meeting with unparalleled quality. Please first make sure that the “Display”, “System Sound” and “Microphone” sections are enabled and that the “Webcam” section is disabled.
To properly record audio during a WebEx meeting, it is best to detect the recording of system audio and microphone on FonePaw before the meeting begins. You can click the arrow next to the "Speaker" or "Microphone" icon and choose the "Sound detection" option to enter the detection interface. Play an audio / video file and speak into the microphone, then press the “Start sound detection” button. Then you can preview the recorded audio for up to 20 seconds to check whether the program records it normally or not. This feature is currently available under the Windows version of the software.
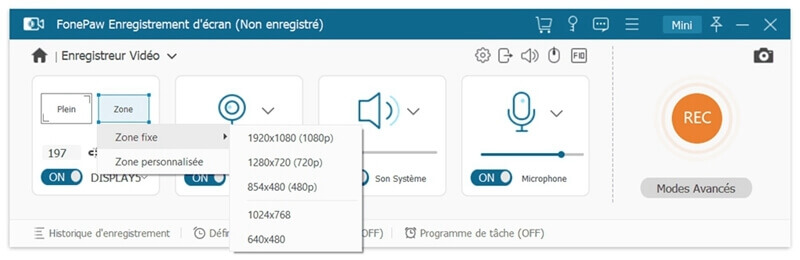
Click the "Area" option in the "View" section, then adjust the size of the area to be captured to fit the size of the WebEx meeting window.
Adjust the volume of “System Sound” and “Microphone”, by sliding the bar from left to right.
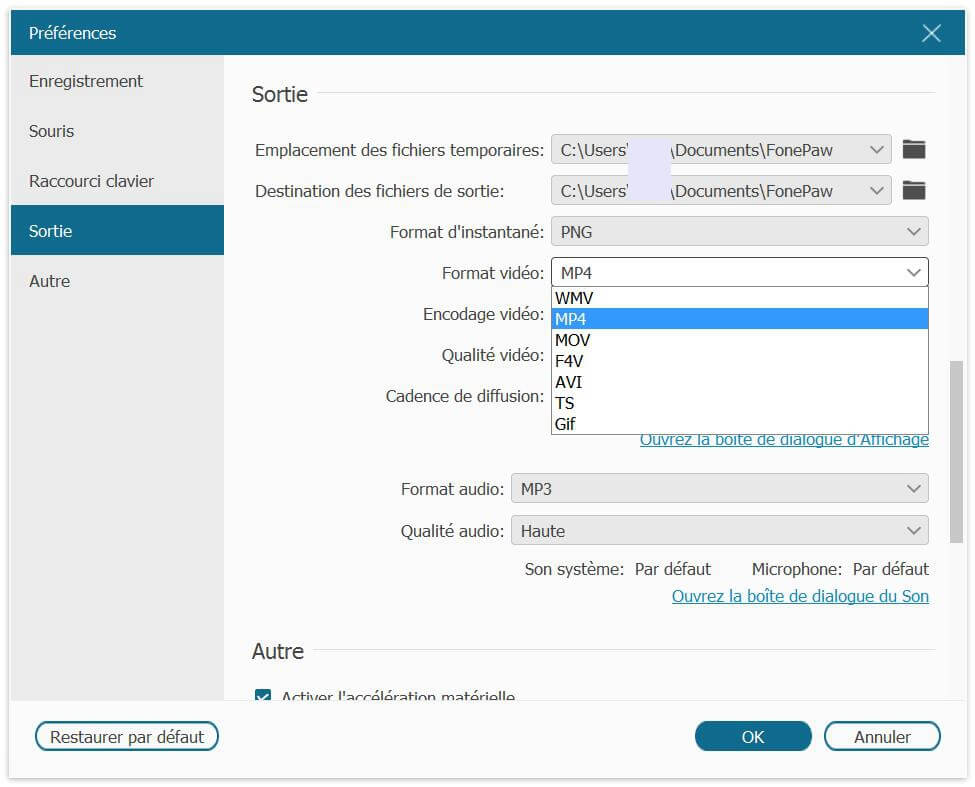
Click on the "Preferences" button above the "Microphone" section, then go to the "Output" menu to change the output settings, including video format, video code, audio quality. video, etc.
# Step 4: Record audio-video of the WebEx meeting
When you're ready to start recording the audio-video of the WebEx meeting, click the big “REC” button. If you want to schedule the start and end time of the recording, just click on the "Set recording time" button.
# Step 5: Finish and save the WebEx recording
When your WebEx meeting is over, you can use the shortcut keys to stop recording or click the stop button. Do not forget to click on the button "Save" which is in the lower right corner of the interface.

# Step 6: Share the recording file
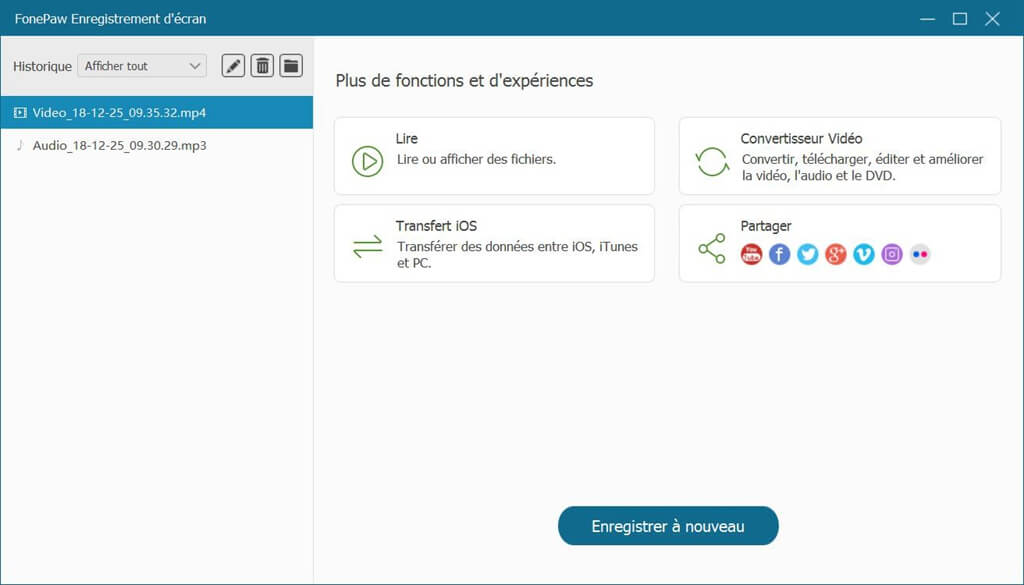
If you want others to have this WebEx meeting as well, then head straight to the output folder, find the recording file, and share it with others by emailing or using others. means of sharing.
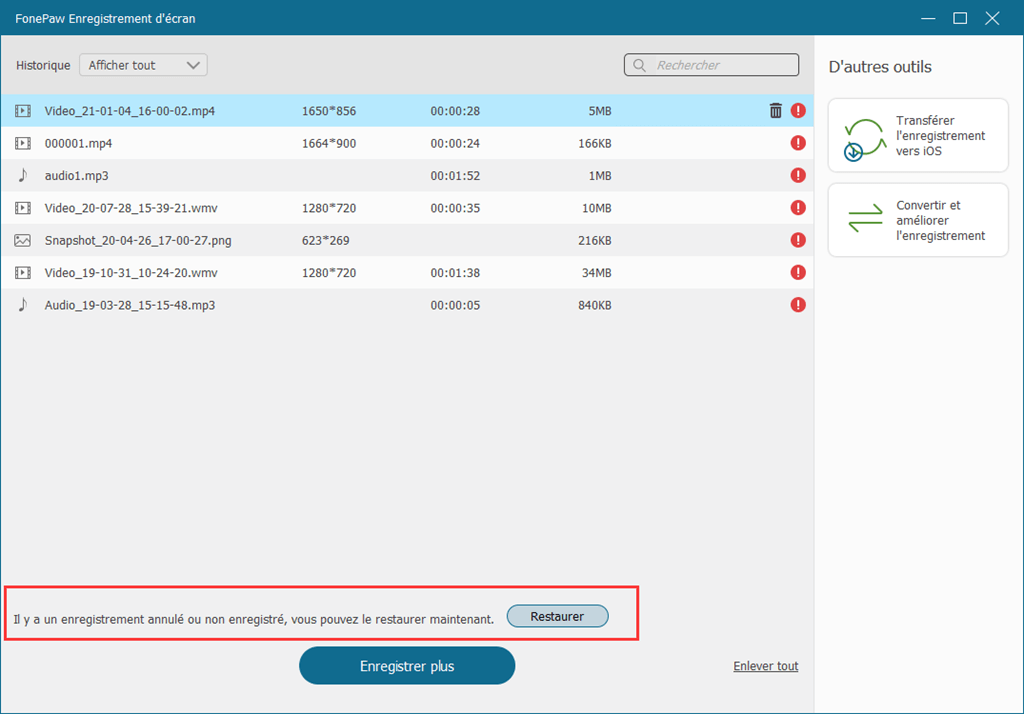
Tips : The canceled or unrecorded file can be restored when the program accidentally quits during recording.
All you have to do is access "Record History" at the bottom left of the software home interface. In the pop-up window, you will see the button at the bottom of the "Restore" window. Press this button and then you can recover the unsaved video.
# Conclusion
The solution mentioned here is really the most efficient for making audio-video recordings of your WebEx meetings. FonePaw Screen Recorder offers many powerful features. For example, it allows its users to save WebEx meeting recording files in popular file formats for easy sharing with your collaborators.