Abstract :
Follow these 4 convenient methods, you can transfer iPhone photos to external hard drive with or without PC. FonePaw DoTrans is the most recommended way!
Why is transferring iPhone photos to external hard drive such a great idea? First of all, backing up your iPhone photos to external hard drive is a very good data loss prevention. Besides, you cannot prevent your computer storage from getting full someday, so it is better to put iPhone photos to external drive instead of transferring your iPhone photos to computer. In addition, saving iPhone photos to an external hard drive makes it easier to take your photos with you. In this guide, you will see 4 effective methods which help you transfer iPhone photos to external hard drive. Find out which method is best for you now!
Transfer iPhone Photos to External Hard Drive on Windows / Mac
1. Easiest Method - Transfer iPhone Photos to External Hard Drive with FonePaw DoTrans
FonePaw DoTrans is a tool that will allow you to easily transfer photos from your iPhone to external hard drive on Windows. This program can transfer various files and can also put iPhone photos on an external or internal hard drive of your Windows or on a USB key..
With this software, the images in your Camera Roll, Photo Library, and iPhone photo albums will all be transferred in batches to the chosen external hard drive. Better yet, you can also backup files in other formats (like videos, movies, TV shows etc.) from your iPhone 3GS / 4S / 4 and above to external storage device on Windows (10/8 , 1/8/7 / Vista / XP). Follow the steps below to transfer iPhone photos to the desired external hard drive.
Step 1: To get started, connect your iPhone to Windows computer and launch the program. The program will scan your iPhone..
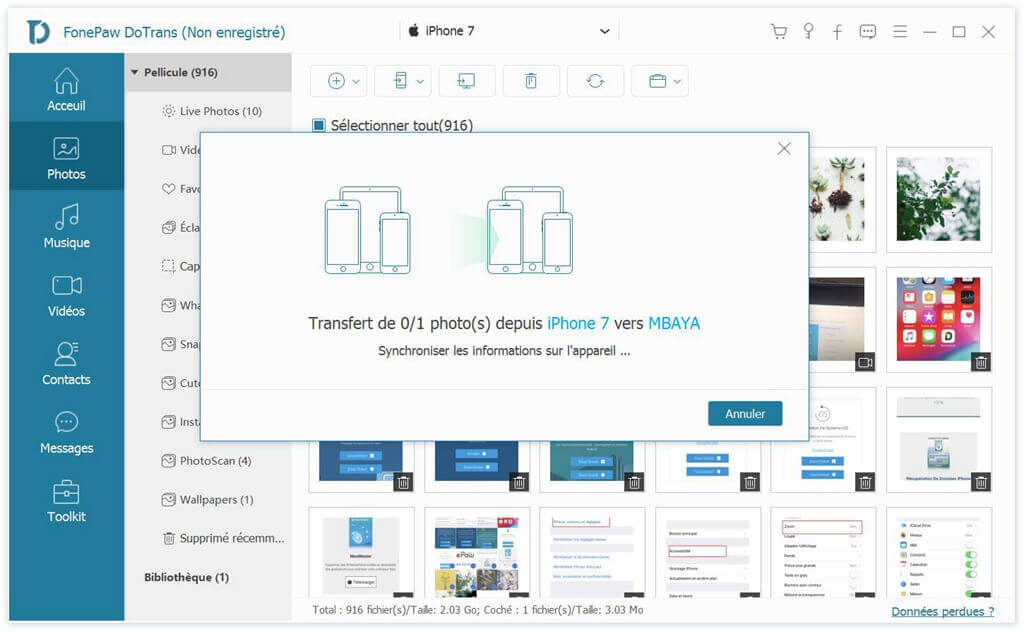
Step 2: Then on the home interface, click “Photos” to view the details of your iPhone photos. Select the photos you want to transfer.

Step 3: After selection, click “Export to PC” on the top left. Choose which position you want to transfer it to. A window will appear informing you that you have successfully completed the transfer in a few moments..
Read also:
-
3 Effective Methods to Backup Android Contacts to PC
-
Transfer Photos from iPhone or iPad to Android in 3 Convenient Ways
-
Migrating to iOS not working?
2. Method without third-party software - Transfer iPhone photos to external hard drive with built-in programs
In addition to third-party software, you can also use the built-in programs on your Windows or Mac computer to backup iPhone photos to external hard drive. Now please follow the 2 method below to export pictures from your iPhone to external storage device.
For Windows User: Windows Photo Library
Step 1: First, connect your iPhone to the computer.
Step 2 : There are two situations depending on your Windows operating system version:
-
If you are using Windows 7 , the "AutoPlay" window will appear on its own. Select the "Import pictures and videos" option , then click "Import" to import the photos from the Camera Roll to your computer.
-
If you're using Windows 10 , launch the Photos app , then hit the "Import" button. You can then select the items to import to your computer.
Step 3: Connect the external hard drive to the computer and move the iPhone photos from the computer to the drive.
For Mac user: Mac Preview
Step 1: Connect your iPhone and external hard drive to Mac.
Step 2: Use the Spotlight search bar to find and open the "Preview" program.
Step 3: Click on your iPhone name and all the photos from your device will show on the screen.
Step 4: In the "Import to" bar , configure your external hard drive as the output destination.
Step 5: To import only certain photos, please select the ones you want and click “Import”. To import all photos at once, click "Import All".
3. Time taking method - Backup iPhone photos to external hard drive with iCloud
Apart from the methods mentioned above, you can also upload photos to iCloud and then backup those iPhone photos to external hard drive.
Step 1: Launch the sync photos to iCloud feature from your iPhone.
Step 2: Use your iCloud account to sign in to iCloud.com or iCloud program.
Step 3: Click Photos , then please wait while your images upload.
Step 4: Select the photos you want and then click on the “Download Selected Items” button . The process may take some time, it all depends on the number of photos selected.
Step 5: Now connect the external hard drive to your Windows or Mac computer and copy all the photos to the hard drive.
Step 6: If you don't want to keep the photos on your computer, you can simply delete them.
Transfer iPhone photos to external hard drive without PC
To transfer photos from your iPhone to an external hard drive without using a computer, you will need to connect directly to the external storage device. But is it possible? The answer is yes. This has been possible since the release of the iOS 13 and iPad OS updates . These new updates bring external support to the iPhone and iPad. To connect an iPhone to an external hard drive, you will need:
- Your iPhone runs on iOS 13 or later;
- A Lightning to USB adapter or a Lightning to USB camera adapter.
Continue with the steps below to transfer iPhone photos to external hard drive without PC.
Step 1: Connect your external hard drive to your iPhone using a USB adapter. You can check the connection with the external storage device by going to “Files”> “Browse” .
Step 2: Open the Photos app and select the photos you need. Then tap on the “Share” button to save your selection in the Files application.
Step 3: Now that you are in the Files app, please select the external hard drive to save your iPhone photos to.
The 4 methods in this article showed you how to put iPhone photos to external hard drive. Don't you know which method to choose? The following table will help you make the right choice.
| | FonePaw DoTrans | iCloud | Library / Screenshot |
| Type of Photos | All photos | All photos | Filmstrip Pictures |
| Apple ID login | Not required | Required | Not required |
| Transfer speed | The fastest | The most tent | Mean |
According to the table, we can see that FonePaw DoTrans is the most convenient and efficient method available. It even outperforms the other two built-in methods. To avoid any risk of loss of photos, please make a backup of your iPhone photos and keep them in a safe place.
What is your chosen method to backup photos from iPhone to external hard drive? Let us know what you think by leaving a comment!