Google finally entered the premium mobile market with Pixel and Pixel XL, which were announced at a press event on October 4, 2016 and serve as Google's launch devices for Android 7.1 Nougat. These two phones are the first smartphones in the Google Pixel series. While Pixel phones are still pretty high, it's worth trying this gadget as a competitor against Apple and Samsung. No worries, you can also easily transfer data from Samsung and iPhone to Pixel phones. Moreover, you should attach importance to the backup of Google Pixel and Pixel XL. Data loss is unpredictable misery, but preparation avoids it. Now we will introduce you to the method of backing up Google Pixel phones..
Method 1: Make a backup with a Google account
As a phone made by Google, this means that it has strong software support from Google, for example, the backup and restore functionality. You can make unlimited backup for data like Google Calendar, Google Contacts, and Photos & Videos with full original quality (that's really great), and limited backup (25MB) for apps and app data , call history, device settings and messages (only SMS are available). Best of all, you can turn on auto backup for Pixel phones and not worry about forgetting to make a backup.
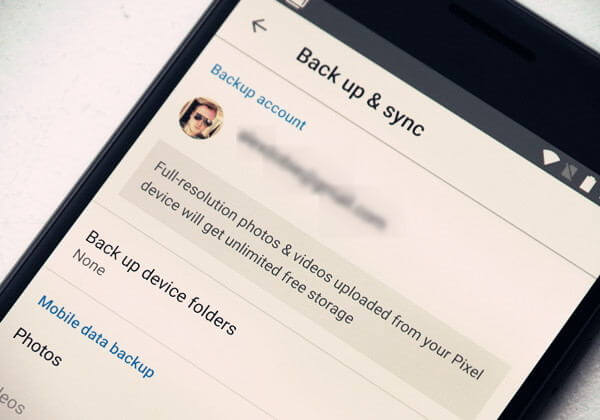
Before performing a backup, you must add a backup account. If you have already added it, skip this section. Please go to “Settings” → “Personal” → “Backup & reset” → “Device backup” → “Photo backup”. Then tap on “Backup Account” and select “Add Account”. Moreover, you can change to another account in this step..
How do I activate automatic backup?
Step 1. Activate the “Settings” app on the device.
Step 2. Select “Personal” and choose “Backup and reset”..
Step 3. To back up data and settings, select “Device Backup” → “Backup to Google Drive”.
Step 4. To back up photos and videos, select “Back up photos” → “Backup and sync”.
Note that if you turn off automatic backup, all data will be erased except for Photos & Videos, Contacts and Calendar.
Method 2: Easily Backup All Data from Pixel Phones
Although Method 1 is doable, it has limited storage for some data and does not allow previewing the backed up data. So, here comes FonePaw - Android Data Backup & Restore, which can easily backup and encrypt your phone data to PC. See how it works.
Free TrialFree Trial
Step 1. Connect Google Pixel to the computer
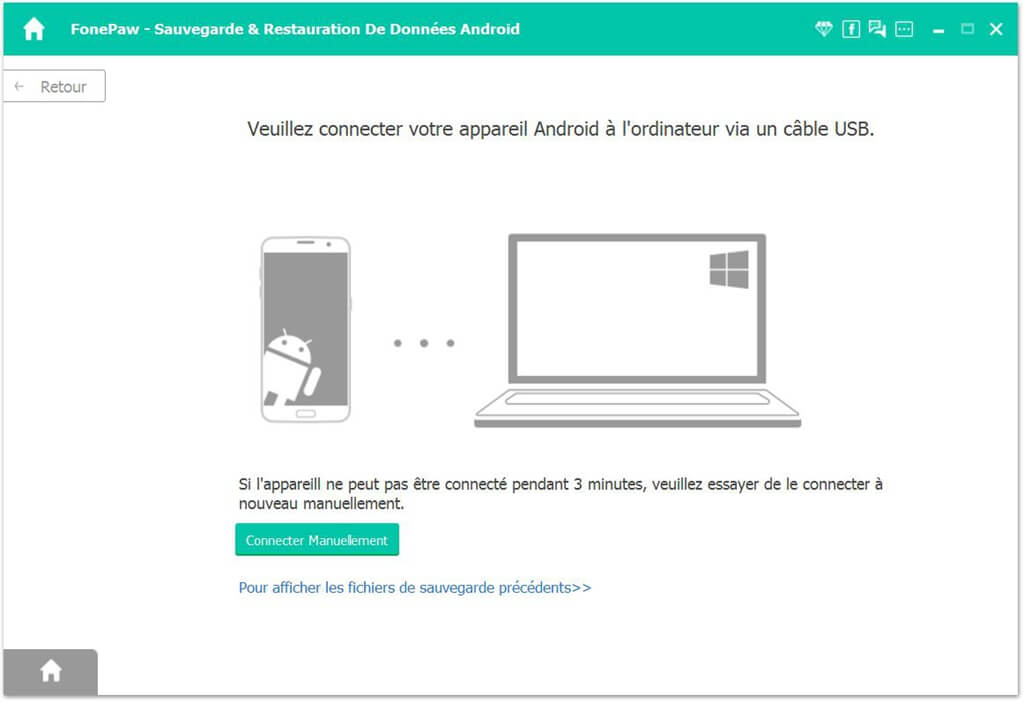
Install Android Data Backup & Restore on your computer by clicking the button above. Then, launch the program and plug in the USB cable.
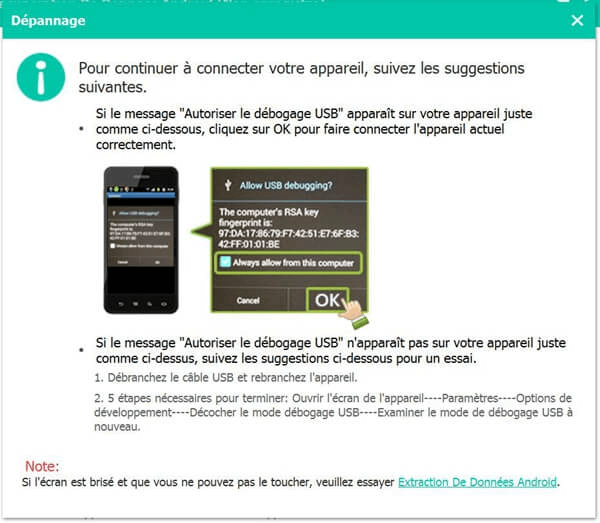
If your USB debugging is enabled, but the following window still appears, please follow the steps presented to you to enable debugging mode on your Pixel phone.
Step 2. Start the backup
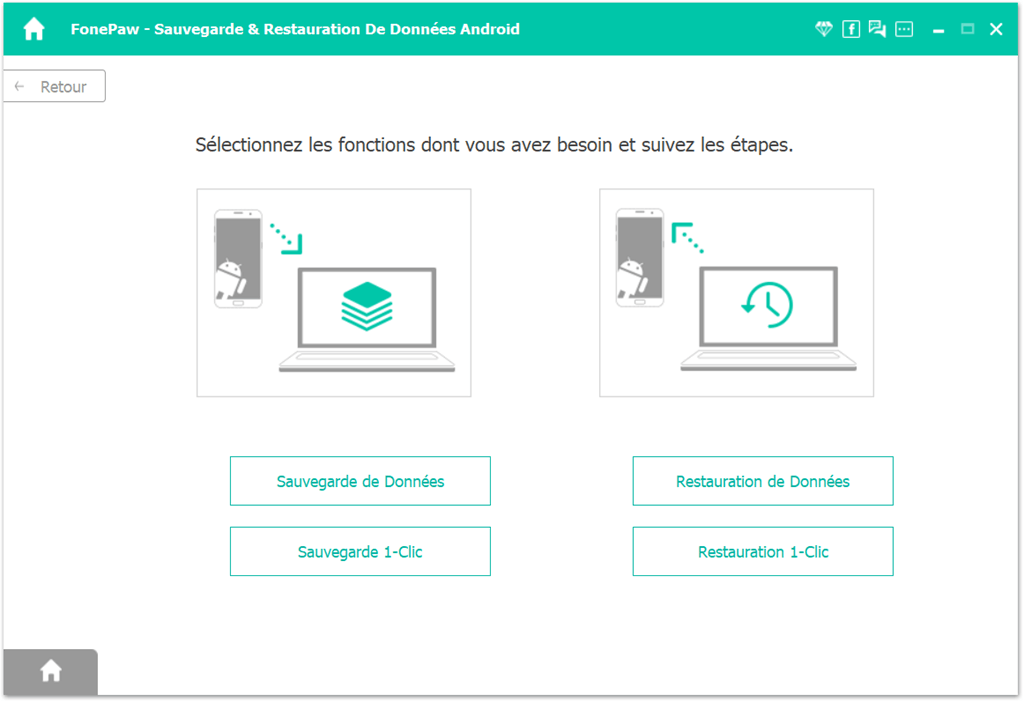
There is plenty of content supported by this program. Choose “Data Backup” to select the ideal files you want. However, if you feel like backing up everything, click “1-Click Backup” which can back up all content for a few minutes.
Step 3. Encrypt the backup
After you have select what you want, there is an option which allows you to encrypt the backup, you can do that if you want. As soon as you configure a password for the backup, you must remember it or write it down, especially not lose it.
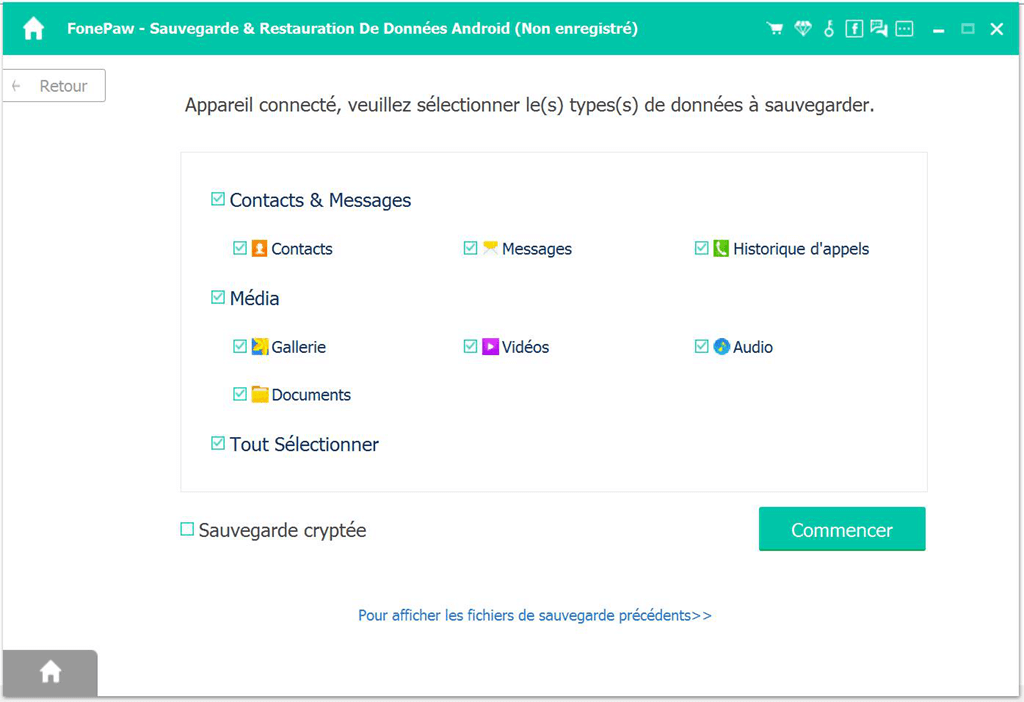
Step 4. Complete Pixel Backup
All saved events will be saved in a document that is only opened by this program. At this time, you can check the backup results if you want, or continue to back up other data or other devices.
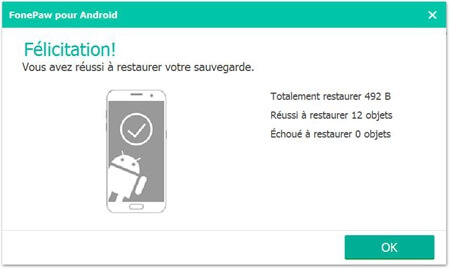
Personally, I prefer method 2 to back up my Pixel phone for the reason that it can back up all the content at once. Moreover, it can also serve as a restore and transfer tool at the same time. It's the best.
Free TrialFree Trial