Have you tested the beta version of iOS 12 but now want to go back to iOS 11? Follow the next steps to downgrade your iPhone or iPad from the latest beta of the iOS system..
iOS 12 received a lot of good comments from the developer community who really appreciated its level of stability, especially for a first beta version. But now that you've beta tested iOS 12 you might want to switch back to iOS 11. All you need to do is just follow the next steps.
To do this it is necessary to erase all data from your device and restore it. It is important to keep in mind that if you want to restore your iPhone or iPad with all your data, you will need to use a backup you made in iOS 11 as you will not be able to restore a backup from iOS 12 to downgrade your device. . FonePaw iOS Data Backup & Restore is a very good program to restore your data after returning to iOS 11..
Part 1: Downgrade from iOS 12 to iOS 11
Step 1. Make sure you are using the latest version of iTunes 12.7.5 (go to iTunes then About iTunes, or open the App Store on your Mac then go to Updates).
Step 2. Connect your iPhone or iPad to your Mac or PC using a Lightning cable..
Step 3. Use the appropriate key combination to enter Recovery Mode (once you enter Recovery Mode you will see the iTunes logo above a Lightning cable, as you can see in the image below below).
iPhone X, iPhone 8, and iPhone 8 Plus: Quickly press and release the button to increase the volume and then quickly press and release the button to decrease the volume. Next, press and hold the side button until the recovery mode screen appears.
iPhone 7 and iPhone 7 Plus: Press and hold the side button and the button to decrease the volume at the same time. Do not let go of the buttons when you see the Apple logo, but keep holding them down until you see the recovery mode screen appear.
iPhone 6s and earlier, iPad and iPod Touch: Press and hold the side button and the home button at the same time. Do not let go of the buttons when you see the Apple logo, but keep holding them down until you see the recovery mode screen appear.
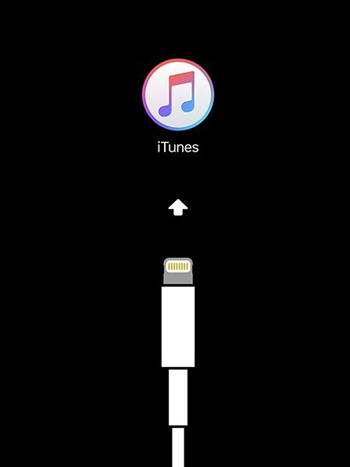
Step 4. When the Restore or Update option appears on your Mac, click on Restore (this will erase data from your device and install the latest non-beta version of iOS, so make sure you have a backup available. or that you are ready to lose your data).
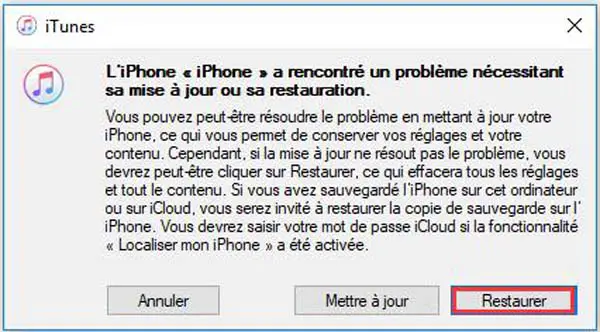
Step 5. Once System Restore is complete, you can restore any of your backups to iOS 11 from FonePaw - Data Backup & Restore, iTunes or iCloud or you can reset your iPhone or iPad to its original condition.
Part 2: Restore Data to iPhone and iPad
First of all, make sure you have already backed up your data with FonePaw - iOS Data Backup & Restore even before downloading and installing the iOS 12 update.
Note: If you had not previously made a backup with this software before updating to iOS 12, you can still get your data back with your backup on iTunes or iCloud with the help of FonePaw - Data Recovery iPhone. You can see how to do this by reading these guides.
Free TrialFree Trial
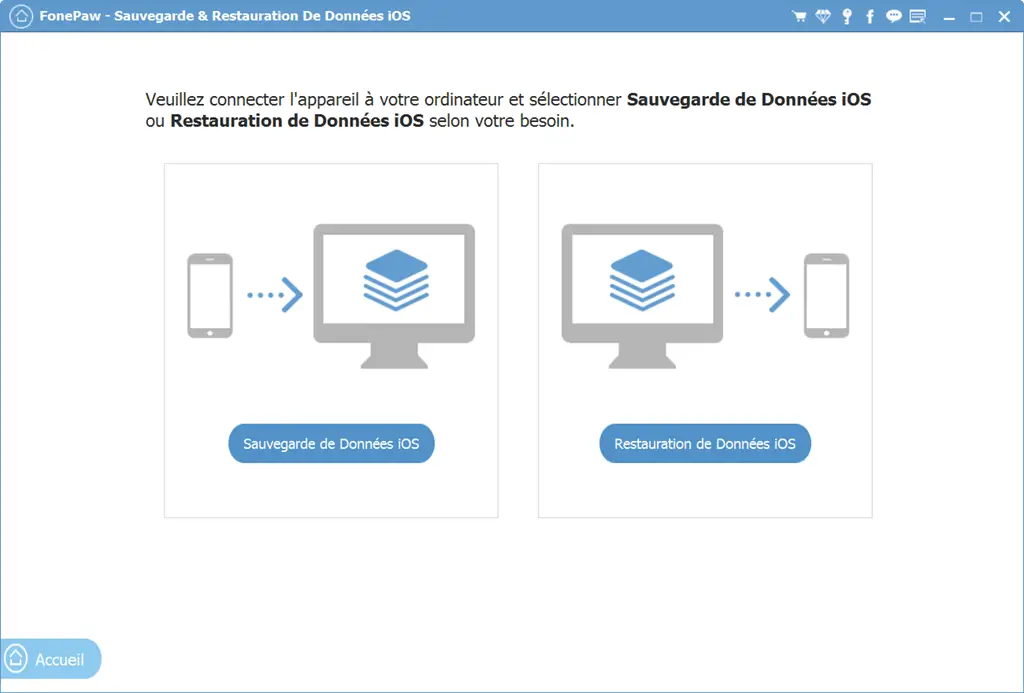
Step 1. Launch the FonePaw for iOS program. Then select “iOS Data Backup & Restore” → “iOS Data Restore” and connect your device to the computer.
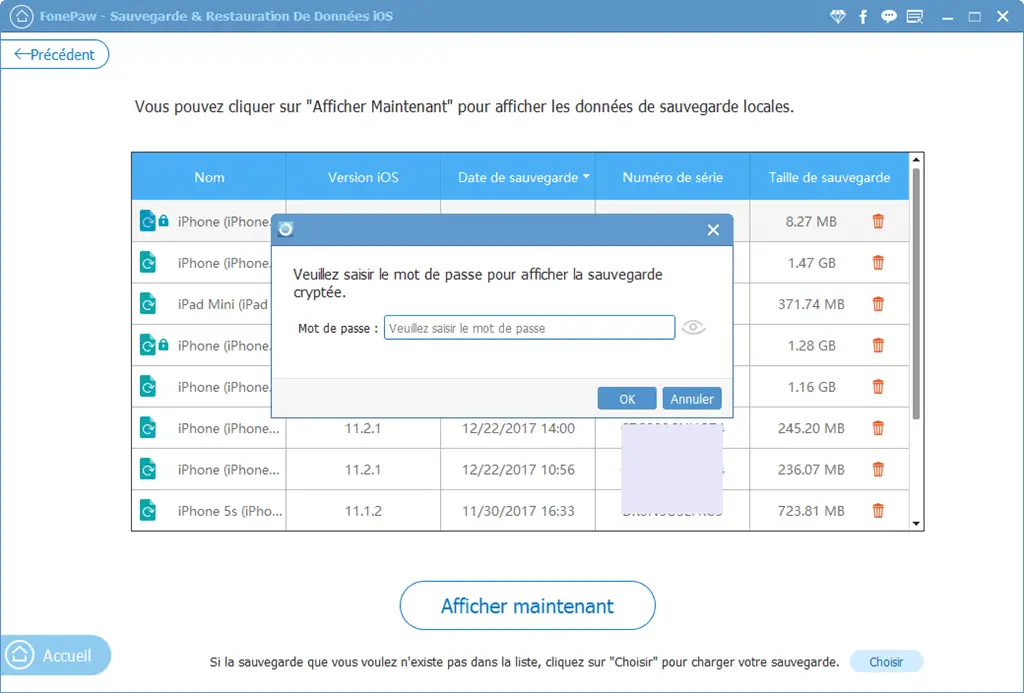
Step 2. The available backups will be displayed on the screen. Please select the backup containing the data you want to restore to your iPhone / iPad / iPod.
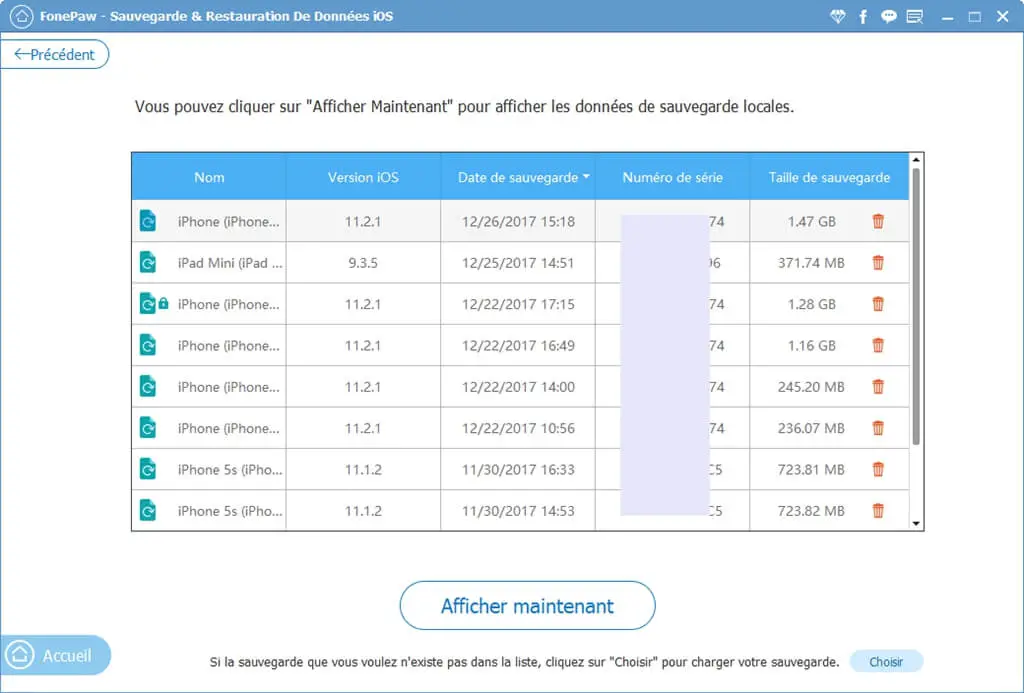
If your backup is encrypted, please enter the corresponding password.
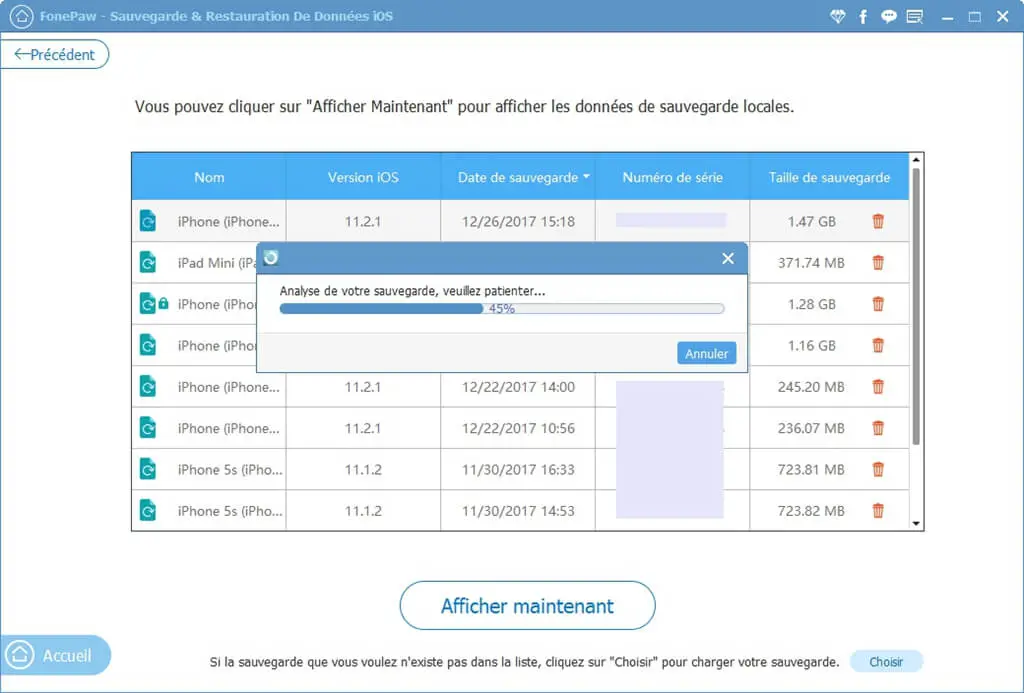
Step 3. Then click “View Now” so that the software can analyze your backup data.
Please wait patiently while scanning your backup.
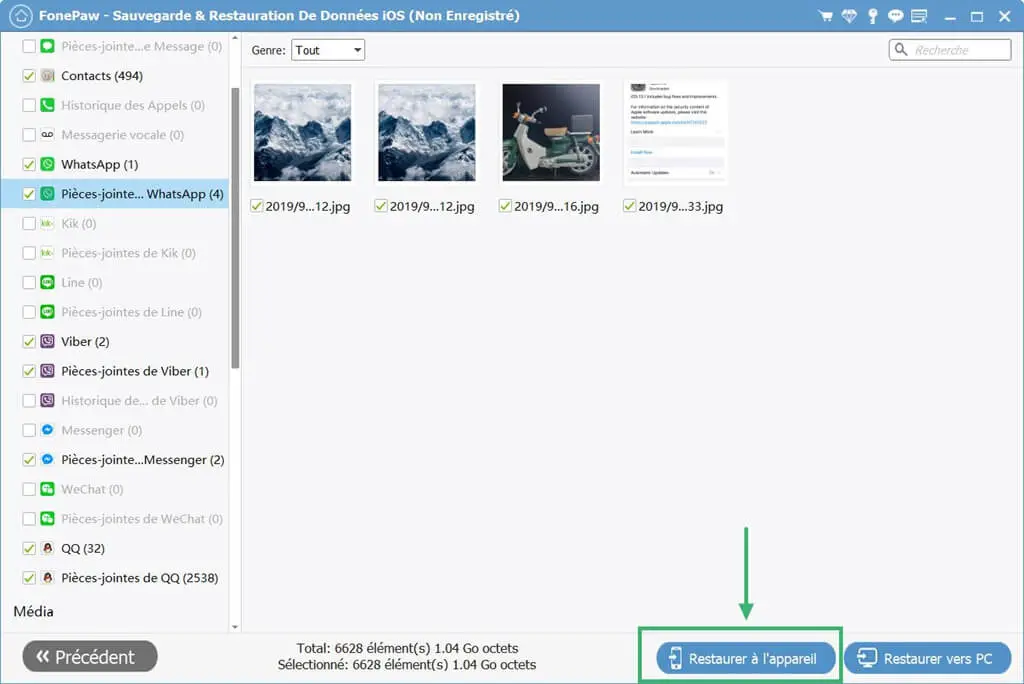
Step 4. As soon as the scan is finished, you will be given the option to preview all the data from your iOS device backup.
Select the files you want to restore and then click the “Restore to device” button.
So why did you decide to downgrade your device from iOS 12? Was this tutorial helpful for you to go back to iOS 11 and restore all your data? Let us know in the comments section below!
Free TrialFree Trial