Thanks to their impressive features like amoled screen and very good quality cameras, Android phones from Samsung are very popular in the smartphone market. It is for these reasons that most people use Samsung devices, but the problem when using a camera with more megapixels is that the size of the images taken will also be larger. They usually weigh more than 2 MB each. Under these conditions you can fill your mobile storage space in just a few days. When your phone's storage is full, you will no longer be able to take a photo or download images to your phone. You will no longer be able to receive messages from your friends on WhatsApp, which is an application yet essential today.And you won't be able to delete your old photos either, but you can save them on your computer or on a Cloud server. There are several ways to make a backup of your Samsung photos so that you can view them all your life. In this article we are going to show you the three best solutions to backup photos from your Samsung..
Solution 1: Back up photos from your Samsung to your computer using USB cable
This is the first method to back up photos from your Samsung. This solution is simple and easy, but takes a lot of time because the user has to do everything by himself. Nothing will happen automatically. So please follow the steps below to know how to backup photos from your Samsung using this method.
Step 1: First of all, connect your Samsung phone to your computer using USB cable. After connection, your computer will detect your Samsung's mobile storage space and recognize it as a removable disk. Now you have to go to Computer..
Step 2: Once you are in Computer, double click on your phone to open it. Then you will see the internal memory and the external memory of your phone. Click on the drive where you saved your photos.
Step 3: After selecting the drive where you saved your photos, enter that drive, there you will see a folder named DCIM. Your photos are saved in the DCIM folder. Enter the DCIM folder then select the photos you want to save to your computer and copy them. After copying your photos, go back to Computer and paste the photos in the folder of your choice..
Solution 2: Backup Photos from Samsung Using FonePaw - Android Data Backup & Restore
If you want to make a backup of your Samsung photos and other files in your Samsung device as well, then the best tool that you can find on the internet to do all of this is FonePaw - Android Data Backup & Restore (opens new window) . This software was designed to backup files from your Android device to your computer with one click. It can completely transfer all available files and data from your Android device to your computer including your contacts, messages, music, videos, apps, photos, etc. You can then completely restore your backup to other Android devices or just restore some files if you want.
Here are the main features of the software:
- FonePaw Android Data Backup & Restore software allows you to easily backup your Samsung photos to your computer.
- FonePaw - Android Data Backup & Restore allows you to backup all the files available on your Android device directly to your computer.
- The software can also back up music, videos, apps, contacts, messages, call history, as well as other audio files and calendars.
- Users can easily restore their data to other Android Samsung devices later, and that always with just one click.
- FonePaw Android Data Backup & Restore software supports over 8000 Android devices including Samsung devices and other brands.
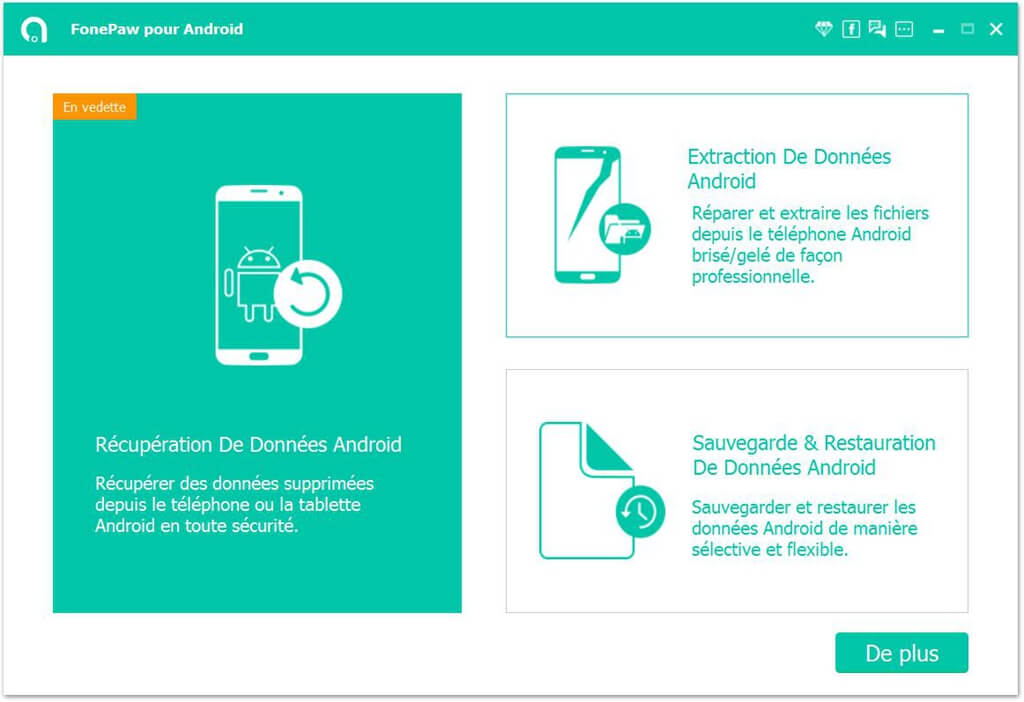
Step 1. Launch FonePaw - Android Data Backup & Restore on Windows PC
To get started, install and run the professional data backup program - FonePaw for Android on your computer. Then select Android Data Backup & Restore from the displayed options and click Data Backup.
Note: Here, FonePaw will ask you to customize the location of your save folder. You can change the default location by clicking on the three-dot icon next to the “Open” inscription, then click OK.
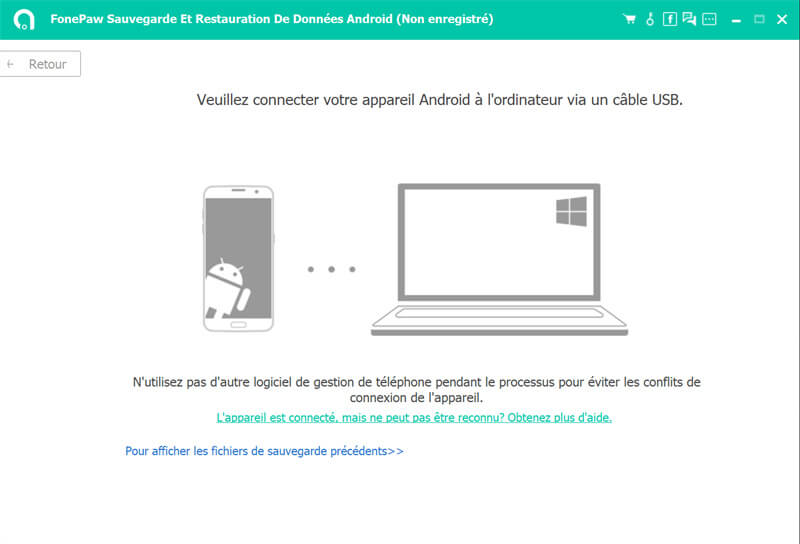
Step 2. Connect the Samsung mobile phone to the computer
Please connect the Samsung mobile phone to the computer via USB cables. Normally, FonePaw for Android automatically recognizes the Samsung.
Step 3. Back up photos.
FonePaw - Android Data Backup & Restore can backup contacts, messages, call history, photos, videos on Android phone to PC.
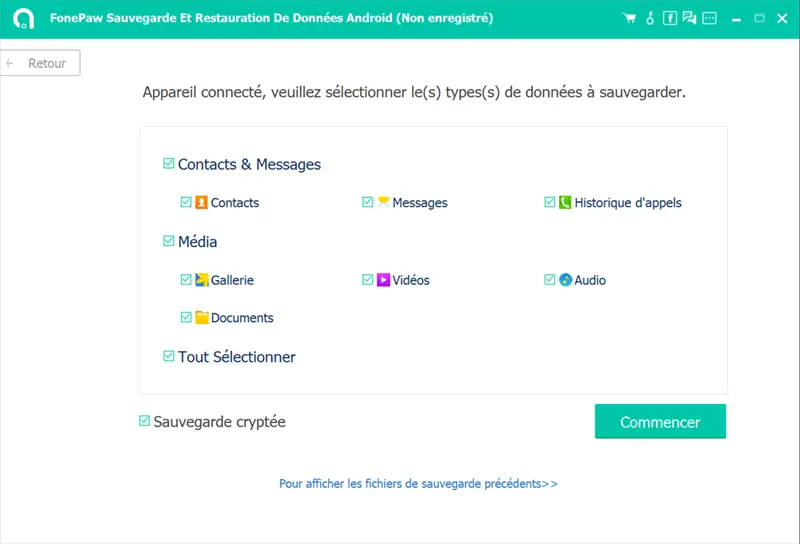
If your device is connected, choose the type of data you want to back up. Check Gallery and click Start .
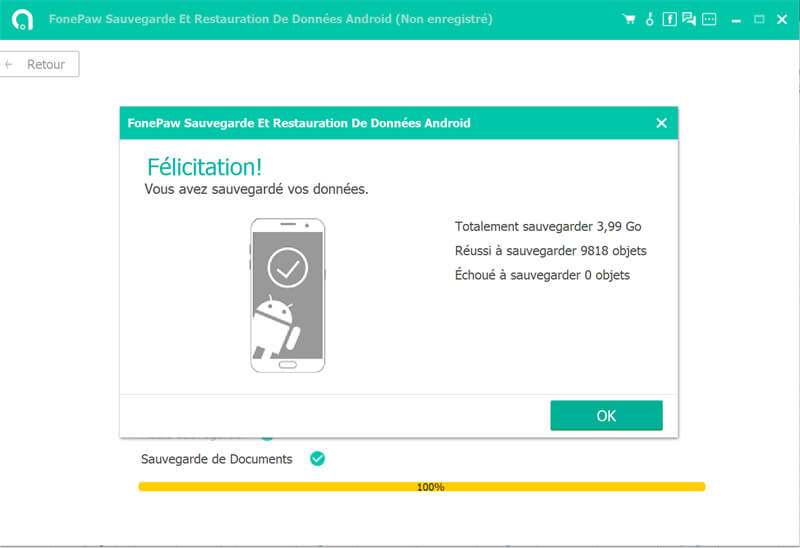
It's finish ! You have finally been able to transfer the important photos from your Samsung phone to computer.
Solution 3: Backup your Samsung photos with Google+
Android offers its users many options to backup their photos automatically and easily. Android being a product of Google, it offers a backup service on Android devices with the Google Photos app which is actually part of Google+ to be able to back up your Samsung photos to Google Plus.
Step 1: Launch the Google+ app on your Android Samsung phone. From the options menu, tap on Photos option and then go to settings.
Step 2: When you are in Settings, you will see the option “Auto Backup”. Press it to activate the function.
Step 3: After entering Auto Backup option, press On / Off button to start backing up your photos. Once you have enabled this option, the photos on your device will be automatically backed up to Google's servers.
Among all the different solutions that we have seen above, we can tell you that FonePaw - Android Data Backup & Restore is the best tool that you can use to back up files from your Samsung device. The software is both simple and easy to use. Moreover, after backing up their data, users can easily restore them with one click.