Are you preparing an advertisement for your company? Would you like to make a photo album of your wedding, or of another event that marked your life? Do you work in a restaurant and want to change the menu design to make your dishes more appetizing? Are you into visual art and planning a new project? Do you want to have a more personalized wallpaper? Perhaps you dream of a more attractive design for your website or blog? Are you preparing a photo exhibition? Or are you just looking for an easy way to be able to paste your logo on an image?
There are so many reasons out there that might make us want to look for a good software to help us do some editing. Obviously, we are not all computer experts and we have not necessarily all had training in Photoshop to make all kinds of montages. What to do then? It is very simple. You don't have to look very far. You have a solution right there in front of your eyes..
Image Resizer is very easy to use software, yet it does a lot of things. You can add all kinds of effects to your images and even add image watermarks, or even superimpose images on top of each other. And that's just what this tutorial will show you. By following these few steps, you will be able to make a simple but very original assembly.
To get started, please download and install the Image Resizer software on your computer. You can first get the trial version to get a taste of the different capabilities of this great tool!
Free Trial Free Trial
Step 1: Start the software and choose your photos
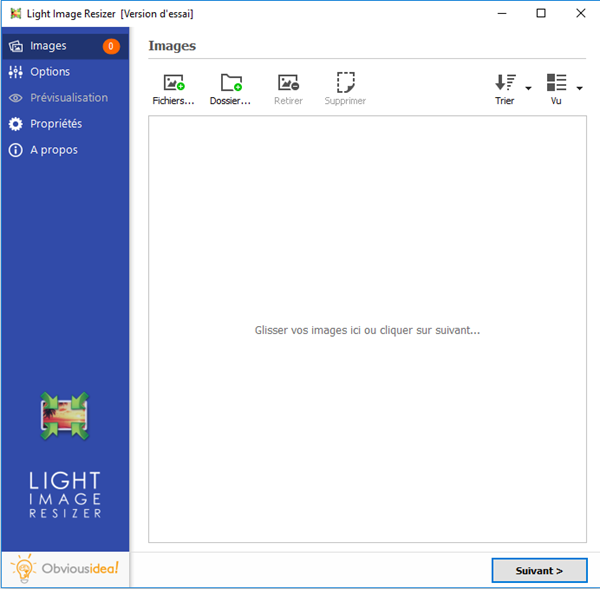
Start the Image Resizer program, by clicking on the shortcut icon representing it on your PC desktop..
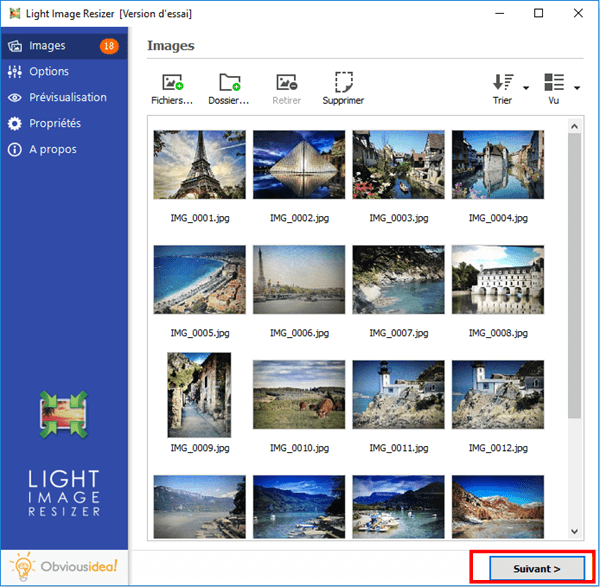
Once the software is open, a window like this will appear on the screen. Please click on "Files" or "Folders", and select the photos you want to add another above.
Step 2: Configure the settings to embed a new photo on another
After selecting the desired photos, continue by clicking on the "Next" button..
Click on the “Effects” section and check the box corresponding to the “Embed a watermark” option.
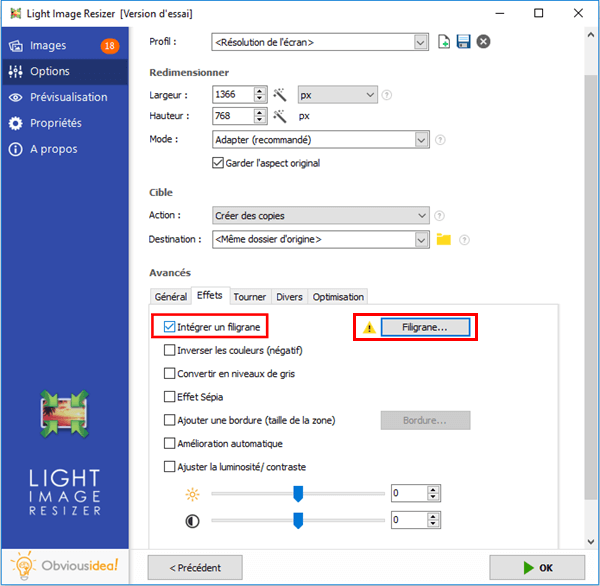
Tap on the “Watermark” box, then on the “Image” section. Please choose an image to add by clicking on “Select…”, then opening the image you wish to add.
You now have the possibility to configure the characteristics of the new image to be superimposed: its size, its location, its opacity, the degree of its rotation on the background image, the spacing between the edges, etc.
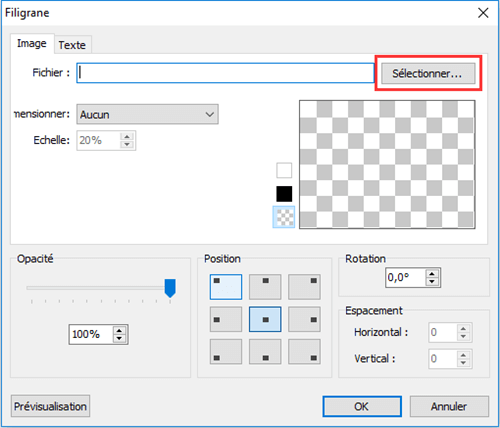
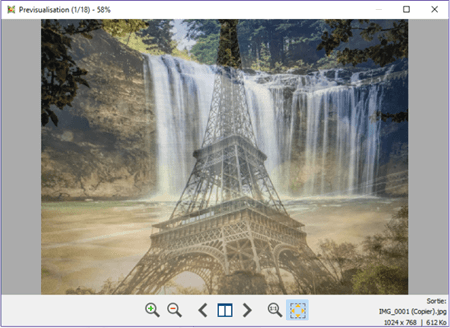
Note: You can preview the new images by clicking on the “Preview” option at the bottom of the frame.
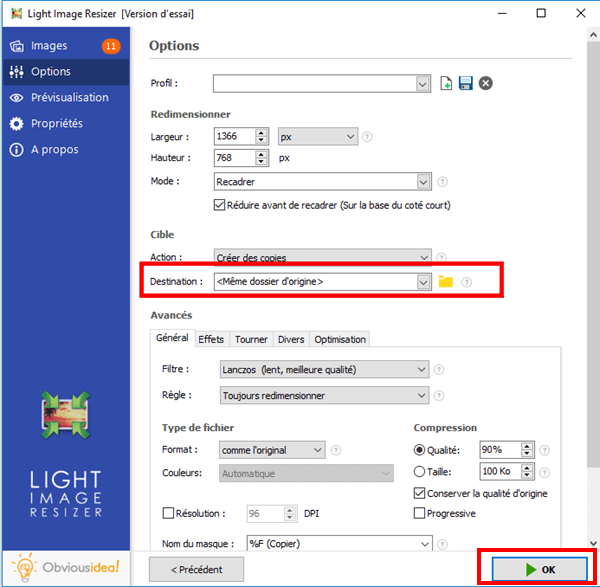
Step 3: Choose the output location and embed your custom image on your other photos
After adding the new image, the file (s) will be sent to the folder where the original photos are located. But, you can change the default output location by clicking on the folder icon in the “Destination” part and selecting the new desired location.
Continue by clicking "OK" to start the process of writing to the photos.
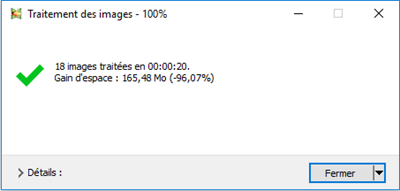
Note: The duration of the process may vary depending on the number of photos you have selected to make an overlay. It can range from a few seconds to a few minutes. But you don't have to worry about the time used in this procedure, because it's usually very fast! A loading bar will appear on the screen to inform you of the remaining time.
A window will also appear to let you know that the image overlay is complete and successful. For more information on the changes made, you can click on the "Details" badge located on the lower right corner of the window.
Note: By clicking on "Close", you will not only close the window informing you that the task has been completed, but you will also close the software. If you wish to continue performing other operations, please click on the arrow next to the “Close” badge, and select the action that best suits you. You can continue to make other changes from the software, open the folder where the transformed files were sent, etc.
Free Trial Free Trial
Image Resizer is really a professional tool which is very easy to use. Even if it does not have all the functions that the famous Photoshop provides, it already allows you to do a lot of things.
And There you go ! Its good ! By installing the Image Resizer program on your PC and following the steps mentioned below, you can very easily overlay photos on other photos, and thus perform a “Phew” montage!
Did you like this article? So do not hesitate to share it with those around you. And if you have any questions about the Image Resizer tool, leave a comment in the space below.