Have you ever taken a beautiful photo but then found that the image is not straight? It curves more to one side and gives the same impression as the Leaning Tower of Italy. Heck, but how do you get a photo in the right position? Most photo modifiers can only rotate images in 4 directions 90⁰..
What if your photo only leans a few degrees? There is no worries, you can very easily put it back straight.
Are you a fan of photo editing? Maybe then you want to create something with a mirror effect! It's simple. Duplicate the photo and reverse the mirror image! You can do it both horizontally and vertically..
Image Resizer is software that allows you to rotate images in any direction you want. Moreover, you can also add effects and modify your photos as you want with this program.
Download the trial version to get a taste, install it and follow the instructions in this tutorial!
Free Trial Free Trial
Step 1: Start the software and choose your photos
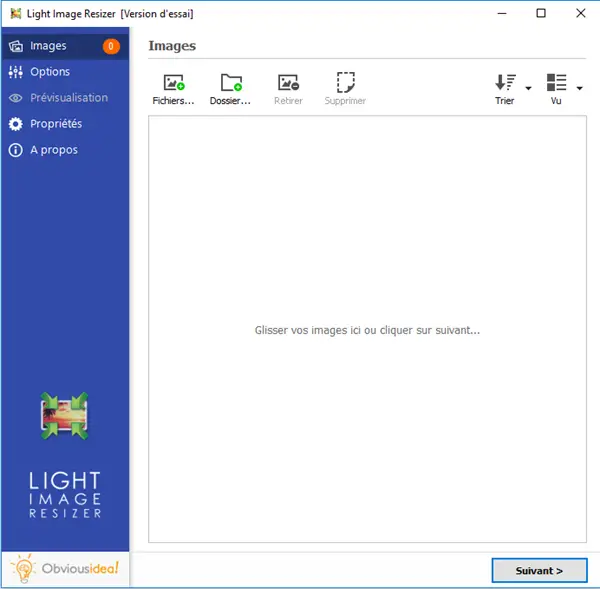
Start the Image Resizer program, by clicking on the shortcut icon representing it on your PC desktop..
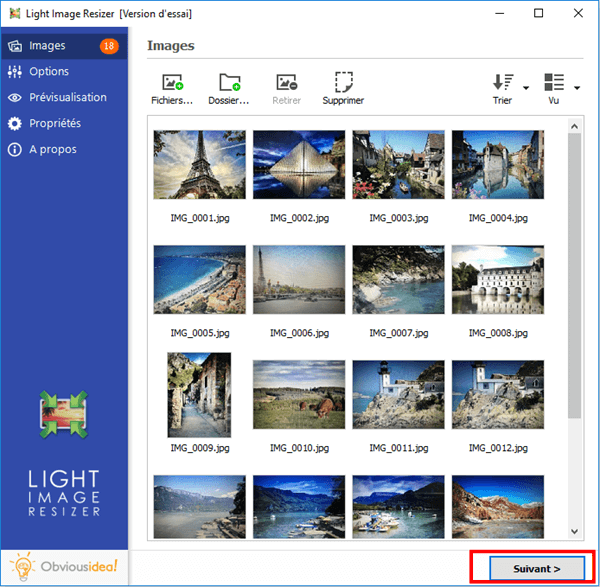
Once the software is open, a window like this will appear on the screen. Please click on "Files" or "Folders", and select the photos whose meaning you want to change.
Step 2: Configure the settings to change the direction of your photos
After selecting the desired photos, continue by clicking on the "Next" button.
In the "Rotate" section at the bottom of the screen, please select the rotation you want to perform:
- "90⁰ Clockwise": To rotate the picture to the right.
- "90⁰ Counterclockwise": To rotate the picture to the left.
- "180⁰": To rotate the photo upwards.
- “Custom Angle”: To rotate the image to the desired angle degree.
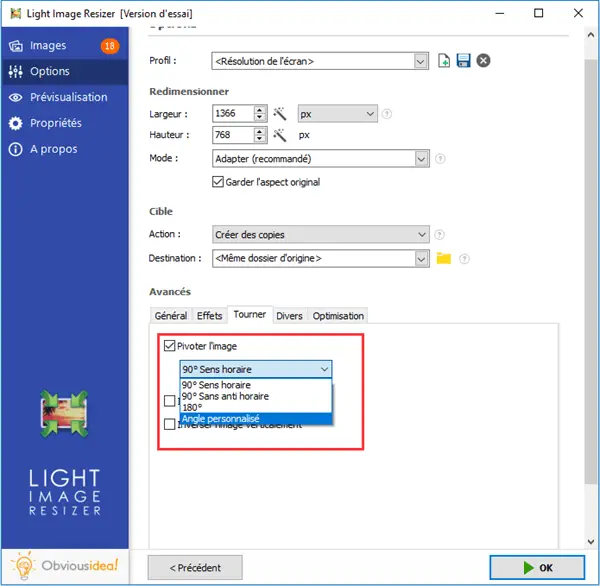
Note: By choosing the option "Custom angle" you can rotate the photo as you wish. Please enter the degree of pivot in the corresponding box.

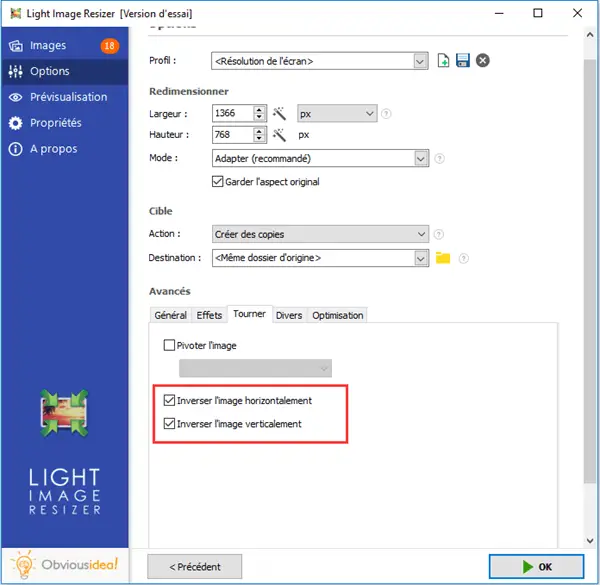
- Reverse the direction of the image.
In the "Turn" part at the bottom of the screen, please select the type of inversion you wish to perform. You can choose between: "Invert image horizontally" or "Invert image vertically". You can also select these two options at the same time, if you wish.
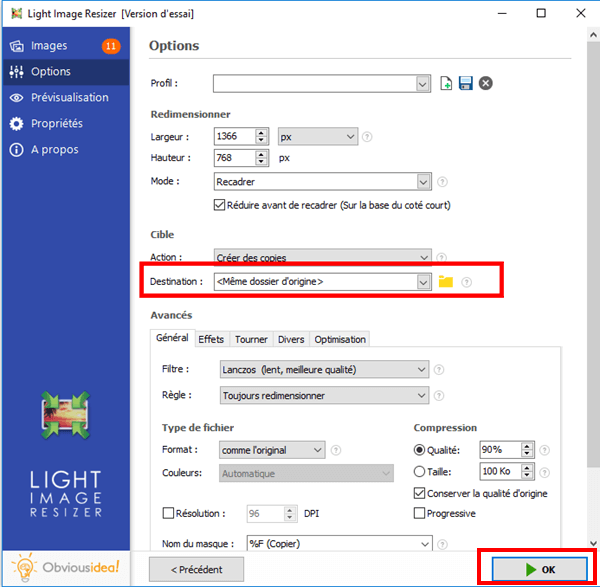
Step 3: Choose the output location and rotate / reverse the direction of your photos
After changing the image direction, the file (s) will be sent to the folder where the original photos are located. But, you can change the default output location by clicking on the folder icon in the “Destination” part and selecting the desired location.
Continue by clicking "OK" to initiate the process of rotating / reversing the photos.
Note: The duration of the process may vary depending on the number of photos you have selected to make them change direction. It can range from a few seconds to a few minutes. But you don't have to worry about the time used in this procedure, because it's usually very fast! A loading bar will appear on the screen to inform you of the remaining time.
A window will also appear to let you know that the rotation / inversion of the selected photos is complete and successful. For more information on the changes made, you can click on the "Details" badge located on the lower right corner of the window.
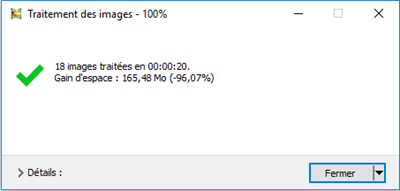
Note: By clicking on "Close", you will not only close the window informing you that the task has been completed, but you will also close the software. If you would like to continue performing other operations, please click on the arrow next to the “Close” badge, and select the action that best suits you. You can continue to make other changes from the software, open the folder where the transformed files were sent, etc.
Free Trial Free Trial
Have Image Resizer, you have a wide range of options to modify your images as you want. Rotate your photos in all directions to achieve the effect you want.
Did this article help you? If you liked it, you can also share it with those around you. And if you have any questions about the software, or if you want to let us know what you think about it, you can leave us a comment in the space below.
You can also read our other tutorials for more information.